This post may contain affiliate links. Please see our full Disclosure Policy for details.
Nature has been lately inspiring me in a variety of ways. Earlier I shared pressed flowers in a frame with nine unique ways to dry flowers for your projects. I also shared what to do with dried flowers and a quick spray method to display cattails in Fall. I ended up with a huge collection of flowers for no cost and I am loving it.
Here’s a quick video to show you how easy it is to make resin coasters.
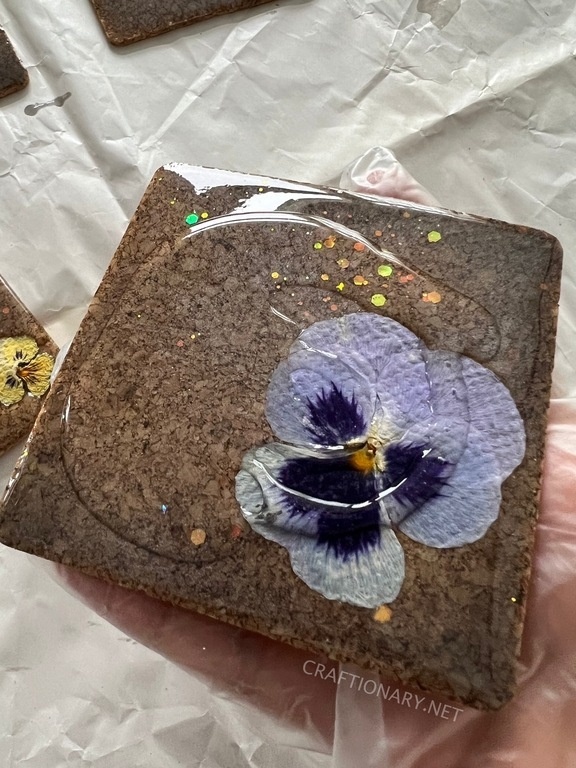
So, when I received resin I thought how about I pour it on the cork coasters to make them look fancy! Since, pouring resin doesn’t require molds all the time and I didn’t have a coaster mold this was what I ended up doing. When I saw it working I decided to add in pressed pansies and viola my beautiful pressed flowers resin coasters.
Pressed flowers resin coasters
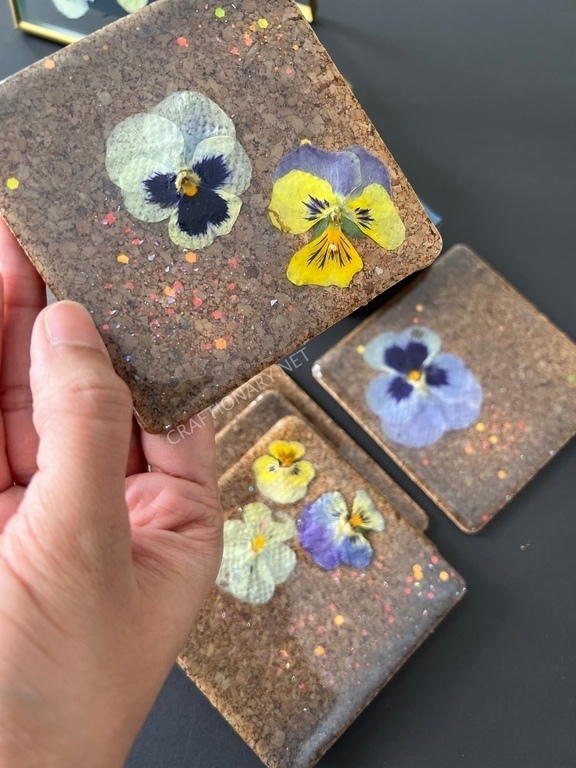
Pressed flowers resin coasters
To make this project, I used cork coasters.
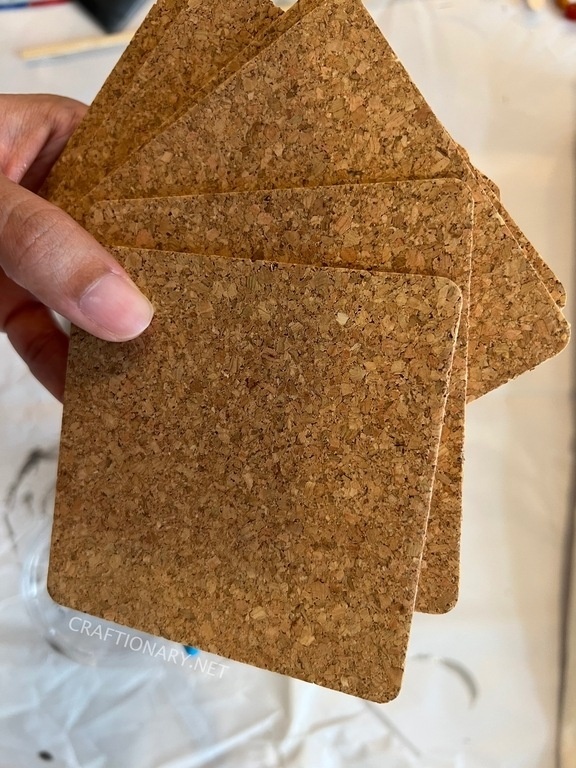
Cork coasters
Wear gloves and cover the surface with plastic cover. Now mix the resin and hardener as per manufacturers instructions. To avoid mistakes such as bubbles formation follow details from DIY resin. Then add black mica powder to your resin. I also added some chunky glitter.
Use a silicone cup and silicone spatula for mixing as it is easier to clean and is reusable. Let it sit for 2-3 minutes. Now pour it on top of the coaster and use your silicone spatula to guide it to the sides carefully such that it covers the edges but doesn’t fall off of it.
Even though I skipped this part but it will be helpful to seal the lid sides with a tape to create a boundary so it doesn’t drip off the edge for neatness. Use sellotape or any other sticky tape.
Place the coated coaster on the plastic cover and add pressed flowers on top. You can arrange them in any way you prefer.
Let it cure for 24 hours. Next day, make a clear epoxy resin solution and pour it on the top of your first layer. This will cover the flowers and give the coasters a clear coating with dome effect.
Clear epoxy resin coating
After 24 hours of curing your resin coasters are ready for use.
I used Lets Resin products, most of the epoxy resin is heat resistant to some extend and using them as coasters doesn’t damage the resin layer. I am using these coasters for more than 2 months now and they are perfectly intact.
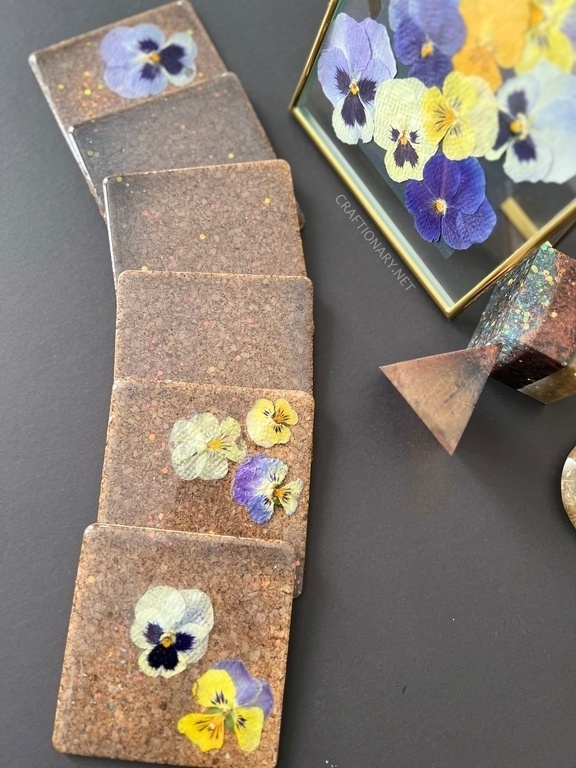
Beautiful resin coasters
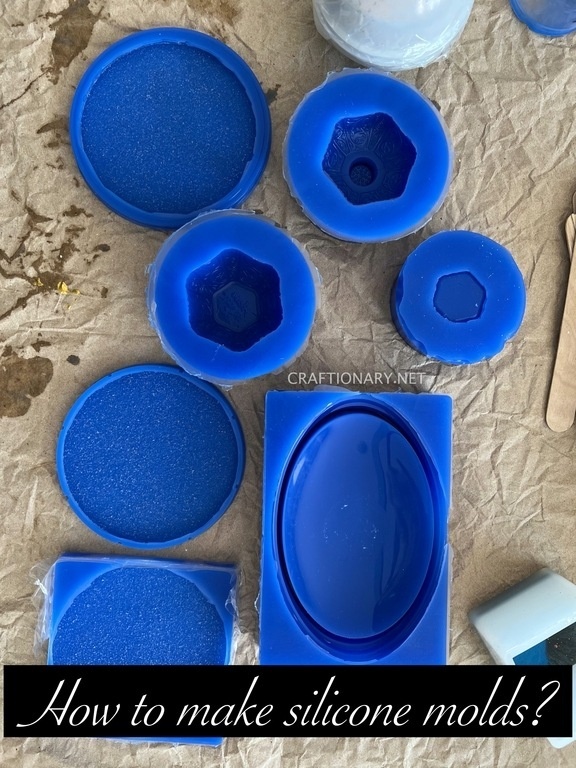
I was having so much fun that I got inspired to try making my own resin molds. You can use a plastic lid or such material to make coasters or use an object to make your own mold.
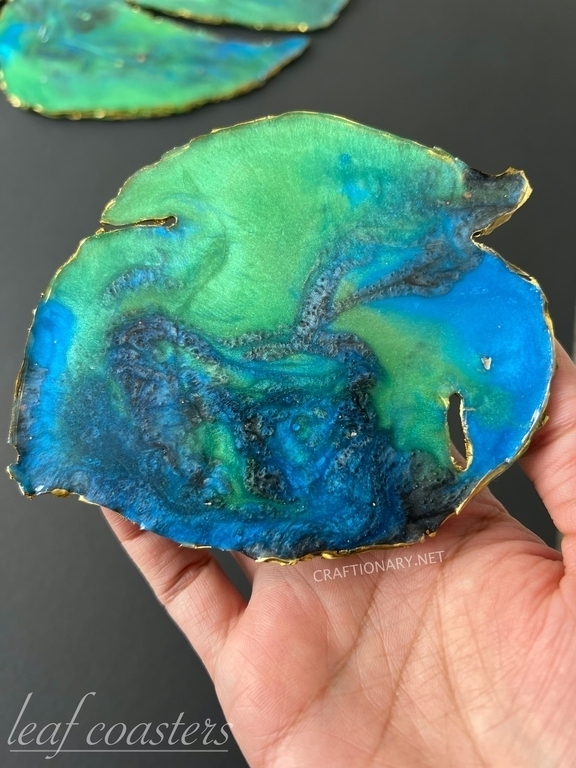
Meanwhile, I also got excited and tried making uncommon shape coasters like these leaf resin coasters for my garden with hot glue gun.
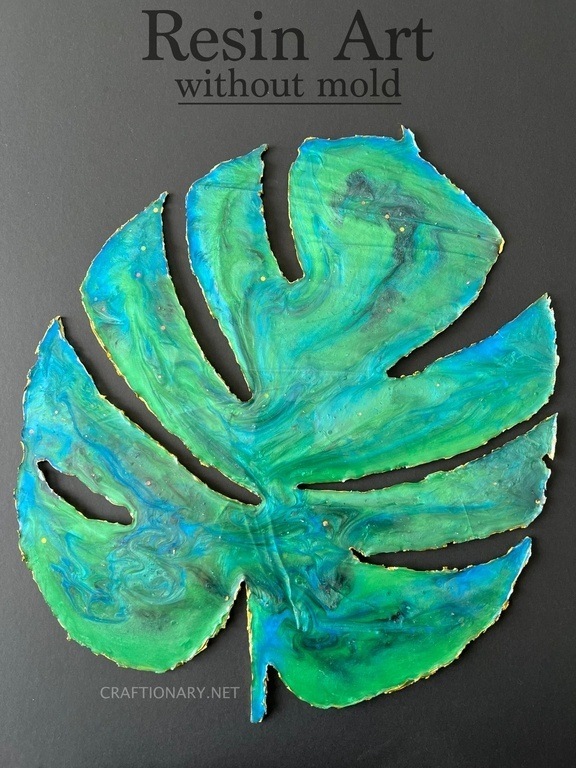
I also made a large monstera resin art for my indoor garden art using the hot glue gun technique.
I hope you enjoyed this project. You will also like: