This post may contain affiliate links. Please see our full Disclosure Policy for details.
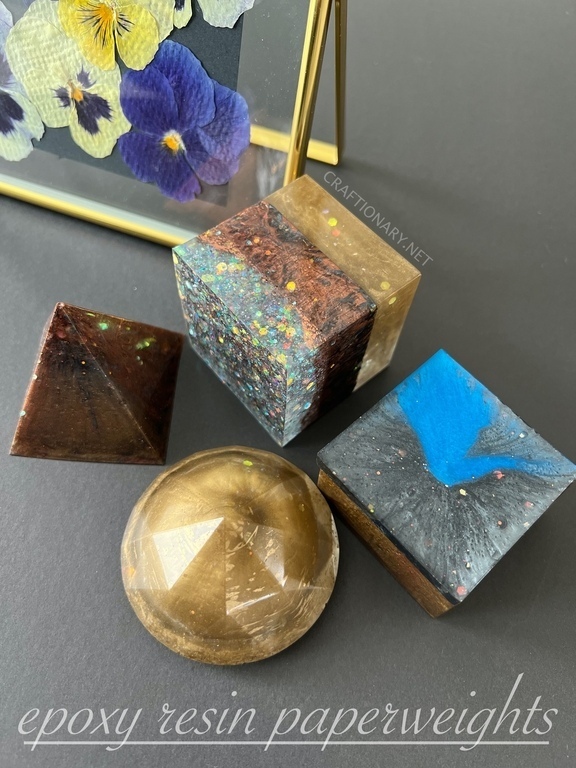
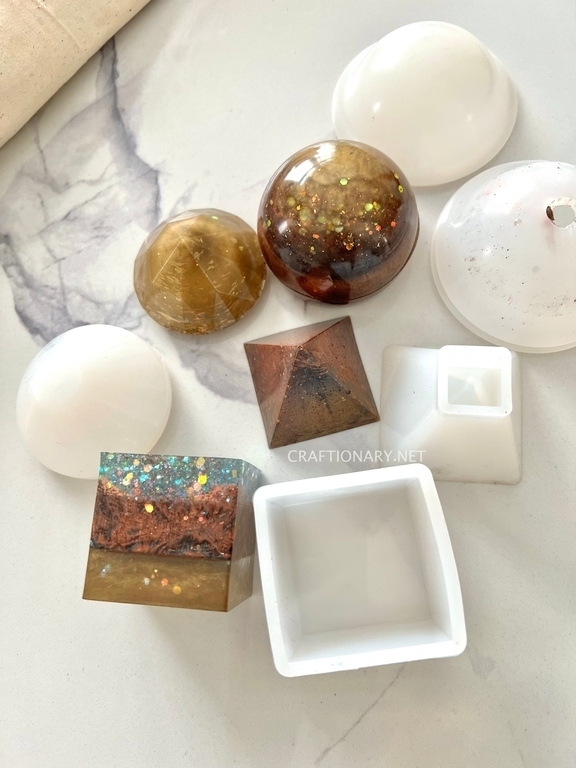
Use Lets Resin epoxy resin molds kit to make beautiful resin paperweights using chunky glitter, meca powder and fillers to make cool Epoxy resin pour art that looks like glass paperweights.
There are different types of resins like UV Resin, Polyurethane Resin, Epoxy Resin, and Polyester Resin. UV resin is commonly used to make jewelry and placed under UV light for quick curing. Polyurethane resin is commonly used for flooring like this DIY kit we used to make epoxy garage floor. Polyester resin is common in fiberglass works and epoxy resin is ideal for resin art.
The safe use of epoxy resin indoors has opened up an entire array of epoxy resin ideas. One such fun project is making paperweights with epoxy resin molds. I have to admit that I have never used this product before. I also thought there must be a trick to make stunning epoxy resin projects that is more than just pouring the mixture. To my amazement I was proven so wrong with this first project. Start with beginners guide to resin crafts if you are new to resin.
Epoxy resin molds video instructions
Find a quick video of the process that guides you through the process to make paperweights with epoxy resin molds. This project using starter kit for beginner resin casting is ideal to try for first time.
Make Resin Paperweights with epoxy resin molds
Before seeing the video process to use resin molds to make a variety of projects. Take a moment to read through the following instructions and material needs for this project.
Material
You will need:
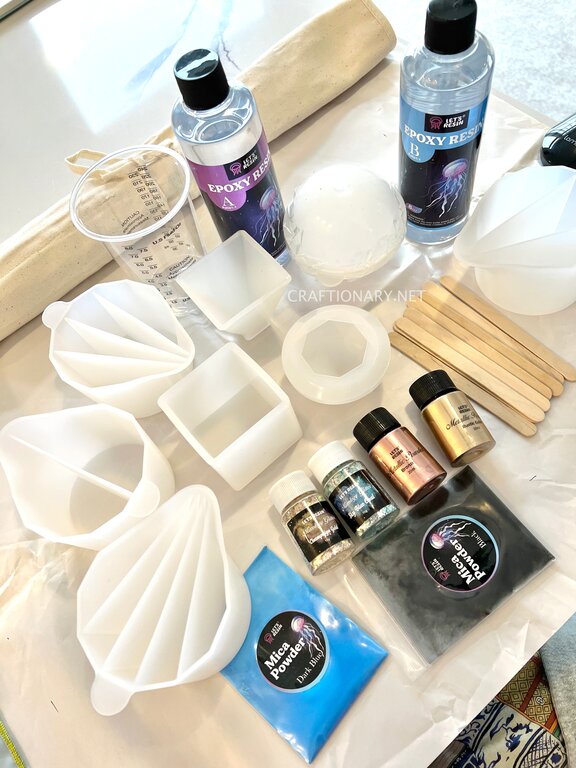
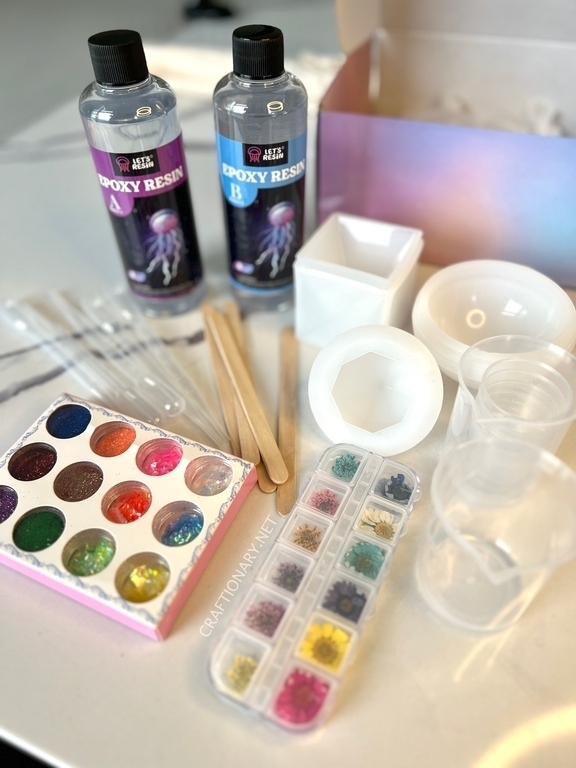
- Lets Resin Epoxy Resin Kit (geometry set) – Epoxy Resin Kit includes all the essentials for this project. Four geometric silicone resin casting molds, 16 oz of epoxy resin, 12 colors glitter set, dried flowers, and helpful tools like measuring cups, wooden stir sticks, plastic droppers, and gloves.
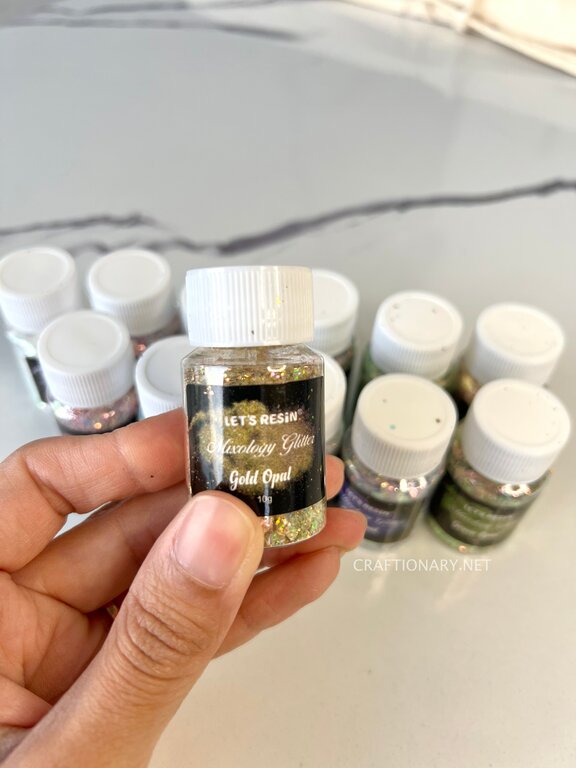
- Lets Resin Chameleon Chunky Glitter
- Silicone Split Cups
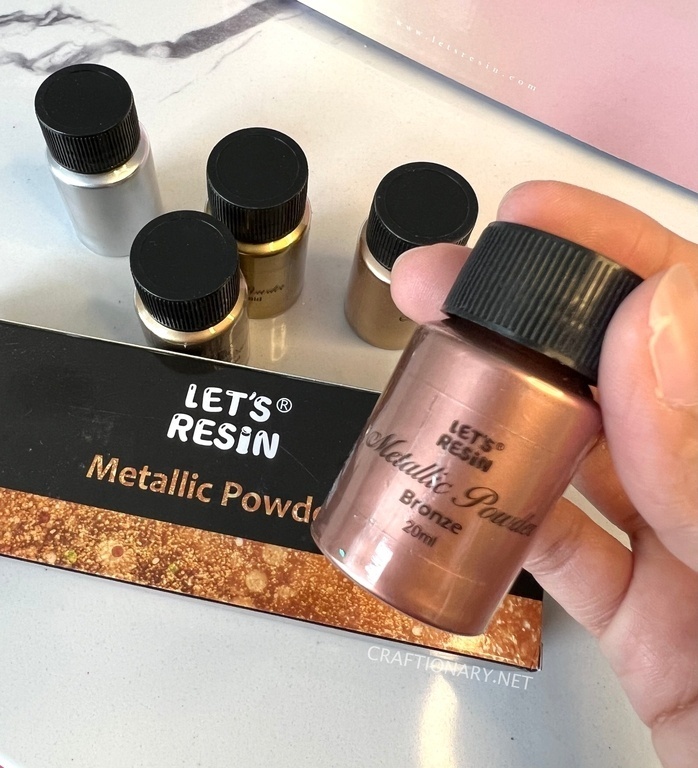
- Metallic pigment powder – Metallic pigment powder set contains gold, silver, bronze and copper shades.
- Plastic sheet or paper sheet
- Goggles
- Apron
Important Information
Lets Resin is super clear epoxy resin with no odor and no VOCs. It is self leveling, bubble free, and mold friendly.
Mixing Ratio: 1:1 by volume
Work Time: 40-50 minutes
Working temperature: 75-85 °F
Demold time: 8-24 hours (depending on the size of your project)
Fully cure time: 2-3 days
Heat resistance of the cured project: about 160 °F, suitable for coasters and trays.
Max of a single pour: no more than 200ml recommended.
Resin Casting Step by step instructions
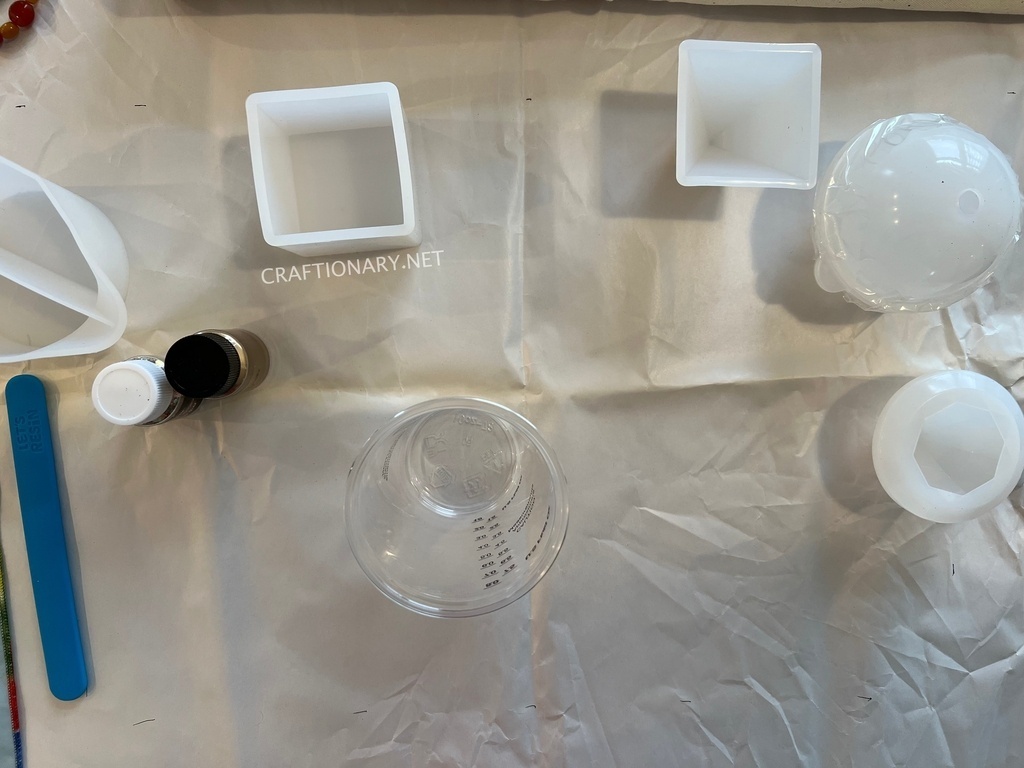
1. Cover your crafting table or workspace with a plastic sheet or newspaper to avoid any mess from epoxy drops and spills.
2. Set the 4 silicone casting molds on the sheet ready to pour the solution.
3. Wear waterproof gloves made of butyl or nitrile rubber, apron and goggles.
4. Read the Lets Resin instruction manual carefully. Follow the instructions on the package to mix the 1:1 ratio epoxy resin. It contains solution A and solution B which are resin and hardener respectively.
Tips to avoid sticky and bendy resin:
Do not work in cold temperatures, as it prevents resin from curing properly. Epoxy resin is runny and flows freely in warm temperatures. Even though the manual recommends to warm both the solutions. I learned from my experience and read on other blogs as well that warming solution A is the key.
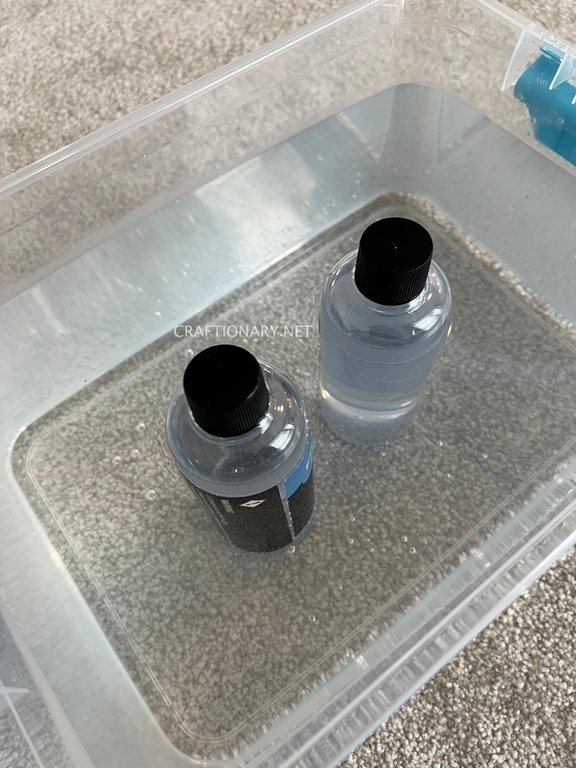
As a practice, keep the bottle of solution A in a glass or tub of warm tap water to increase its temperature and make it warm before pouring into the cups for mixing. This allows it to mix easily and when mixed the solution is smooth to run from the mixing cup for a longer period giving you more time to work on your project. If you warm solution B which is the hardener, it speeds up the chemical reaction and it tends to harden faster than normal.
When mixing the two solutions be precise with measurement. Measure by weight on a scale for more accuracy. However, even if you eye the bars on the measuring cup to mix equal parts of resin and hardener, make sure to keep your eyes in level with the cup to avoid human error in calculation. Do not pour more than 200ml at a time to avoid flash curing.
Pour 1 part of solution A (resin) in the measuring cup and let it settle in the cup for a minute before pouring the solution B (hardener) in equal proportion. When the two mix you will see swirls and lines appear in the transparent cup. Use a mixing stick like popsicle stick or silicone spatula to thoroughly mix the two solutions for 3 minutes or till the lines disappear completely. Scoop the mixture from the walls and sides of the mixing cup to mix it and stir in one direction only slowly.
Do not use water-based colors and dyes in resin. For large projects pour in multiple layers waiting for about 3-5 hours between each pour. Thin layers and small molds may take about 1-2 more days than usual to cure.
Tip for silicone tools:
Resin does not stick to silicone. Any tools made of silicone are reusable. Silicone spatula and silicone cups are reusable. Just wipe it with a tissue paper and let it dry. Peal the leftover solution and wash it with soap water to clean for using again.
You may see some bubbles formation while you stir but don’t be overly concerned they will disappear when it cures.
Tips to reduce bubbles:
- Warm the resin solution before mixing and stir the mixture slowly.
- Let the mixture sit for 5 minutes before pouring to allow it to settle.
- Pour the resin solution closer to the project and slowly to avoid air entrapment.
5. Add pigments, glitter and other dry items like flowers once the solution is mixed properly. Make sure to dip dry flowers and other items in resin or brush them with resin to stick them in specific positions inside the mold. I use split cups to make swirls and patterns in the geometric paperweights. These split cups are multi-purpose and also useful for acrylic pour.
I added clear epoxy resin mixture in split cups and added mica metallic powder and chunky glitter in small quantity to make different pigments. Stir the tints into the mixture with mixing sticks. I used the same stick to mix them all, starting with the lightest shade first and continuing.
For example, in 4 oz of mixture add 4g of mica powder and mix to see the rich color. If you want darker you can always add more but cannot do the reverse. A general rule for vibrant color is 1g of mica powder in 1oz of resin.
6. Now bring the cup close to the mouth of your mold and slowly pour the mixture and enjoy the swirls and patterns that naturally form in the shapes. Learn to make silicone molds for your custom crafts.
7. Let it cure for 24 hours. After which remove the paperweights from the mold and enjoy your creations.
Epoxy resin molds geometric paperweights
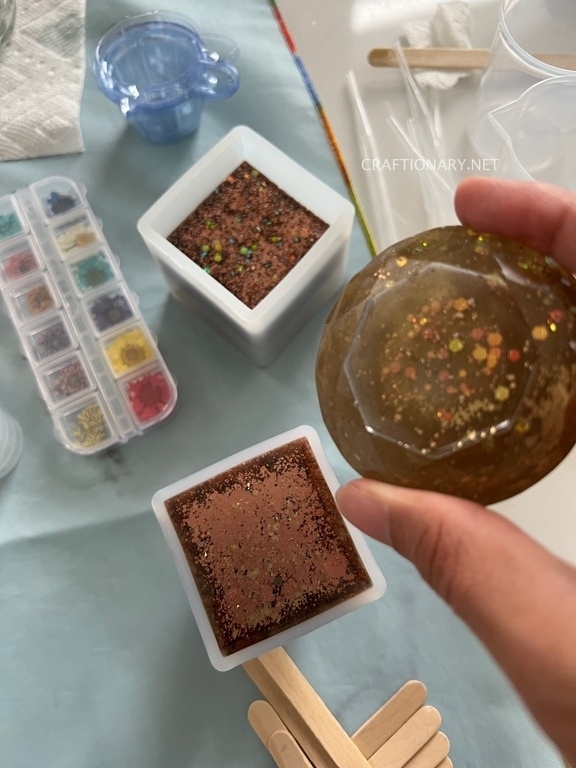
For the cube and sphere, I worked in three layers. Waiting 24 hours between each layer.
– First layer using 2 shades namely champaign chunky glitter and metallic antique gold in split cup with two splits. I used the same mix in making gold pyramid.
– Second layer using 4 shades namely black mica powder, metallic bronze, blue opal chunky glitter, and champaign chunky glitter in split cup with four splits. I used the same mix in making metallic pyramid.
– Third layer using 2 shades namely transparent (resin as is) and sky blue opal chunky glitter resin mix in split cup with two splits.
I also made a square disc with black and blue mica powder with glitter for comparison purposes. And a semi circle paperweight.
Tip: When working with sphere make sure to close it tight and tape it to avoid any leaks.
Epoxy resin projects cure recommendations
- Do not leave it in the sun to cure, it can cause yellowing and shorten the life of product.
- Use paper towel to wipe the tools before resin cures.
- It is cost efficient and green to use silicone tools because they are reusable. Throw plastic cups and wooden sticks after one use.
- Use spray alcohol and paper towel to wipe clean your silicone tools. You can also let the epoxy cure and peel off easily later on as well from silicone measuring cups and spatula. No need to stress.
I hope you enjoyed this project. If you have any questions regarding the projects I have shared please leave them in the comments section below.
You will also like:
36 Stunning epoxy resin projects diy that look expensive
Unique butterfly resin art on bamboo jars
Disclaimer: This is a sponsored post by Lets Resin. However, the opinions and projects shared are 100% mine.




Amazing piece of content, Thanks for putting everything under one roof!
Glad to help!
Thank you so much for posting this! I’m hoping to give this a try with my first set of flowers.
All the best! Let me know how it goes…