This post may contain affiliate links. Please see our full Disclosure Policy for details.
Creating custom home decor doesn’t have to be expensive or complicated. The trend has shifted toward Slow Crafting and Dopamine Decor—the art of making bold, colorful pieces that tell a personal story. Decorative letters remain one of the most versatile ways to personalize a nursery, home office, or gallery wall.
You will find easy, expert-backed DIY projects to transform plain wood, cardboard, or paper mache letters into high-end statement pieces.
DIY Decorative Letter Material and Instructions:
Most Popular Base Options
- Wooden letters: Durable and easy to paint. Perfect for wall decor.
- Cardboard letters: Budget-friendly and easy to cut and customize.
- Paper mache letters: Lightweight; making them great for painting and decoupage.
- Foam letters: Easy to work with and ideal for kids crafts.
- Chipboard letters: Popular for scrapbooking and wall art.
Essential Supplies for Decorating Letters
Basic supplies include:
- Acrylic paint
- Paint brushes
- Glue (craft glue or hot glue)
- Decorative paper or fabric
- Markers or paint pens
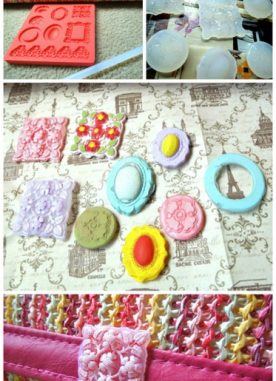
- Rhinestones, beads, or sequins
- Artificial flowers or moss
Optional supplies:
- LED fairy lights
- Glitter
- Ribbon
- Vinyl stickers
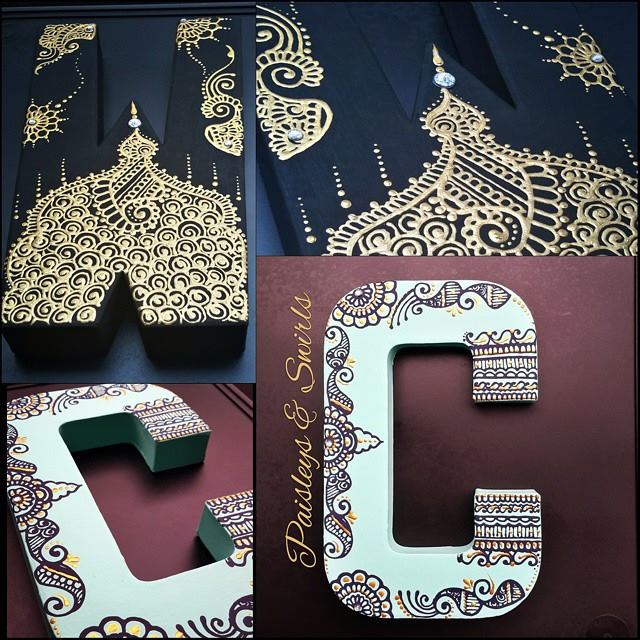
How to Make Decorative Letters?
- Choose Your Letter Base: Select wood, cardboard, foam, or paper mache letters depending on your design.
- Prepare the Surface: Clean dust or debris. Apply primer if needed. Lightly sand wood letters for smooth paint finish
- Apply Base Design: Options include – Painting, Covering with paper or fabric or Wrapping with yarn or ribbon.
- Add Decorative Elements: Examples – Flowers, Rhinestones, Glitter, Beads or Photos.
- Seal Your Letter (Optional): Use clear sealer for durability.
Related: Best Sealer: How to Waterproof Acrylic Paint on Rocks, Wood, Glass Crafts

Trending DIY Decorative Letter Projects
Here are a few handmade letters using things that don’t come to mind at first!
1. The Living Moss Letter
Nature-inspired designs are huge this year. Ideal for Boho-style living rooms or entryways. Using preserved reindeer moss or living succulents (faux or real) creates a lush, organic look that brings the outdoors in.
Pro Tip: Use a deep paper mache letter and remove the front face to create a planter box.

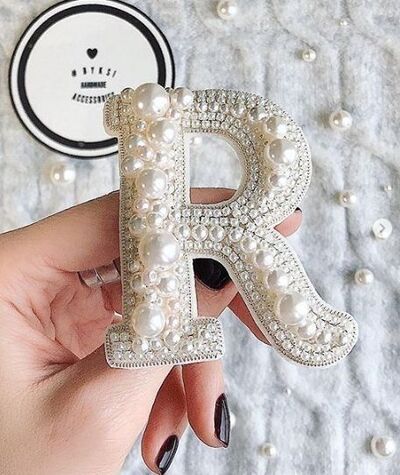
2. Maximalist Dopamine Sequin Letters
Covering a large letter in oversized gold sequins or multi-colored rhinestones fits the Dopamine Decor trend perfectly.
Technique: Use a strong adhesive like E6000 and overlap the sequins like fish scales for a 3D effect.
3. Upcycled Vintage Book Page Decoupage
Sustainable crafting is more than a trend; it’s a lifestyle. Use yellowed, old book pages or vintage maps to wrap wooden letters. It adds a sophisticated, intellectual vibe to home libraries.
Tools: Matte Mod Podge is your best friend here to avoid a plastic look.

Roll book page strips and glue them onto cardboard bases to form letters.
4. Faux Terrazzo Painted Letters
Get the look of expensive stone without the weight. Using acrylic paint and a flicking technique with a toothbrush, you can mimic the speckled look of Italian terrazzo.
Colors to try: Sage green, terracotta, and cream.
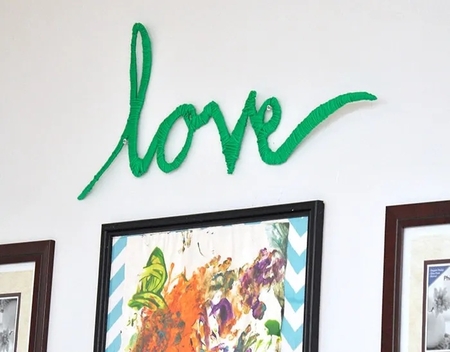
5. Yarn-Wrapped Slow Craft Initials
For a cozy, tactile feel, yarn-wrapping is the easiest entry point for beginners. Don’t just wrap—use chunky wool or variegated yarn to create natural ombre patterns.
6. Make Mosaic Letter
Decorate cute letters with mosaic tiles, beads, seashells, driftwood, dried flowers, or buttons.

7. Wine Cork Letter
Use wine corks on a plywood base to make symbols and letters.

8. DIY Pom Pom Letter
Cute letter made with pom poms on a cardboard cutout base.

9. DIY Washi Tape Letter
Wrap a letter with washi tape or decorative duct tape.

10. Make Big Turf Letter
Cover a cardboard letter with turf for Spring wreath. The welcome sign is so cute!

11. Twigs and Wooden Stick Letters
Use twigs and wooden sticks to make letters.

12. Faux Metal Decorative Letter
Brush a coat or two of metallic paint on store bought cardboard letters to mimic nickle, brass, or copper tones using foam brush.

13. Fall Leaf Initial Letter
I love this hanging letter decorated with artificial fall leaves.

14. Lavender Dipped Letter
Cover paper letters with lavender buds. You can do the same with peanut butter and bird seeds to hang outside on the trees for Spring.

15. Make BIG letters with Plaster of Paris
Make cardboard molds and fill them with plaster of paris.

16. Decorating Letters with Glitter
Stick glitter sheets with double-sided tape or sprinkle glitter after applying glue on the letter base. Makes beautiful centerpiece.

17. Make Fabric Covered Letter
Cover a letter with felt, velvet, lace, Crochet Doilies, and fabric. Fun and cute craft room project. If you are good at sewing. You can also make a fabric letter pillow with polyester stuffing inside.

18. Make Crochet Letter
Hello crocheters! Make crochet letters by covering a cardboard letter with single stitch all the way.

19. Cinnamon Stick Letters
Use cinnamon sticks to make scented wall hanging for kitchen.

20. Decorative letters tutorial
A very easy and detailed tutorial to cut cardboard and make letters from it. You can make any size letters for parties and even handmade pinatas.

21. Burlap Covered Letter
Cover a letter with burlap. Easy and stylish!

Common Questions About DIY Letters
Which is better: Wood or Paper Mache letters?
- Wood Letters: Best for standing on shelves or as long-term keepsakes (like baby name signs). They are sturdier but heavier.
- Paper Mache: Ideal for wall hanging. They are lightweight, budget-friendly, and easier to hollow out for fillable projects like pom-poms or moss.
How do you hang large DIY letters without damaging walls?
Command Strips are the industry standard. For larger wooden letters, ensure you use the Heavy Duty velcro versions. If the letter is hollow paper mache, a simple finishing nail is usually enough.
What is the most popular font for decorative letters?
We are seeing a move away from standard serif fonts toward organic, hand-drawn shapes and bold, blocky slab fonts that provide more surface area for decorating.
Expert DIY Tips for a Professional Finish
- Sand Your Edges: Even if the letter is new, a quick sand with 220-grit sandpaper prevents paint from soaking in unevenly.
- Seal the Back: Many crafters forget to paint or seal the back. For a truly high-end look (especially if it’s a gift), finish all sides.
- Avoid Bubble Mod Podge: Apply your sealant in thin, even layers. If you apply too much at once, your paper or fabric will ripple.
Decorative Letters for Specific Uses
Nursery and Kids Room Letters
- Name letters above crib
- Pastel flower letters
- Animal theme letters
Bedroom Decorative Letters
- Initial letters
- Aesthetic neutral tones
- LED letters
Wedding and Event Letters
- Floral initials
- Glitter letters
- Rustic wood letters
Holiday Decorative Letters
- Christmas letters
- Halloween themed letters
- Valentine’s letters
These ideas are currently trending because they combine modern aesthetics with easy techniques. I hope you find these ideas useful and creative.
You will also like:
25 Easy Decorative Pillow Tutorials (Make Throw Pillows)


Super cute – I love the cork heart!!!
All such great ideas! Thanks for including our Washi Tape Letters!
Thanks for sharing my decorative letters tutorial, hope people find it useful.