This post may contain affiliate links. Please see our full Disclosure Policy for details.
In a world increasingly dominated by digital perfection and AI-generated imagery, this year has seen a massive resurgence in tactile, handcrafted hobbies. Rhinestone art—the practice of applying sparkling crystals to surfaces to create dazzling designs—has emerged as a top trend for those seeking a “Zen-like” creative escape.
Whether you’re looking to create custom wall art, “bling out” your phone case, or dive into a full-scale diamond painting, rhinestone art offers endless possibilities for beginners and experienced crafters alike.
This guide covers everything you need to start your sparkling bedazzled art journey:
What Is Rhinestone Art?
Rhinestone art (often categorized under “Diamond Painting” or “Bling Art”) involves using small, faceted resins or glass crystals to build a mosaic-like image or embellish an existing object on surfaces like canvas, fabric, wood, glass, and plastic. The stones are placed individually to form patterns, images, words, or textures.
It is beloved for its therapeutic benefits and the high-end, professional-looking results even beginners can achieve.
Rhinestone Art vs Diamond Painting vs Gem Art
There is a difference between rhinestone art, diamond painting, and gem art.
- Rhinestone art: It is a free-style or template-based art. You can create your design according to your own spacing, placement, and design options.
- Diamond Painting: It includes a pre-printed adhesive canvas with fixed sections. and it is more structured.
- Gem Art: It is the broad category that includes cabochons, pearls, and mixed embellishments.

Types of Rhinestones
Key Terms You Need to Know
- Drills: The “stones” or rhinestones themselves.
- SS (Stone Size): The measurement of the stone (e.g., SS16 is roughly 4mm).
- AB (Aurora Borealis): A special iridescent coating that reflects a rainbow of colors.
Understanding rhinestone types helps you choose the right stones for your project.
- Hotfix Rhinestones: Hotfix stones have heat-activated glue on the back and require iron or heat press. Best for clothing and accessories.
- Flatback Rhinestones: Ideal for most projects, non-hotfix flatback rhinestones require manual liquid adhesive. Great for fabric, canvas, and wood.
- Crystal Rhinestones have highest sparkle and clarity, provide better light refraction, and premium look to your art. They are expensive but give professional finish.
- Acrylic Rhinestones are a good option for kids and beginners. They are inexpensive and lightweight.
Materials Needed for Rhinestone Art
- Trays and Wax (sorting tray, wax)
- Stone (flatback and hotfix rhinestones)
- Applicator/ Picker tool (Pickup pen, tweezer): To easily grab and place tiny stones without using fingers.
- Hotfix applicator wand: For heat-set stones.
- Magic tray: A textured tray that flips stones right-side up with a gentle shake.
- Adhesive glues (Gem Tac, E6000 or Liquid fusion glue)
- Stencil
- Light pad: A thin LED board placed under your canvas to help see design details clearly.
- Sealer: Learn more about best sealer and how to waterproof any surface crafts
- Compartment storage organizer: To keep various colors separated and easy to pick. It also helps avoid spill disasters.
How to Make Rhinestone Art (Step-by-Step)
1. Choose a Design: You can stick rhinestones to a variety of surfaces like canvas, fabric, wood, plastic, glass, leather, and even ceramic.
2. Prepare the Surface: Before creating the rhinestone, start cleaning the surface with rubbing alcohol so that it does not have any oil or dust particles. It reduces the chances of stone loss.
3. Sketch the Design: After cleaning, draw your design on the surface or paint so you have a proper outline for your design to match your stone color.
4. Section Your Work: If doing a large canvas, peel back or apply adhesive to only small sections of the protective plastic at a time to keep the adhesive fresh.
5. Apply rhinestones: Place the stones with care, ensuring a constant spacing.
6. The “Single Placer” Technique: Use your wax pen to pick up one stone at a time. For beginners, starting from the top and working down prevents your hand from sticking to the canvas.
7. The Honeycomb Method: For filling large areas, use a “honeycomb” or “staggered” pattern rather than straight rows to ensure maximum coverage with no gaps.
8. Curing and Care: Let it dry for 24 to 72 hours without interruption. To achieve long-lasting results, avoid moving or sealing too soon.
9. Seal and Shine: Once finished, use a rubber roller to press the stones firmly. Polish with a damp cloth to remove any wax residue and make the crystals pop.
Related: Best sealer and how to waterproof any surface crafts
5 Creative Rhinestone Art Ideas for Beginners
If you are staring at a blank canvas, here are the most popular projects:
- “Clowncore” and Maximalist Decor: Following the “maximalism” trend, creators are using neon and oversized rhinestones to decorate mirrors and picture frames with bold, theatrical energy.
- Custom Apparel (The Lohri Influence): Inspired by festive fashion, many are adding delicate rhinestone accents to velvet jackets, silk scarves, and denim pockets.
- Rhinestone Canvas Art: Using a pre-printed canvas (or a blank one and a stencil) to create “pixel art” designs like vintage “Diet Coke” logos or “Espresso Martini” motifs.
- Gaming Gear: Bedazzling controllers or creating rhinestone “pixel” versions of iconic characters like Mario.
- Nature-Inspired Motifs: Honey bees, peacocks, and floral patterns remain evergreen favorites for DIY wall hangings.
Rhinestone Art Ideas and Project Inspiration
1. Beginner Projects
Beginner rhinestone projects are best for those who are learning stone placement and glue control. So, if you are a beginner, you can create DIY rhinestone art. Here are some creative options:
Home Décor Projects
- Rhinestone wall art
- Decorative trays
- Mirror frames
- Picture frames
- Glass jars
Fashion and Accessories
- Rhinestone t-shirts
- Denim jackets
- Sneakers
- Handbags
- Phone cases
Gifts and Keepsakes
- Personalized name signs
- Photo frames
- Jewelry boxes
- Ornaments
- Greeting cards
Kids’ Crafts
- Sticker designs
- Simple animal pictures
- Alphabet art
- Rainbow pattern
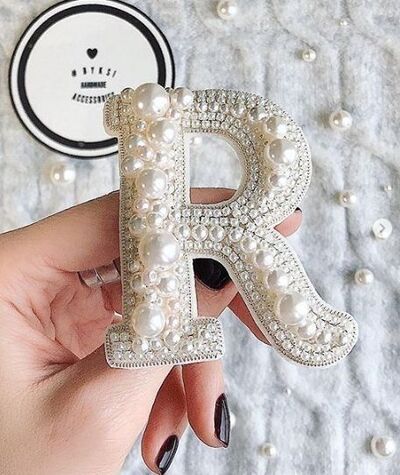
1. Letters
You can create rhinestone letter by using a glittery sheet, flatback rhinestones of two different sizes, and glue.
2. Rocks
Instead of painting on rocks, take a stone, draw the outline for a mandala with a white pencil, and then apply a rhinestone on it.
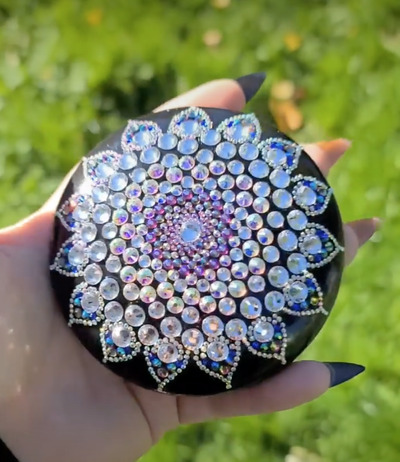
celinamillerar
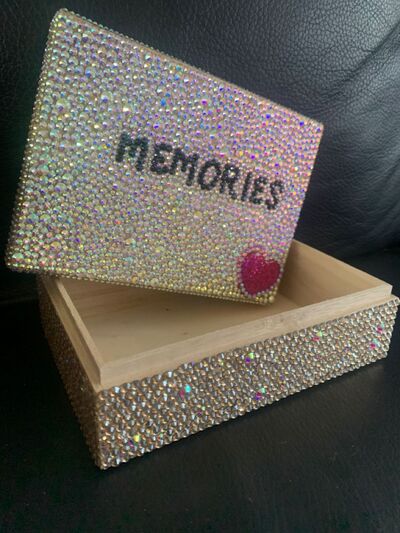
3. Keepsake Box
To make this memory box, take a wooden box, clean it with rubbing alcohol, and paste the rhinestones on the box.
Related: 40 Meaningful Memory Keepsake Ideas to Treasure Life
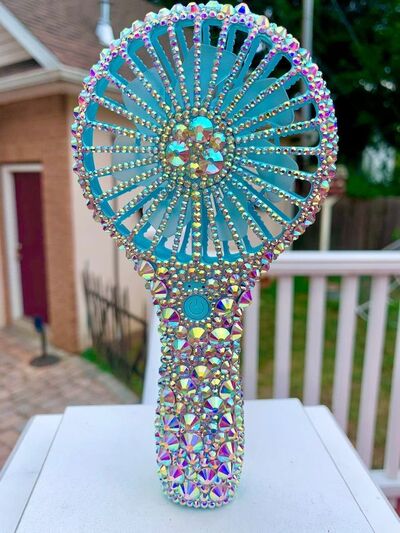
4. Hand Fan
A rhinestone hand fan is a glamorous statement piece. Use flatback crystal rhinestones and flexible glue, applying stones along ribs or in symmetrical patterns to keep the fan functional while sparkling.
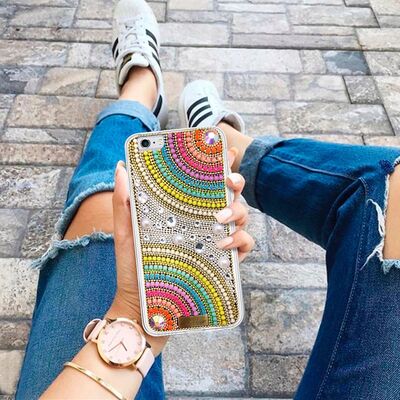
5. Phone Cover
You can add a sparkling and modern touch to your transparent phone cover with flatback rhinestones using the glue and place method, working in small sections on a hard phone case. Apply a seal on the edges for durability.
Landino Deluxe
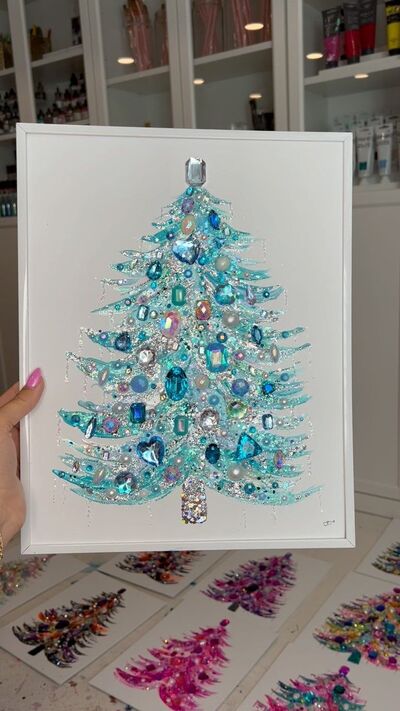
6. Christmas Tree Seasonal Art
A beautiful holiday art to display or gift made with rhinestones in different colors and shapes on paper or canvas for Christmas decor.
Chelsmade
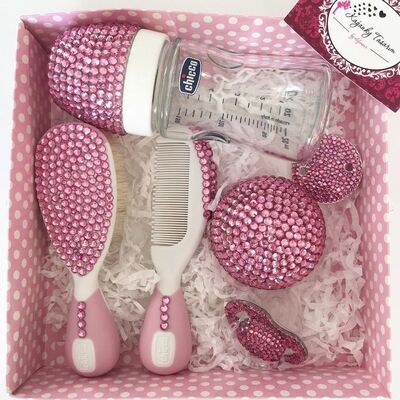
7. Baby Gift Basket
You can make this personalized kit for baby girls using non-toxic adhesives and larger stones, ensuring safety while adding decorative charm by sealing it with UV resin.
8. Digital Counter
Rhinestone counters are luxury décor statements. Take a counter and apply stones as accents rather than full coverage, sealing thoroughly for durability.
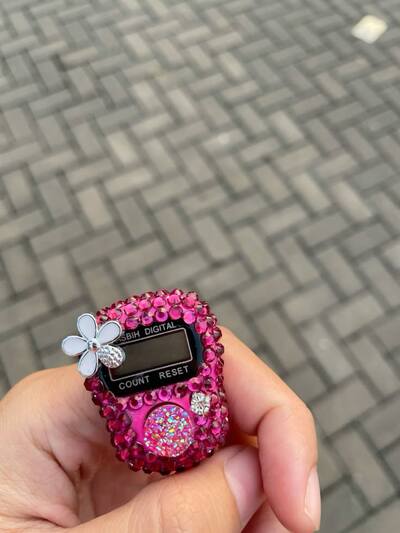
imfauziah
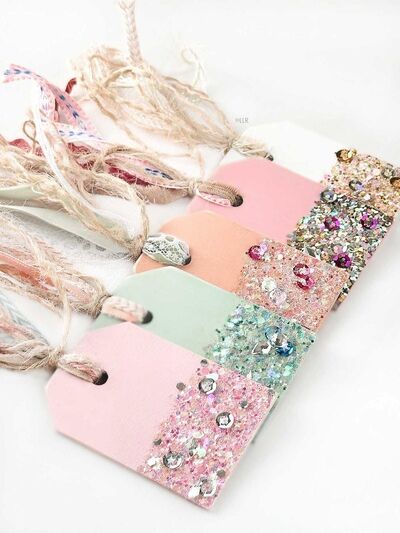
9. Gift Tags
Apply glitter and rhinestones to bring sparkle to cardstock paper gift tags for your special events.
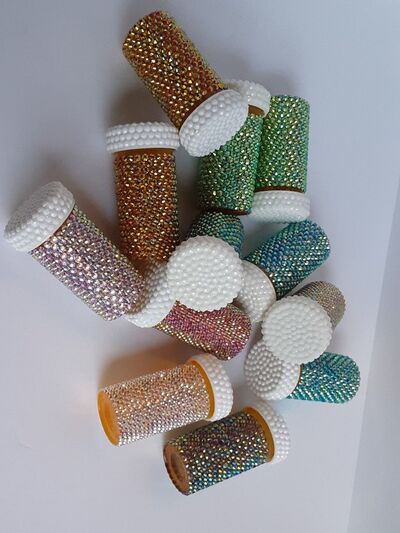
10. Bling Pill Bottles
Motivated to upcycle trash items, apply rhinestones to small containers to repurpose them for beads, stones, glitter, or even sequences.
Intermediate Projects
If you have prior experience with rhinestone art, then you can create detailed art pieces like a planter, vase, tumbler, headphones, jewellery Box, helmet, decorative photo frame, backpack, etc.
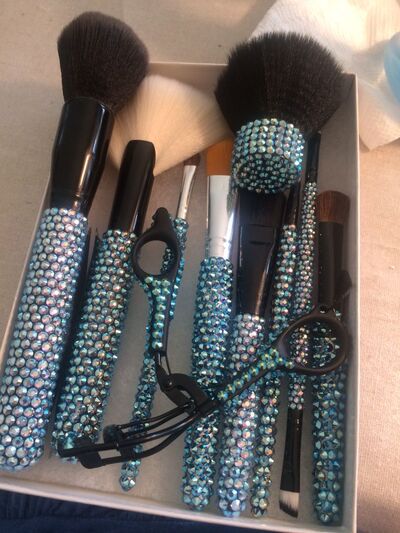
11. Makeup Brush Set
You can transform your plain application brushes by covering the handles with flatback rhinestones. You must seal them so that they will not get damaged in humid areas.
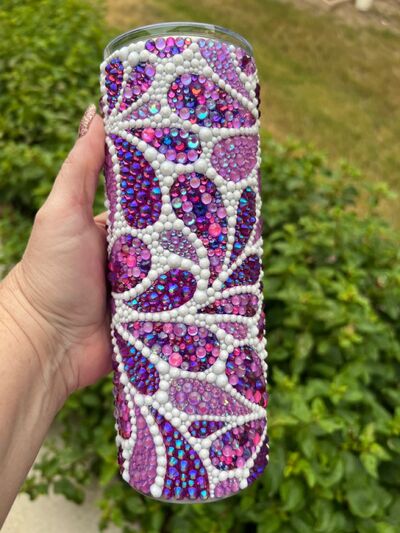
12. Tumbler
A full-coverage rhinestone tumbler is a popular craft nowadays. Use small flatback stones, spin the tumbler as you work, then seal with waterproof adhesive. Allow at least 72 hours for use.
Michelle Sowa
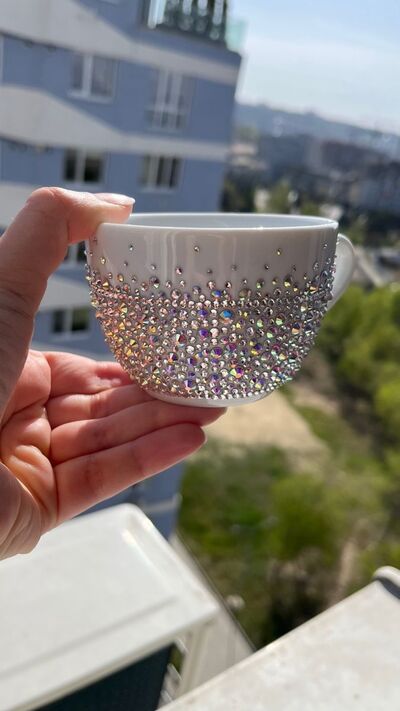
13. Decorative Mug
Transform your simple white mug with white rhinestones.
Related: 50 EXTRAORDINARY Mug Painting Ideas
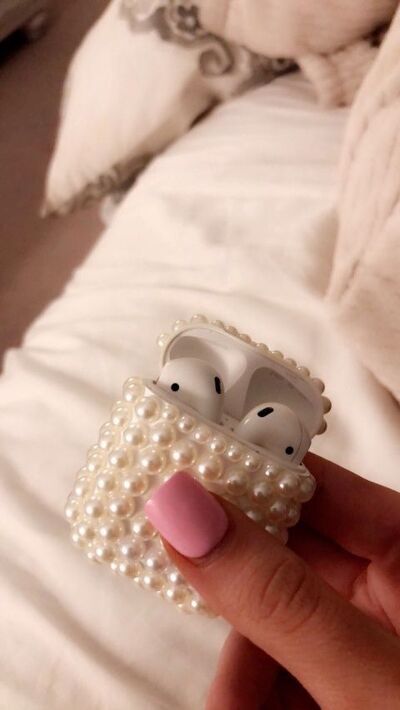
14. Headphones
You can add charm to your simple headphones by using small flatback rhinestones applied to the outer shells only. Keep vents and padding areas clear for comfort.
15. Rainbow Storage Pot
Create a vibrant storage pot using a color-gradient abstract design. Take a wooden pot, paste rhinestones, and protect it with light sealing against dust and moisture.

Glisyn
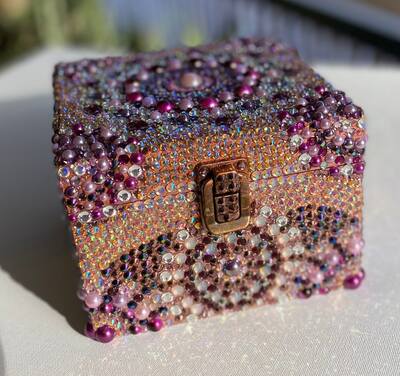
16. Jewelery Box
Jewellery boxes look stunning when you embellish them. Use crystal rhinestones in golden, purple, and brown colors for a luxury feel. You can also use half cut beads. Keep the openings clear for functionality.
Mara
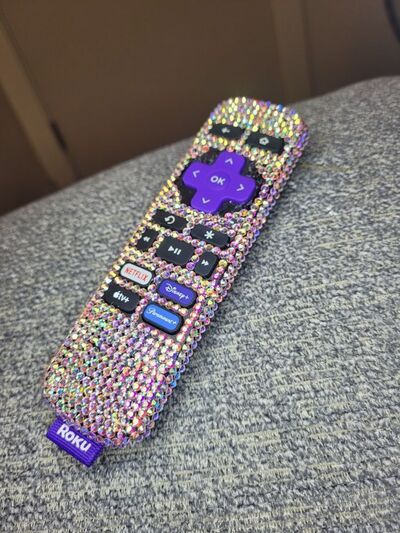
17. Remote controller
Bedazzled the cover of your remote controller or gaming device if not the item directly for fun and distinction.
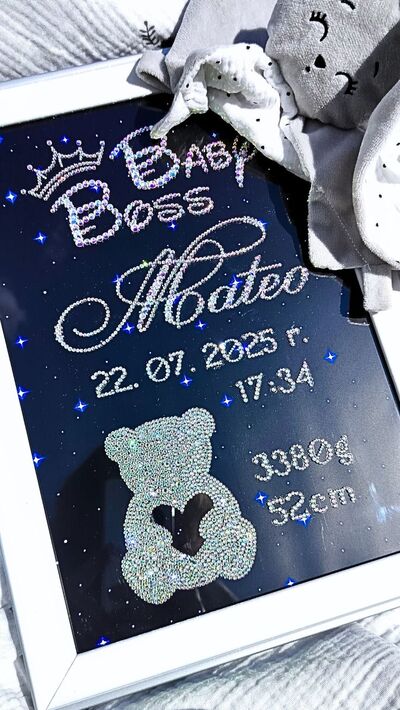
18. Baby Keepsake Art
An adorable infant infographic memory frame made by gluing rhinestones on the glass with a printable insert underneath the glass to guide the placement.
19. Classroom Bell
A decorated teacher’s appreciation gift idea.

Violet Blue
Related: 50 Useful Teacher Gifts to BUY or DIY gifts
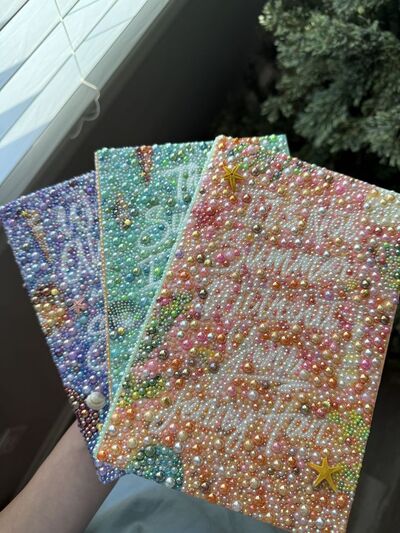
20. Book Cover
Turn a dull and plain book or journal cover into a personalized designed favorite.
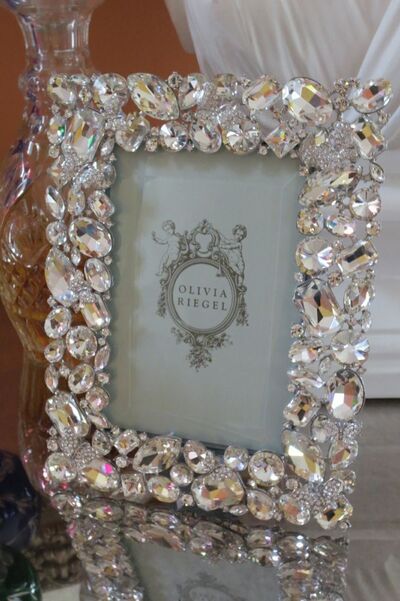
21. Decorative Photo Frame
Decorate a simple wooden photo frame into an embellished one and add charm to displayed pictures. You can also gift it to your loved ones.
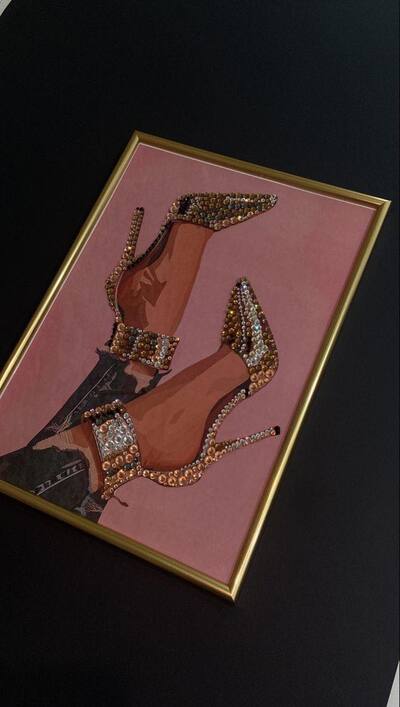
22. Chic Bedazzled Wall Art
You can make these beautiful heels wall art, which adds a modern look to your home.
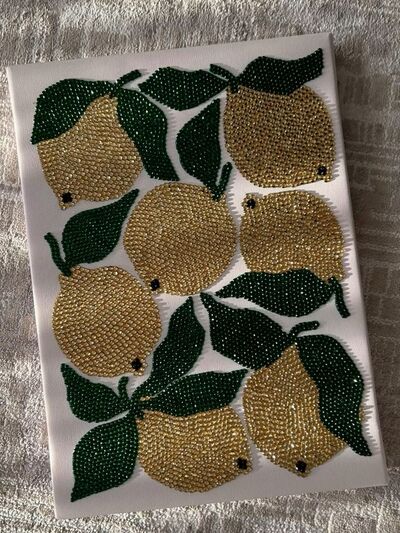
23. Limon Rhinestone Art
Choose a room to display and a theme to fit, design and glue rhinestones to make a perfect piece of art.
ce designss
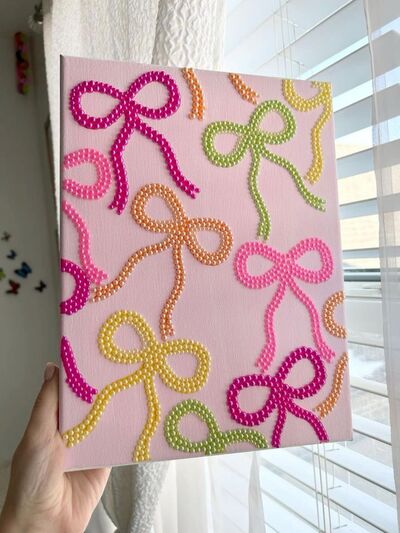
24. Bow Rhinestone Art
Make a minimalist rhinestone art with DIY bows in variety of colors on a painted canvas.
Advanced and Artistic Projects
Advanced and artistic projects focus on complex design, large statement pieces, 3D rhinestone sculptures, and mixed media rhinestone arts. You can decorate your wearable item, like sneakers, a denim jacket, crocks, custom logos, and portrait mosaic art.
25. Portrait Art
Portrait rhinestone art combines painting and crystals. Use stones to highlight this picture. It adds a unique charm to your home. You can create it for yourself, and you can also gift it to your loved ones.
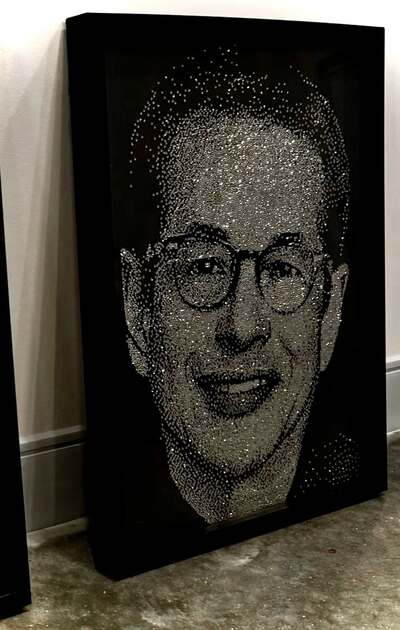
Courtney Lynn Chiasson
26. Denim Jacket
You can embellish your simple denim jackets with hotfix rhinestones for durability. Support stress areas and wash inside out after 72 hours of drying.
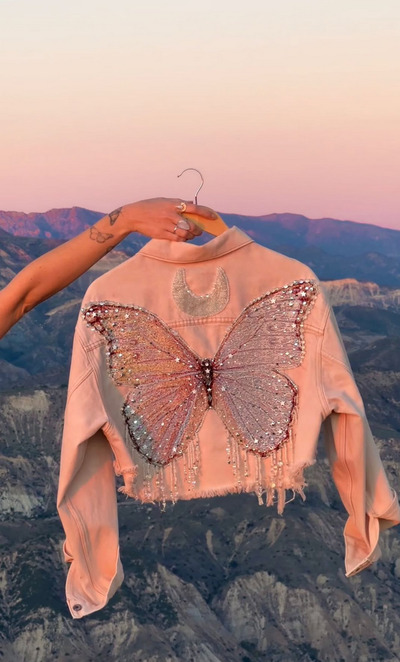
WildandfreeJewelry
27. Sneakers
Sneakers become wearable art when embellished with rhinestones. Focus on sides and heel areas, sealing edges for longevity.
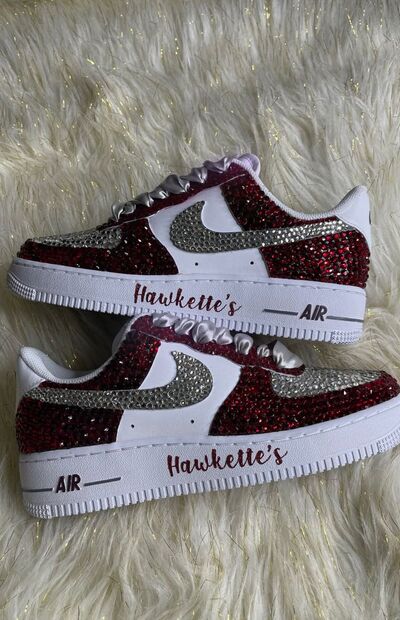
Cathy Westerbeck
Best Practices for Long-Lasting Rhinestone Art
1. How to Seal and Protect Rhinestones
To protect rhinestone art, you must seal only when necessary and use spray sealers for canvas and paper. For trays and décor, use waterproof sealers and avoid thick brush-on sealers (which minimize sparkle).
2. Common Mistakes and How to Avoid Them
| PROBLEM | SOLUTION |
| 1. Stones falling off | Use proper adhesive and sealing spray |
| 2. Crooked alignment | Work in sections and use guides |
| 3. Weak sparkle | Choose high-quality crystal stones |
| 4. Glue showing | Apply thin adhesive layers |
3. Safety Tips
- Use glue in ventilated areas
- Keep stones away from small children
- Use heat tools carefully
- Store supplies securely
FAQs
1. How many rhinestones do you need?
It’s always more than you think! For a 10cm x 10cm area using standard SS20 stones, you will need approximately 400 rhinestones for full coverage.
2. Can you wash rhinestone-embellished clothes?
Yes, but with caution. Hand washing is best. If using a machine, turn the garment inside out, use a cool cycle, and never use fabric softener, as it can break down the glue.
3. What is the best glue for rhinestones?
For most crafts, Gem-Tac is the gold standard because it dries clear and remains flexible. For heavy-duty items like shoes or car decals, E6000+ is preferred.
4. Best rhinestone brands?
Swarovski (luxury), Preciosa (professional), and glass bulk packs (beginners).
5. How do you stop stones from falling off?
Clean surface properly and match glue to the surface type.
Rhinestone art is a creative and easy way to add sparkle and personality to ordinary goods. With the proper equipment, adhesives, and procedures, anyone can make long-lasting, professional-looking designs. DIY rhinestone art transforms plain surfaces into eye-catching, luxury statement pieces in a variety of applications, including décor and fashion.
Written by: Hani Shabbir
Drafted by: Alveena Nazir
You will also like:
The Ultimate Guide: Make Chicken Wire Beaded Suncatchers
25 Crafty Jewelry Art Ideas using Broken or Old Family Items