This post may contain affiliate links. Please see our full Disclosure Policy for details.
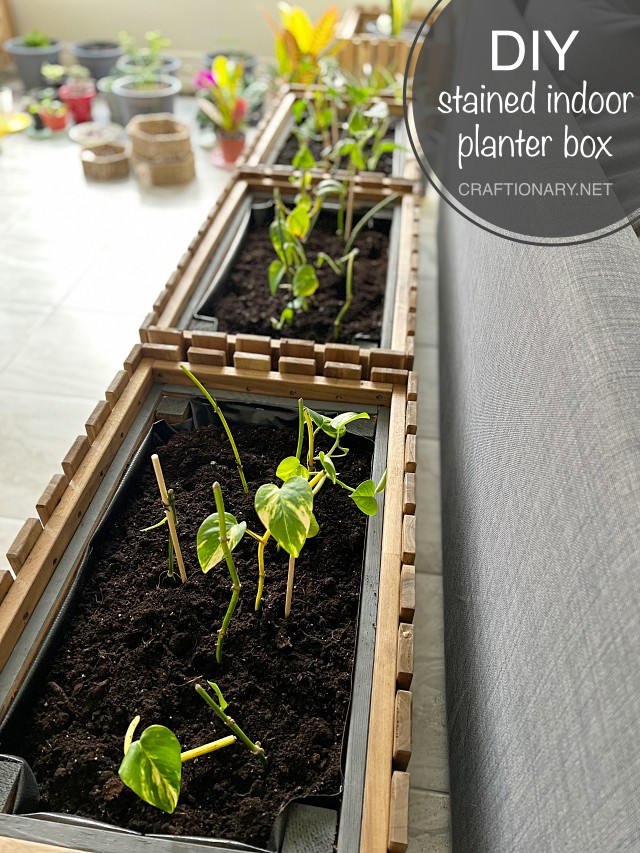
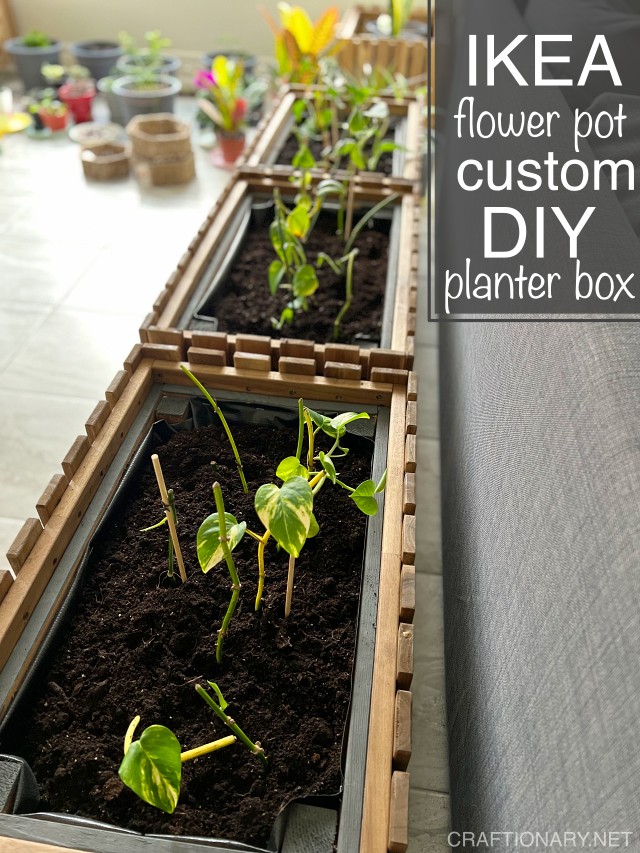
DIY indoor planter box idea with IKEA plant stand flower box. Make a custom sized wood planter box with material from Home Depot that fits perfectly in IKEA flower box. This building plan and design is ideal for indoor and outdoor purpose with brown stained wood finish and a touch of charcoal grey paint.
Houseplants are ideal for indoor and outdoor. The tropical low maintenance care of these plants make them ideal for beginner gardeners to expert. I have been growing pothos (aka money plant) at home for more than a decade.
Initially, with my little knowledge about the importance of drainage holes I had them potted in a ceramic pot. However, to my amazement it thrived with my little attention and I never encountered any such issue as root rot.
Stained and painted DIY indoor planter box idea
This discovery made me comfortable to make indoor planter box with some changes I will discuss in the post. This flower pot stand and buckets storage stand is perfect for any size house or apartment.
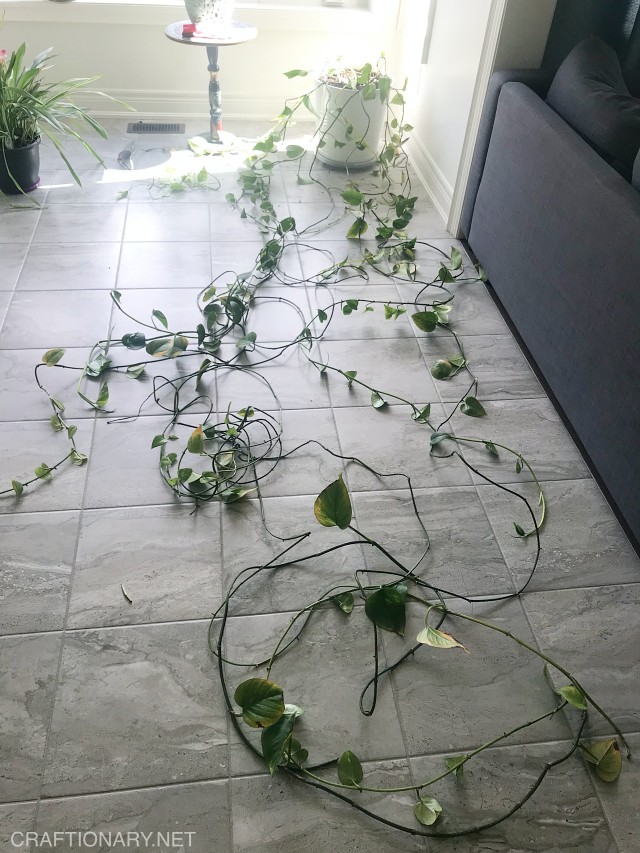
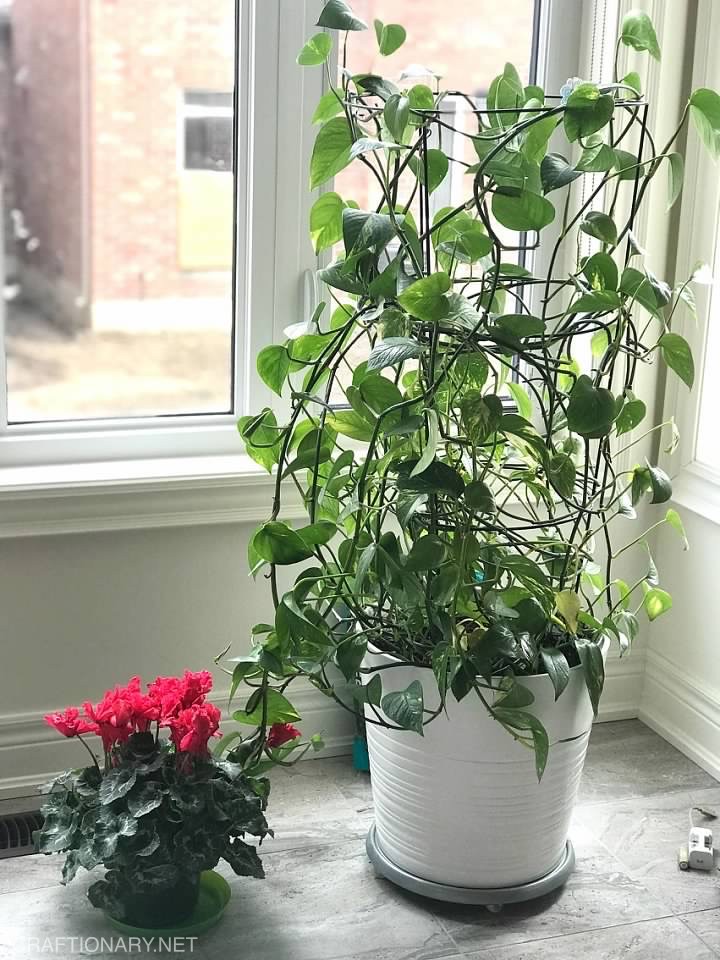
With time it lost old leaves and the strength to deliver nutrients to the growing vine. I decided to cut the vines and propagate it. I created a simple propagation station in summer and it was the best project so far. At the end of this post I have shared my previous thriving 3 tiered ceramic pot with pothos.
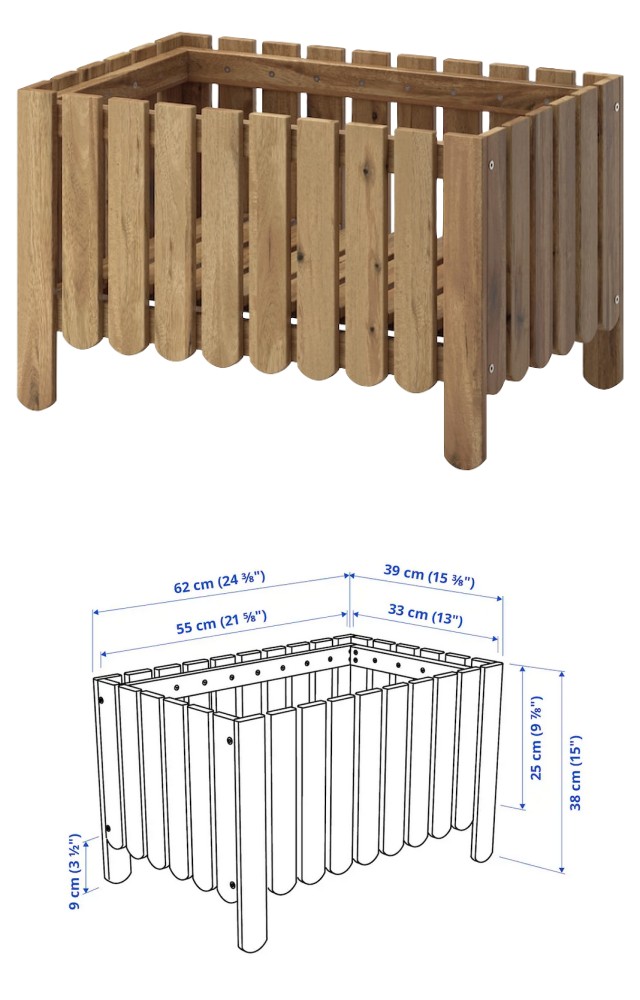
My planter box plan involves a decent looking plant stand that suits both the indoor and outdoor requirements. This way I have my options open for long term use. I searched and found ASKHOLMEN Flower box in light brown stain at IKEA to be the best fit for my project.
It is simple and decent design which is suitable for any home decor style. It is waterproof and suitable for outdoor weather too. However, I intent to use it indoors. Next I decided to make custom sized DIY indoor planter box that will fit snugly in the IKEA plant box. My aim is to ensure the hardwood floors stay dry and safe. Finally, I lined the planter box.
Since, keeping pots in this IKEA plant pot holder wastes a lot of idle space on the sides, I made this custom sized planter box. See the comparison below:
Indoor planter box video tutorial
Let’s get started with the process to make the wood planter box. If you like to VIDEO INSTRUCTIONS better you can follow the link to Make DIY planter box.
Material and supplies for DIY indoor planter box
Products and basic tools from Home Depot unless stated otherwise for building a planter box.
- 1x6x8 Wood fence boards (I used MicroPro Sienna treated wood)
- 2x2x8 wood pillar or trim (I used MicroPro Sienna treated wood)
- 6×1 5/8 Flat Socket Head Deck Screws (rust resistant)
- Everbilt 2 inches (50 mm) zinc corner brace
- 6x 5/8 Flat Socket Head Wood/Metal Screws
- Hammer (optional)
- Power drill machine and screwdriver
- Rust-oleum Chalked Ultra Matte Paint – Charcoal
- ProPainter Foam rollers with tray (Dollarama)
- TotalPond Pond Skins Pond liner
- Manual wood staple gun
- Gorilla wood glue type 2 water resistance for indoor/outdoor use
Why choose treated wood to make wood planter box?
I chose this product mainly for the following reasons:
- Cheap (or reasonably priced wood)
- Wood type or species is spruce, fir or pine boards
- Treated wood is developed for exterior purposes making it resistant to fungal decay and termites.
- It is water resistant but like any wood weathering is natural.
- Water repellent or semi-transparent stain can help reduce warping, checking and splitting.
- Varnishes and polyurethanes protect and enhance the beauty of wood.
There is little to no chance of water touching the wood based on this plan with pond liner. However, I wanted to take extra measure indoors because it will hold soil and water. There is no issue of weathering. I painted the wood planter box idea for aesthetics purposes only. However, this serves the primary purpose as well.
MicroPro Sienna treated wood:
As per the company’s brochure treated wood is an eco-lifestyle product with great value. MicroPro Sienna Treated Wood is processed using patented MicroPro micronized copper preservatives (MCA) which meets Canadian Standards Association (CSA) standards as a wood preservative that has been formulated especially for Canadian species and use conditions.
How to make indoor planter box?
1. Buy and assemble IKEA flower box
I started off by purchasing the IKEA flower box and assembled it. Please note the allen key that is included in the package is very light quality and after sometime it bends and looses it’s shape. This makes the screwing of flower box a hassle. Make sure to have a good quality hex key handy for assembling the plant box. Leave one shorter side open to fit the DIY indoor planter box and screw in later.
2. Make a planter box plan:
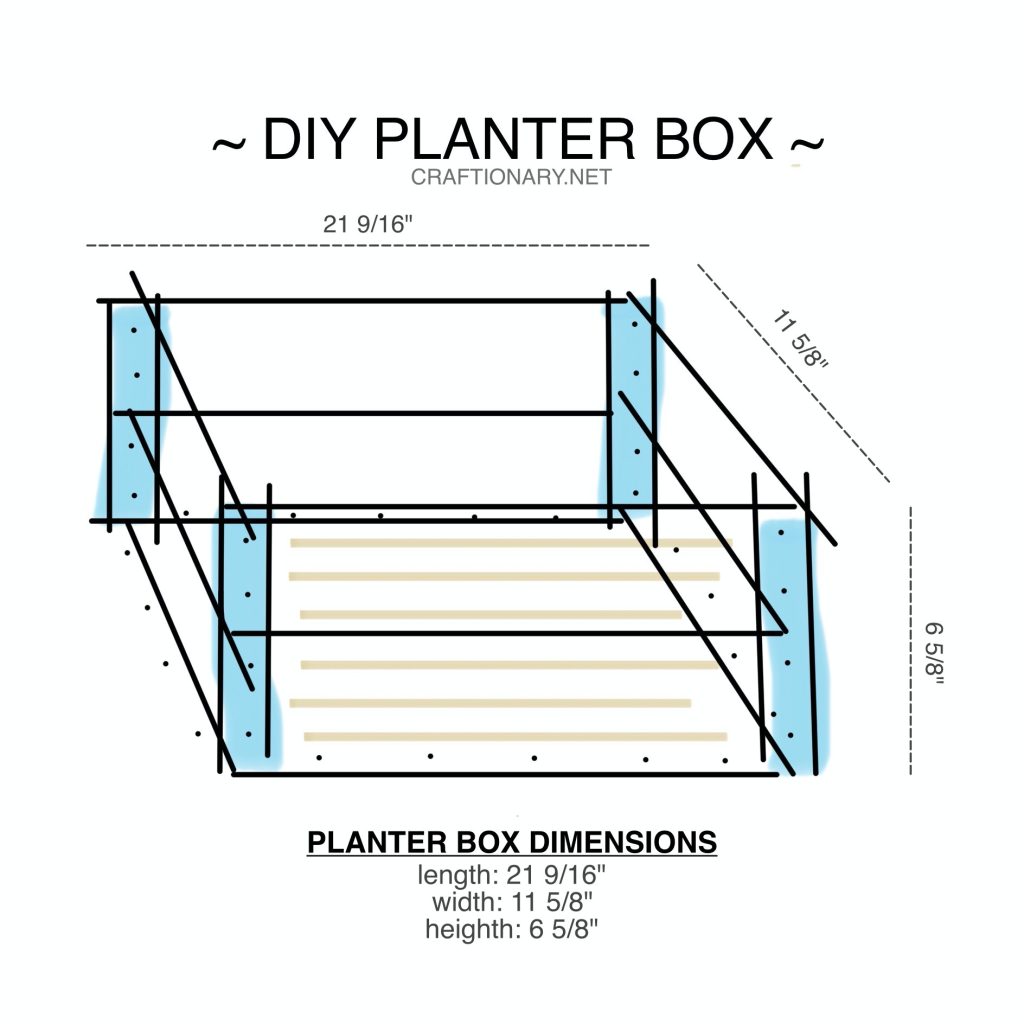
There are thousands of woodworking plans online but it complicate things more for beginners with the overwhelming choices and options. Therefore, I decided to design my own DIY indoor planter box. It might be similar to planter box building plans out there but it’s a simple out of my head plan.
Based on the dimensions of the IKEA flower stand above, the following indoor planter box dimensions fit perfect:
- Length 21 9/16 inches
- Width 11 5/8 inches
- Height 6 5/8 inches
If you look at the flower box closely you will see that there is a wood strip in which all the wood pallets are screwed in. The strip’s thickness utilizes the space inside and we have to accommodate for the gap. The dimensions above are taken of the empty space inside the plant box from the wood plank.
3. Gather up the wood:
I wanted a planter box design that is easy to build and mistake proof. Therefore, I took the IKEA flower box to Home Depot with me. The wood service helped me measure before cutting the wood. This worked as a check on my measurements. The service person helped me cut the planter box wood to it’s size.
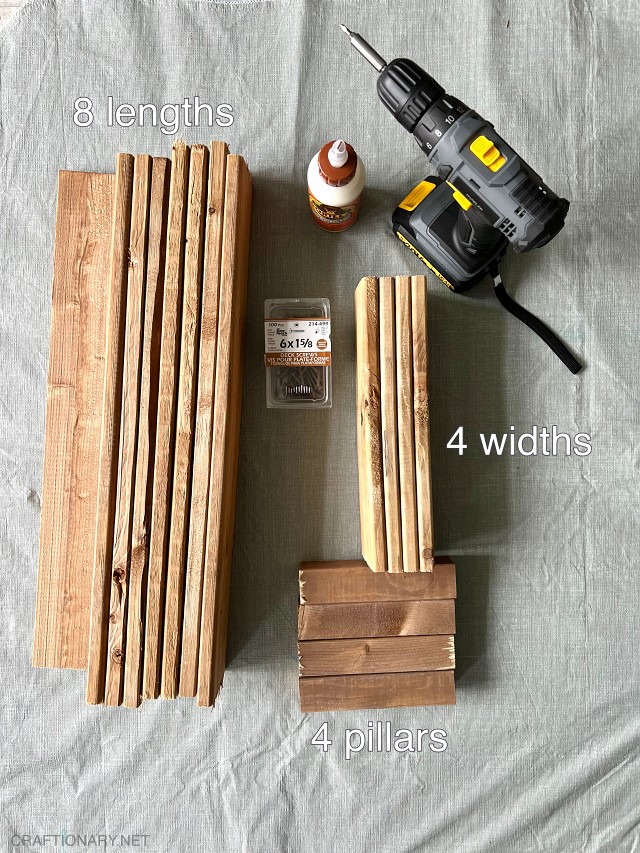
Wood quantity per one planter box:
- 4 widths shorter side pieces
- 4 wood trim cut to heights for corner support end pieces
- 8 lengths longer side pieces and bottom piece of the planter
4. Instructions to make indoor planter box
This tutorial contains step by step instructions to make planter box with pressure treated lumber (PT wood):
- Start by collecting all the supplies and material.
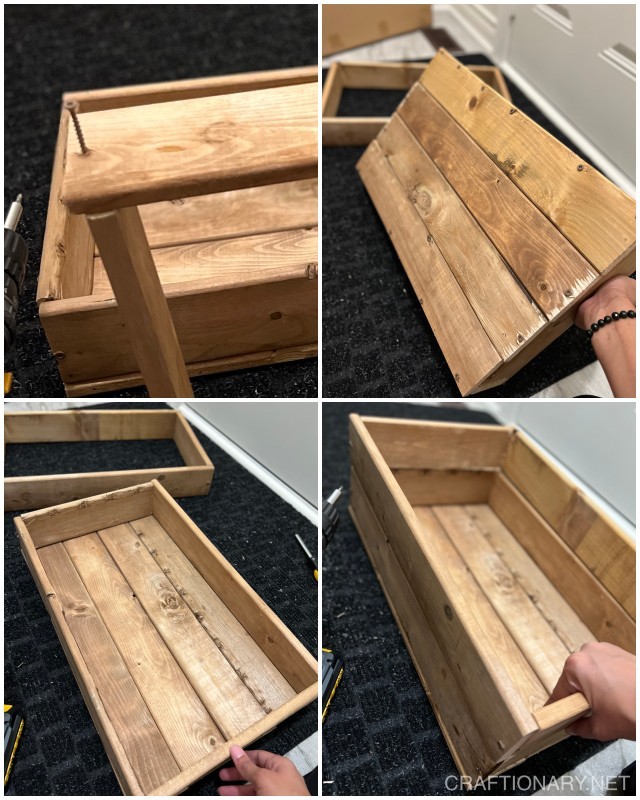
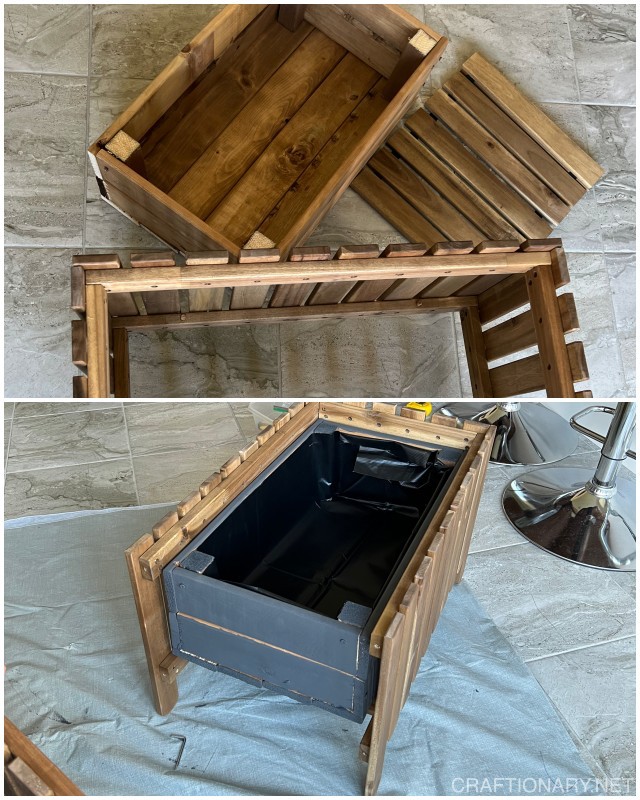
- Now form the rectangular frame with 2 lengths and 2 widths.
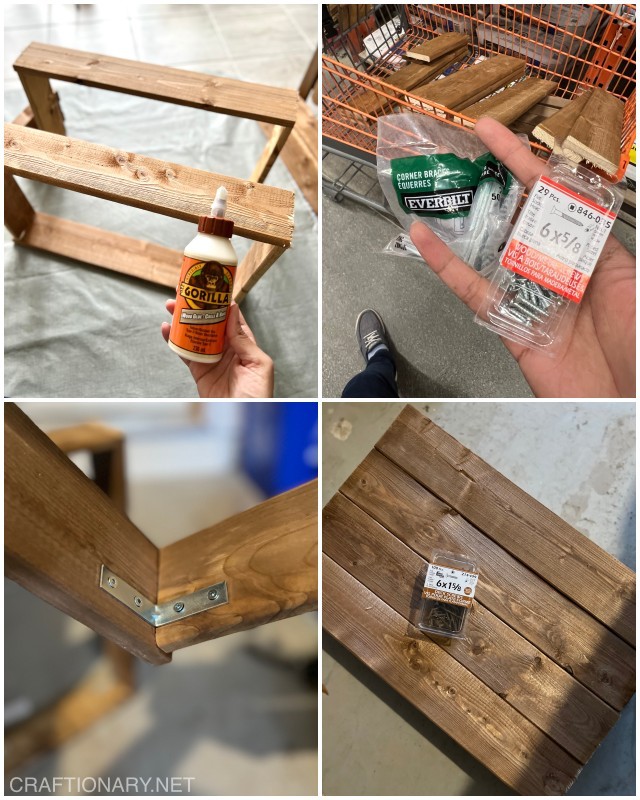
- Use wood glue to secure the pieces together.
- You will need two rectangular frames for each planter box.
- Let it dry overnight.
- Now secure the pieces together using nails and screwdriver. There is no need to drill holes. You can directly screw in.
- You have the option to use corner brace and 6x 5/8 screws. This option uses smaller length screws and the chances of cracking the wood are very little (ideal for first timers).
- As per the image below, attach the corner brace at one side rather than the center. This is done purposely to secure the wood trim later on!
Tip to screw without drilling:
Use a manual screwdriver or hammer to knock the screw into the wood till it stands sturdy. This will provide a direction for the screw and make it easier to secure using electric screwdriver.
- When the two wood rectangle frames are ready. It is time to secure the base using deck screws to the base of one of the frames.
- You can use wood glue and then screw. I skipped the gluing part.
- I used one screw per board on each side at the center of the wood board. Using 8 deck screws to secure 4 wooden boards to make the base.
Screwing wood boards base tip:
When screwing the boards to the base make sure to keep them tightly fitted together to avoid any gaps and uneven distribution of boards. Place your knees on top of the board when screwing to give the board extra support. This will avoid gap between the boards when securing.
There is a chance that half an inch of board will be displaced on both the sides of the planter box. But it didn’t bother me because it will be hidden inside the IKEA flower stand.
- Since the wood pieces are already glued together using strong wood glue.
- Securing the pieces together using 6×1 5/8 deck screws on all four corners will work just fine too. Make sure to screw in at medium speed and in straight direction to avoid breaking of the wood.
- This way you can complete the entire project with just the deck screws.
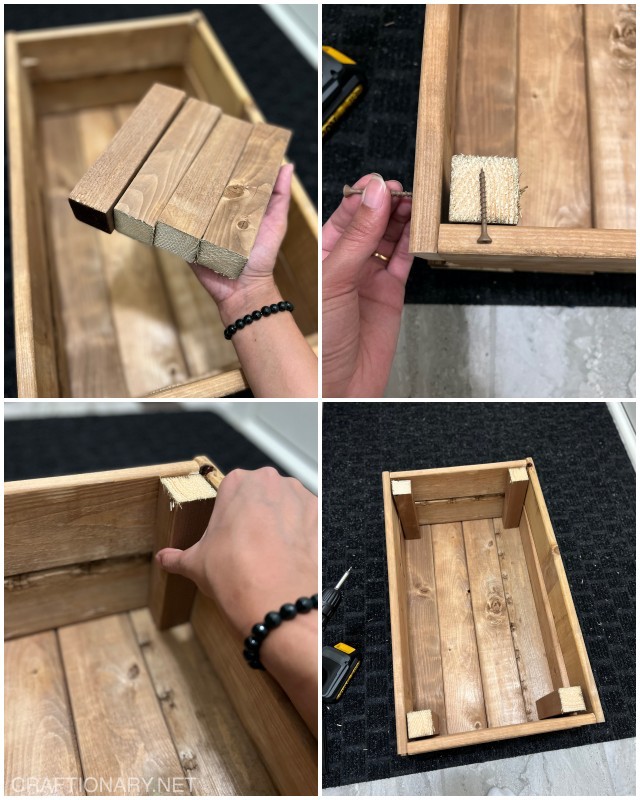
- Now that the base is secured. It is time to join the two frames together with wood trim.
- Secure the wood trim on the side and use two deck screws as shown in the picture below.
- It will provide extra support from both the sides and for each frame.
- In used 8 deck screws in total to secure the trim on four corners.
Tip to secure wood trim:
If you have wood clamps they will come handy to screw the wood trims. In any other case, ask someone to assist you in holding the trim while you screw the frame to it or vice versa. However, from my experience you can hold and screw by yourself as well. The best part is even if it gets displaced you can always unscrew and try again till it’s done perfectly.
With this the DIY indoor planter box is complete. Now let’s move to the next step.
5. Paint the planter box
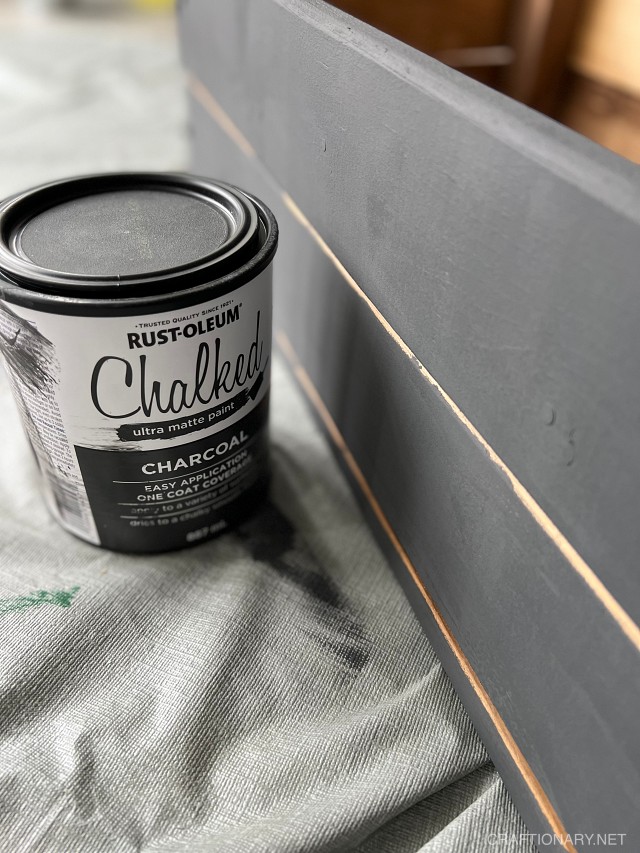
Now for the fun part. Use a foam roller and paint the planter box. I used chalked finish ultra matte paint in Charcoal from Rustoleum. You can apply it to a variety of surfaces and it dires with a chalky smooth finish providing an easy application one coat coverage.
6. Use pond liner to line the flower box
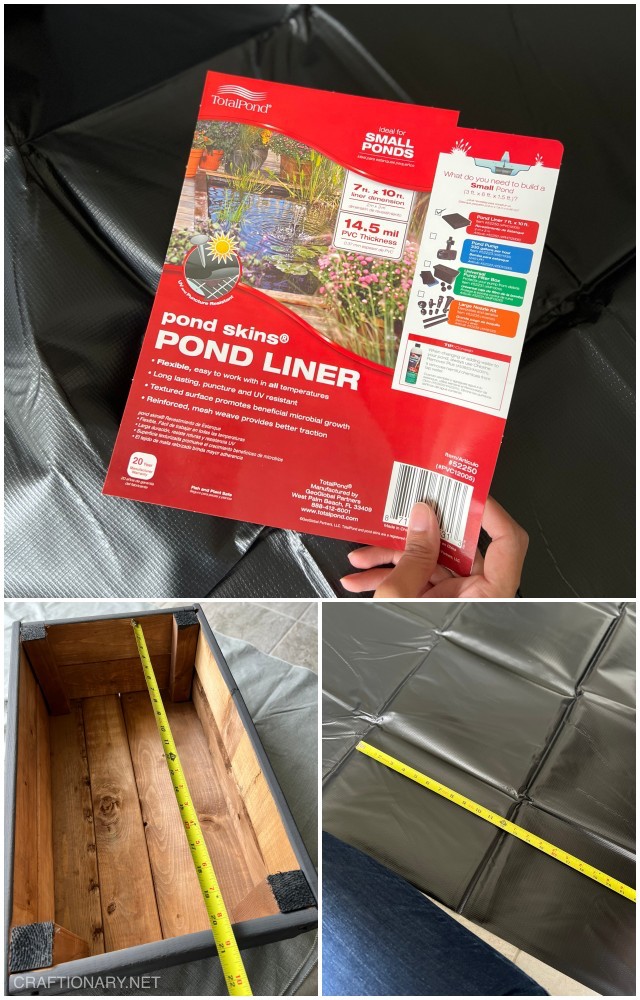
- While the paint is drying, measure the length and width of the planter box from inside and add the height x2 to the length and width.
- Then use this measurement to cut a rectangular piece of pond liner for lining the planter box.
- With the help of staple gun with door-type staples secure the liner inside the wooden planter box.
- You will need two staples on each corner of every side which adds up to 8 staples per flower box.
Tip for lining the flower box
Align the plastic to the longer side and screw it in place. Then use a score or your fingers to fill the planter box. Now screw it on the opposite side ensuring enough liner is inside to makeup for the planter box space. Once the two longer sides are secured follow the same process on the shorter sides. You may need to fold the excess of liner inside or cut the excess off to staple it neatly.
What pond liner substitute can I use?
Pond liner plastic is made using long lasting, puncture and UV resistant material that promotes beneficial microbial growth. However, you can substitute it with heavy and durable thick plastic materials like tarp from dollar store, landscape fabric or any other hardware store product you can find for better price.
7. Fit and screw planter box into the IKEA flower box
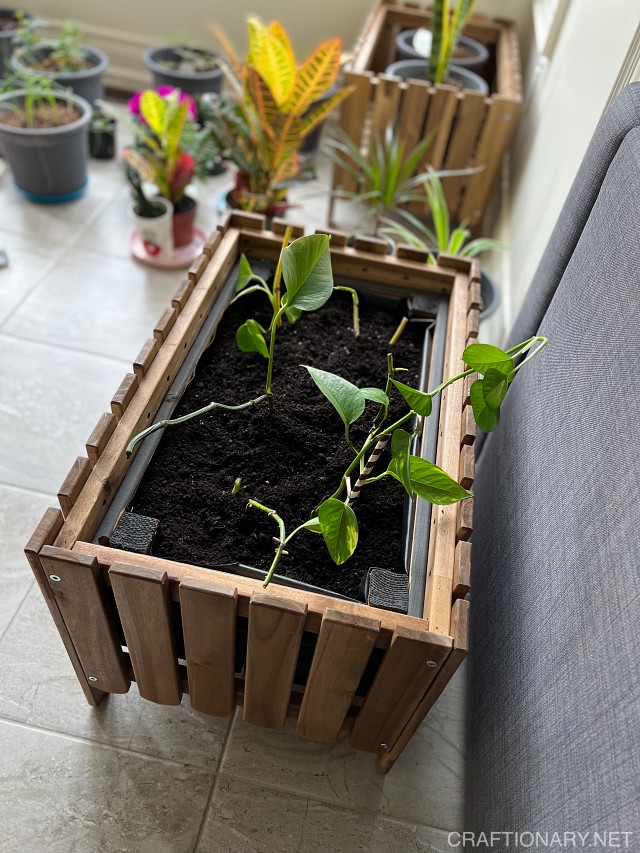
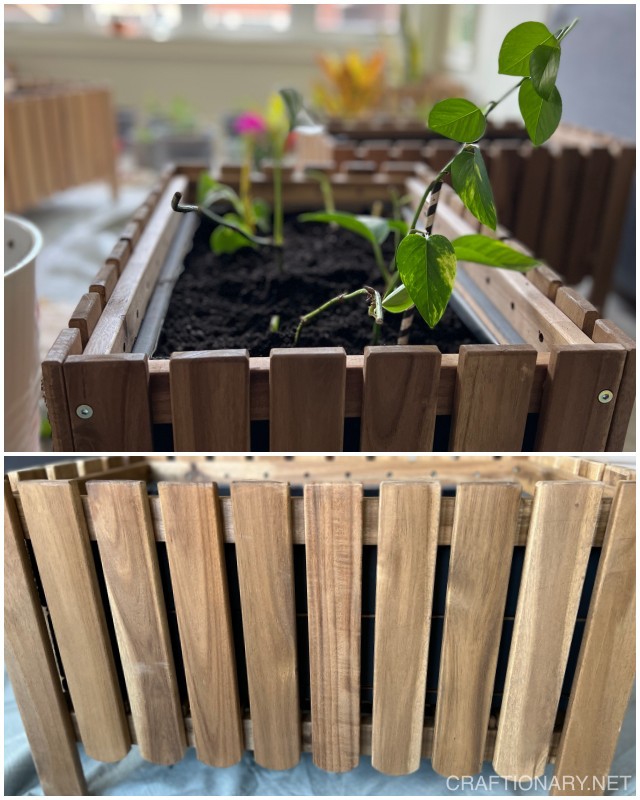
Once the liner is secured slide the DIY planter stand into the IKEA plant stand and screw it from the side.
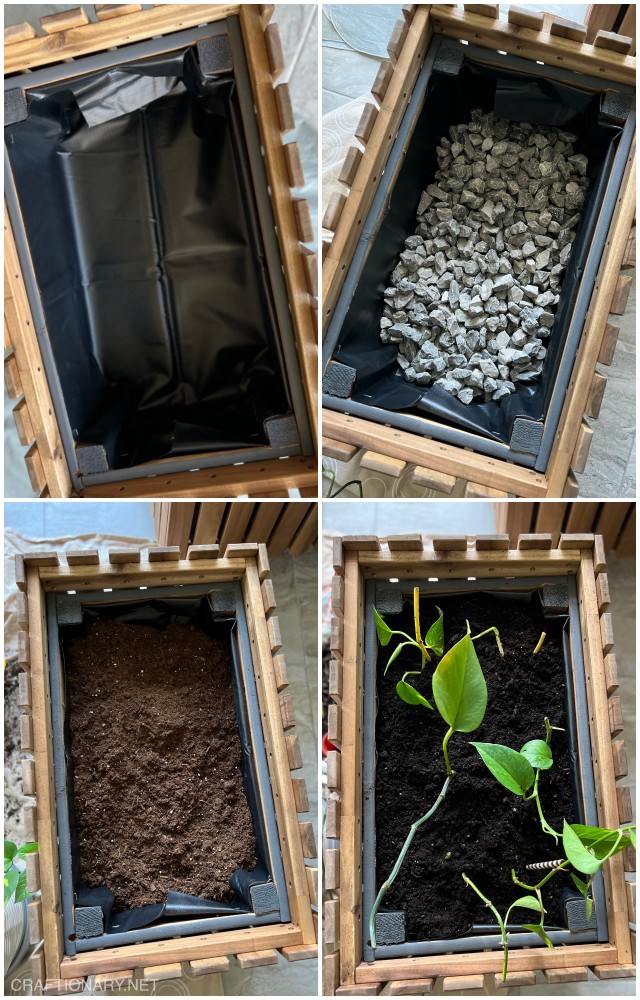
8. Plant houseplants in the DIY indoor planter
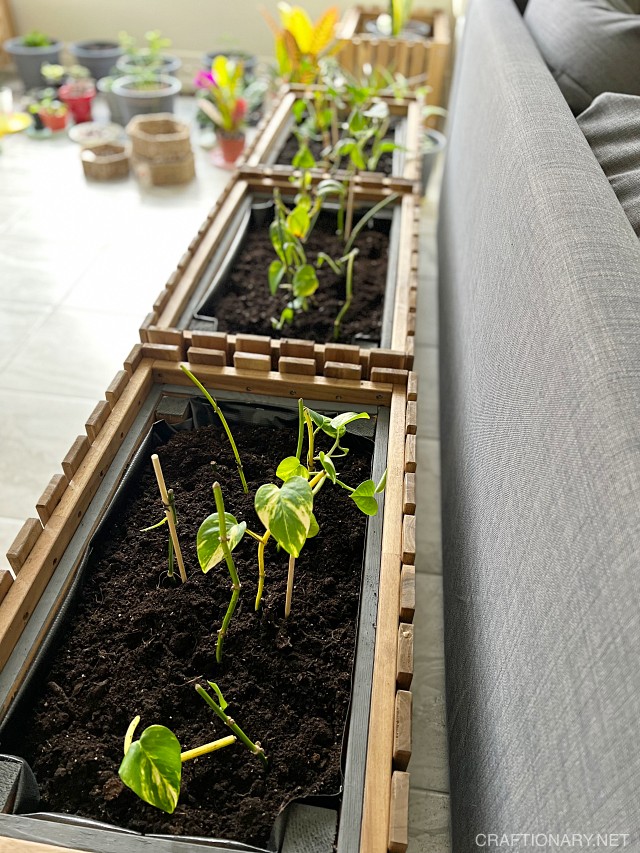
Now let’s plant the money plant from propagation station:
- Use gravel or landscaping rocks/ pebbles to make the base of the plant box
- Add a layer of potting soil followed by a layer of fertilizer soil
- Now plant your pothos or any other houseplants that are low maintenance.
- Water the plants thoroughly.
Why layer the planter box with rocks or pebbles?
When the roots of the plants are in excess of water for long periods of time they get root rot. Root rot is the condition that kills the plant eventually.
To avoid roots to be in excess of water firstly water them smartly and layer any planter without drainage holes with rocks to provide a tray for holding any excess water if the plant doesn’t need it. In case, it needs the water it will naturally such it even through the layer of rocks.
How to maintain DIY indoor planter box?
The most ideal situation for any plants or flowers is a pot with drainage holes. However, there are a few tricks and tips that can still keep your plants healthy and thriving in planter box without drainage holes:
- Do not plant flowers from seeds or bulbs in containers without drainage holes. They will get root rot.
- In my personal experience houseplants especially the ones that can be propagated in water can thrive in planter box without drainage holes.
- The best way to keep them happy is to water them once a week and avoid over watering.
- Check the soil using a popsicle stick or wood stick by digging it inside the soil. If it comes out dry water the plants only.
- Check the soil till the base (which in this planter is 4″ deep) to check the water situation once a month.
- If there is excess of water skip a week of watering the plants.
- Another great option is to have a self-watering system in place.
- Use plant food as per package instructions to nourish your plants.
I have tried this method personally for four years and the below photo is an example that this project will work. For more information on plant care follow my instagram page houseplantionary.
How to make drainage holes in the planter box?
There are two ways to make drainage holes in the planter box that I can think of right now. This will make this project ideal for any flowers and plants.
- Outdoors: You can skip the liner and drill holes at the base if you intend to use this planter outdoor for drainage holes.
- This outdoor plant stand idea with DIY garden box can also be used as raised planter box for vegetables or fresh herbs
- It is also a good choice to display at the front porch, backyard or patio for curb appeal.
- Indoors: Line the planter box and drill holes to direct water to specific location. Add a winter boots tray at the base of the planter to collect excess of water from the drainage holes.
Future plans to add trellis to DIY wood planter box
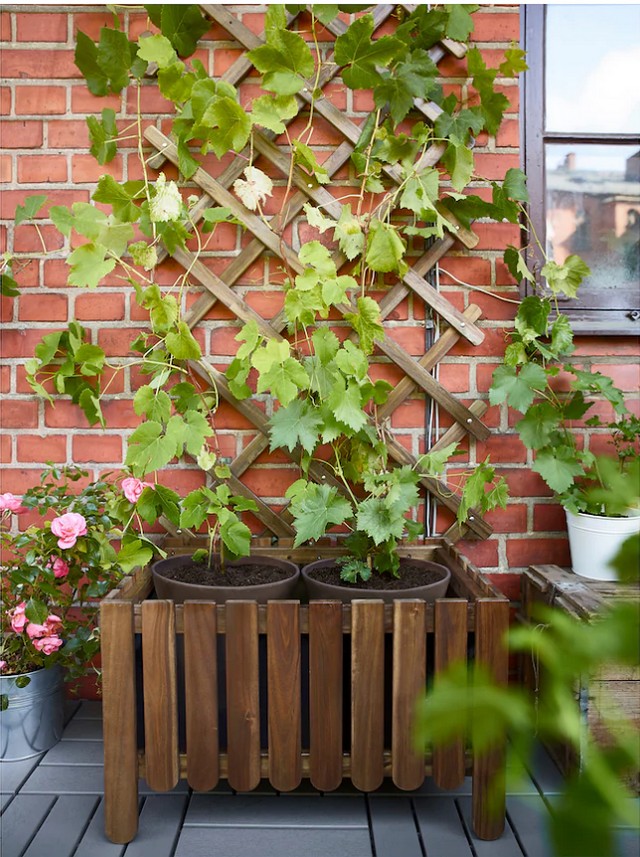
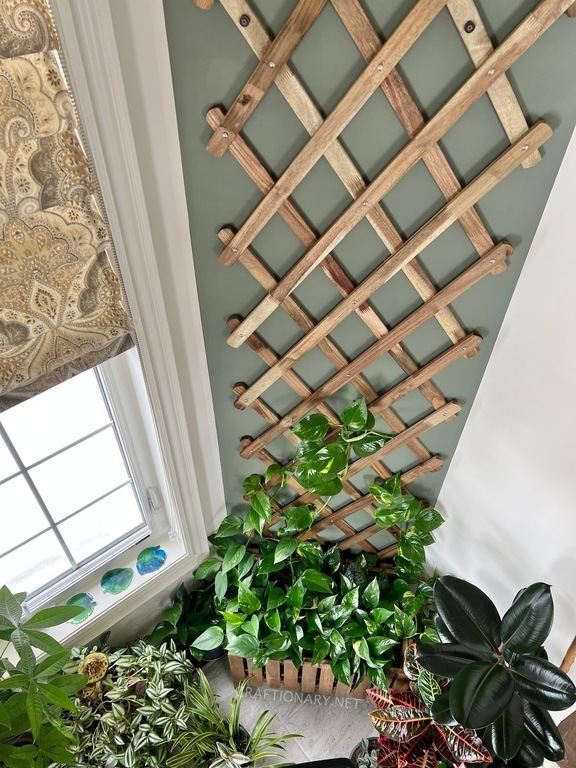
Money plant grows very quickly. I intend to create a trellis and a falling vine from this pallet planter box. I have placed it on the second floor and I can’t wait to share the beautiful greenery when it finally grows. It is said that pothos are natural crawlers so their leaves grow larger when you give them a direction to move up.
I plan to try the drop down vine and crawl up as well. The inspiration for this project comes from the above picture via IKEA.
Hello friends, here’s the update after more than 1 year of this project going strong and plant growing happier than ever. Check it out: Small Foyer Entryway wall decor with plants.
Please help this project reach others. Pin this image.
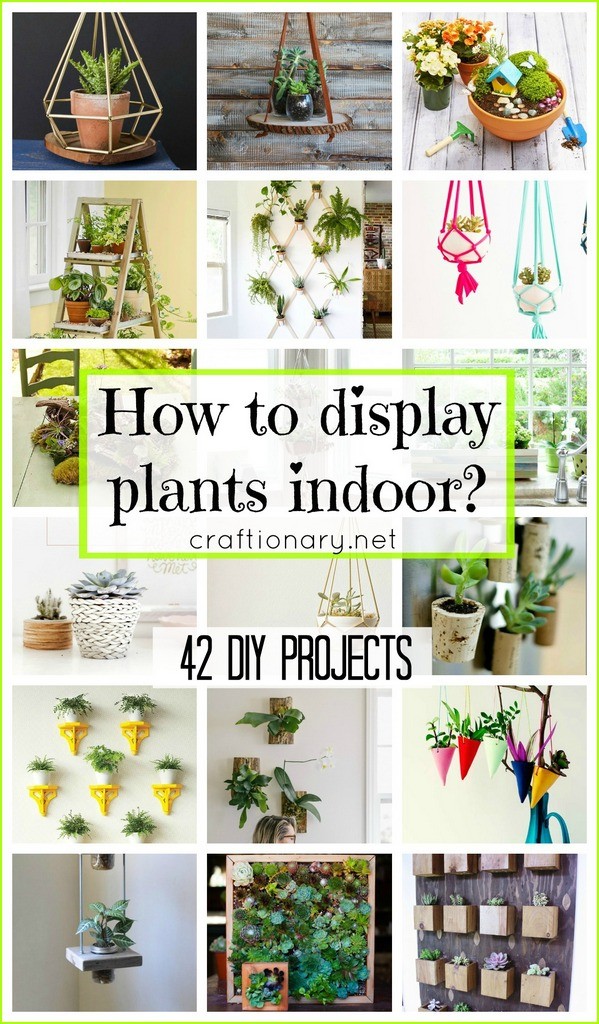
Did you checkout my vertical plant wall? You will also like:
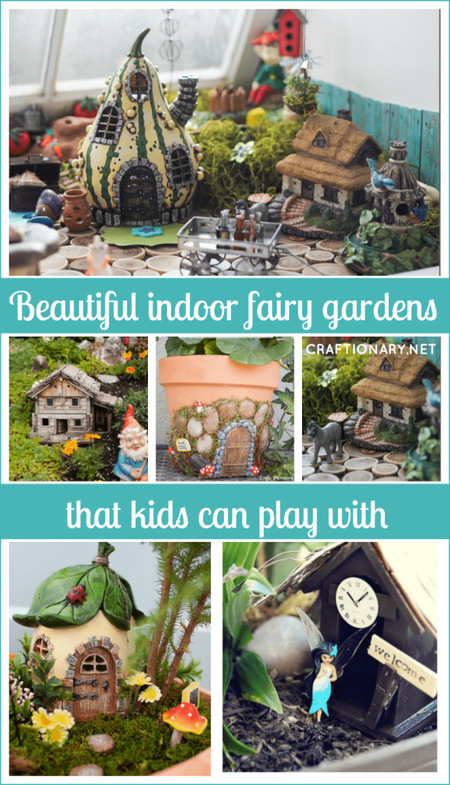
Beautiful indoor fairy gardens
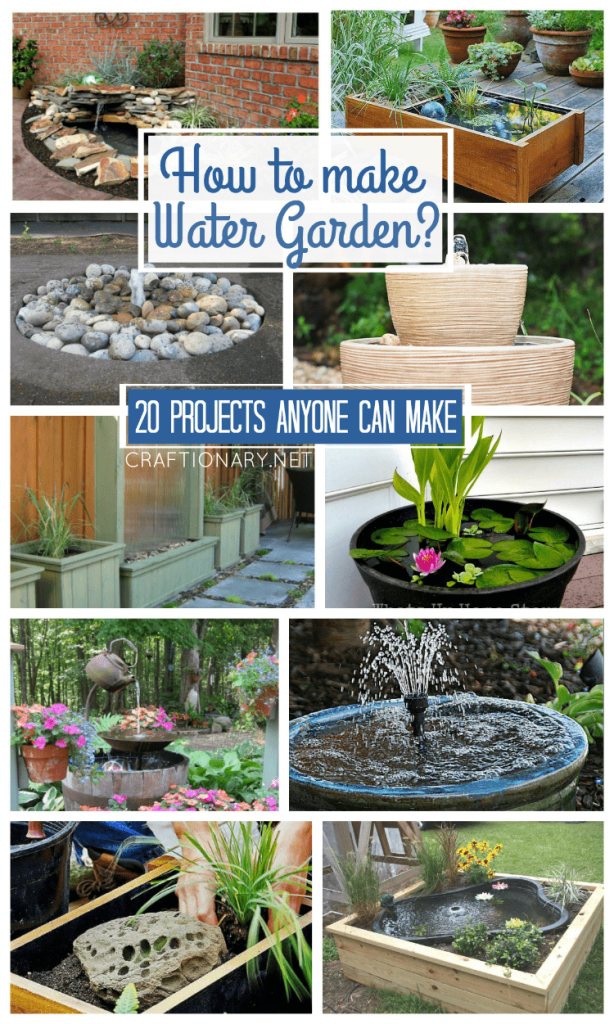
DIY Water Gardens anyone can make
Find more garden projects to create your extraordinary outdoor and indoor space.





Nice work.