This post may contain affiliate links. Please see our full Disclosure Policy for details.
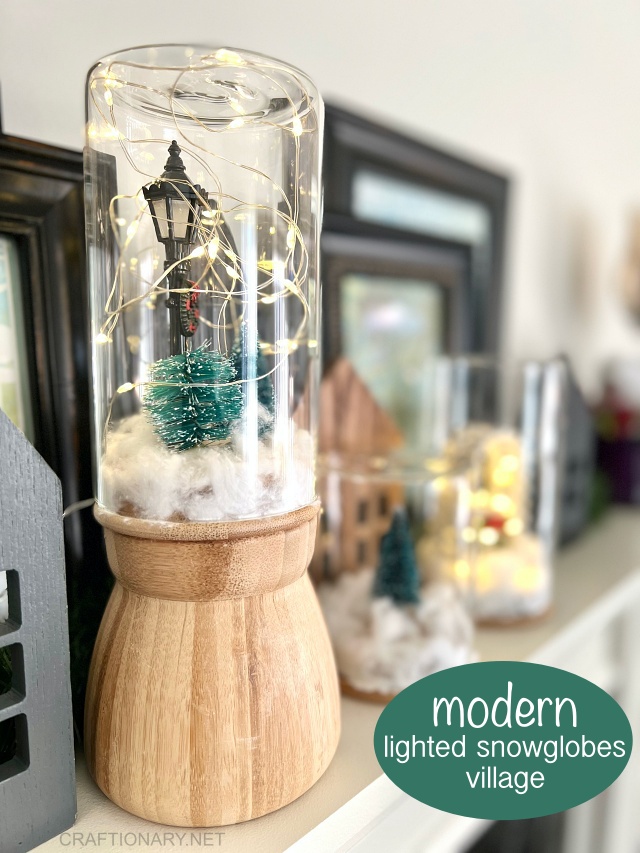
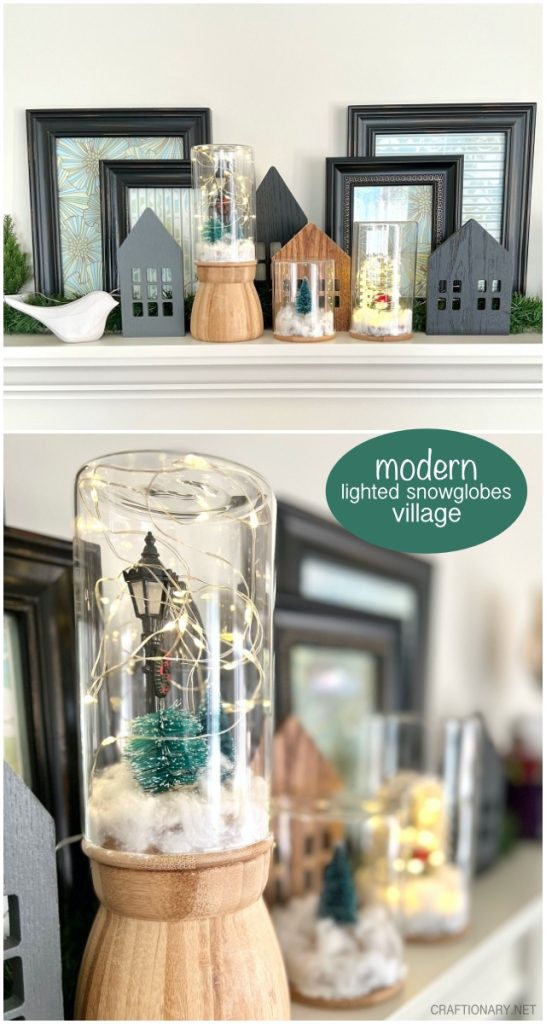
Make Winter snowglobes lighted village mantel decor. Make magical snowglobes with string lights and winter figures to create a town landscape for peace and happiness. Traditional snowglobes used to create miniature scene but the modern snowglobes are in alignments with home decor.
I love snow globes but they are so expensive and in so many different styles. However, these snow globes at crate and barrel, indigo and pottery barn make great gifts. I decided to create my own magical winter wonderland with lighted village. This beautiful village has all the things I imagine in a town when the snow falls in modern, chic and black theme.
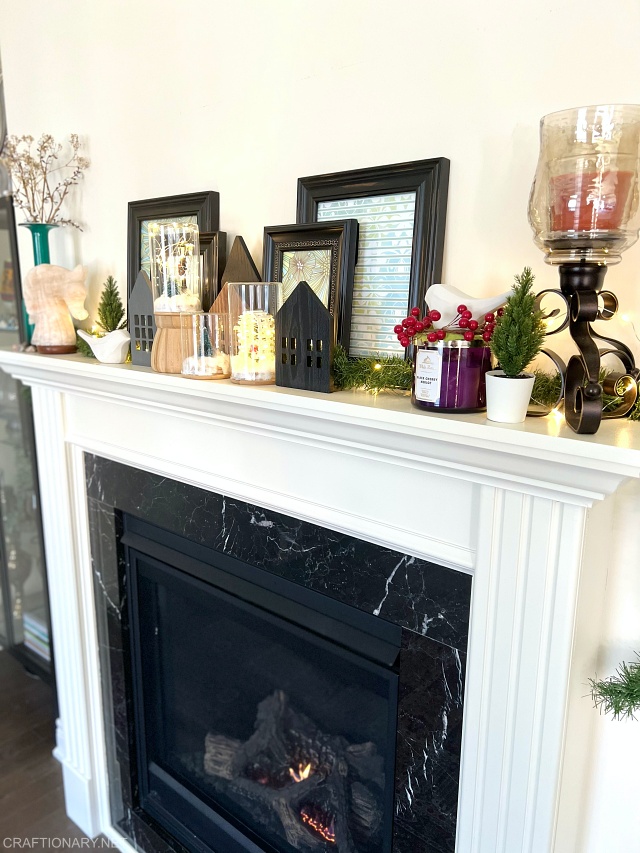
It has greenery twisted with twinkle lights. Some ceramic holiday decorations, wooden houses and winter sky background. I completed the look by adding faux snow, Christmas tree, evergreens, lamp post and an arch with a wreath to the mason jar snow globes crafts. To make it look magical at night, I added battery operated LED string lights and added rechargeable batteries from IKEA to the fairy lights.
Make Winter snowglobes lighted village mantel decor
When the lights are turned on in the glass sphere the real magic happens. Let’s have a look:
DIY Winter snowglobes
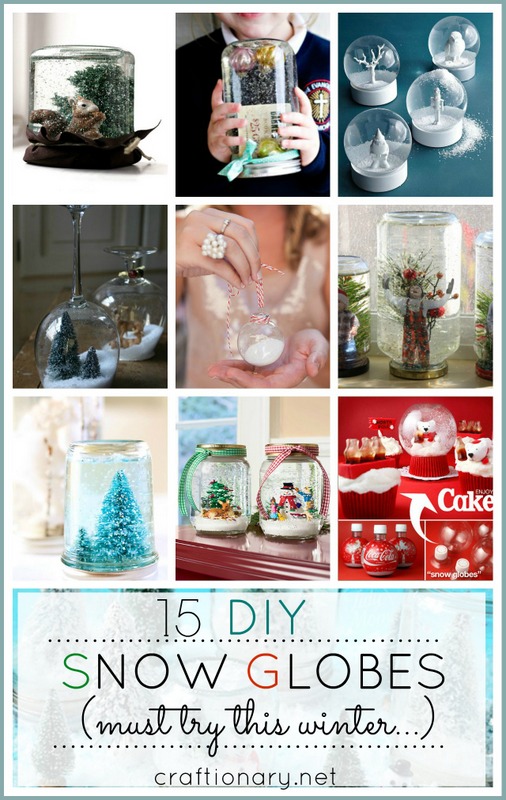
There are many ways you can create winter snow globes. These include:
- Waterless snow globes
- Mason jar snow globes
- Transparent glass snow globes
- Oil and water snow globes
- Glycerin snow globes
- Glitter snow globes
How to make waterless snow globes?
Waterless snowglobes are a great holiday decor option for homes and to add magical touches to the Winter scene. Simply collect your decorative accents and arrange them in a snow dome or transparent glass jar. These items can include:
- Christmas tree
- Gnomes
- Rudolph the reindeer
- Winter wreath
- Jingle bells
- Ceramic houses
- Glittered village accents
- DIY ornaments
- Mistletoe
- Poinsettia
How to make snow globes with water?
When you are making snow globe jars using water to make it entertaining when shaken, it is important that the choice of globe is leak proof. However, any ring glass jar or plastic jar can be made leafproof by sealing it with glue or epoxy. There are various jars you can use to make glass globes such as mason jars, baby food jars, or any transparent see through glass with a ring to firmly screw the lid.
What to fill in snow globes?
Snow globes are basically waterglobes and are given the name snowstorm because when you shake them the globe replicates snow blizzard. In order to achieve the look, the water needs to have something that makes the glitter stay in the air for a while before the gravity pulls it all down. The more sophisticated versions can now be turned on with a switch of a button only. However, mix a portion of glycerin, baby oil or any oil in the water with glitter and other shiny supplies to create winter snowglobes with water.
Now let’s get started with our Winter snowglobes lighted village mantel decor.
Make your own snow globe tutorial
Let’s get started with the tutorial to make these easy and cheerful snow globes and led Christmas village.
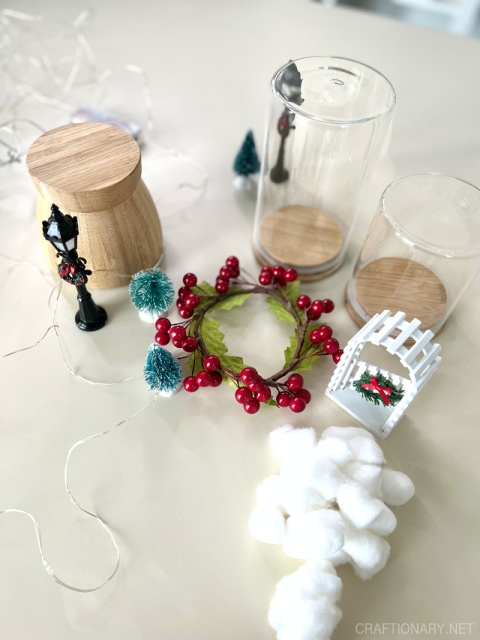
Material for winter snowglobes
Supplies needed:
- Bamboo lid jars in assorted heights from Dollarama (or any jars with lid)
- Faux snow (cotton buds or salt)
- Winter decor accessories (Christmas tree, lamp post, arch and wreath)
- Twinkle lights (aka LED string lights or fairy lights)
- Batteries for the lights
- Bamboo mortar and pestle from Dollarstore or Dollar tree (for snowglobe base)
- Hot glue gun and glue sticks
How to make winter snowglobes?
Instructions:
To make the lighted snowglobes that look festive, all you have to do is:
- Use hot glue to glue the decorative items on the lid of the jar.
- Then scatter the cotton bud to loosen it, this will create fake snow look. Dab dots of glue on the base of the lid and scatter all around. Make sure to cover the plastic ring of the lid for a nice look.
- Glue the lid to the mortar placed upside down.
- Fill the glass jar with string lights and move the wire out at the back of the snowglobe to be placed behind for easy access.
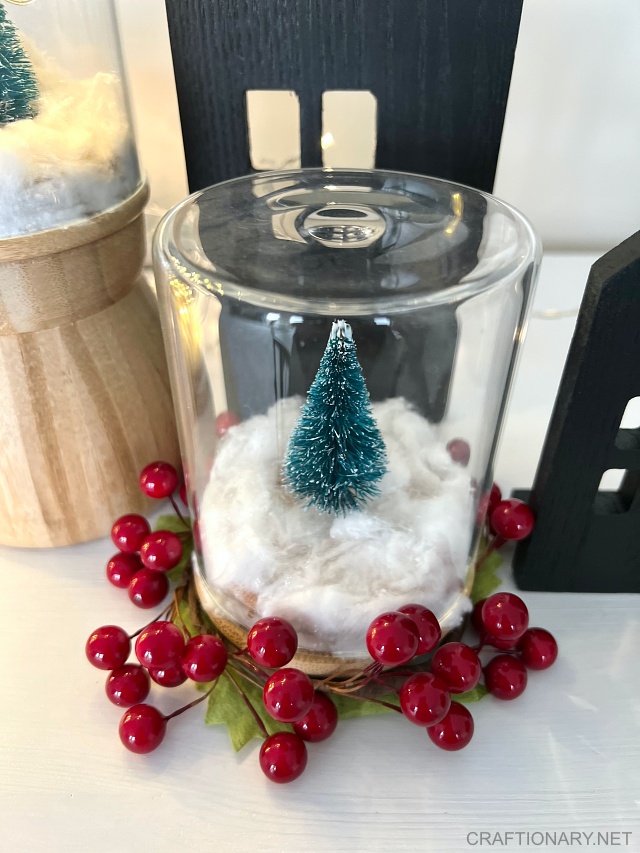
- Now gently push the jar on top of the lid ensuring all the snow is inside. Use your fingers to gently pull in any that is hanging out.
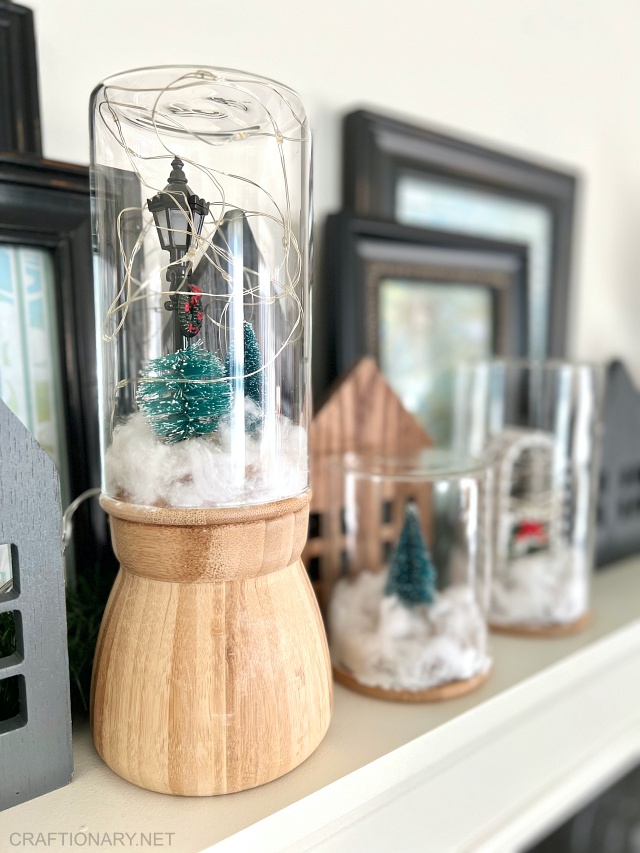
- And you are done! The fairy lights when lighted looks like lanterns.
- Now let’s create the lighted village scene.
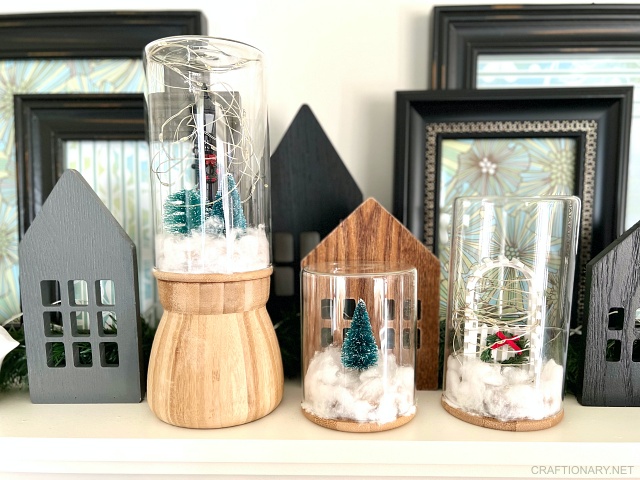
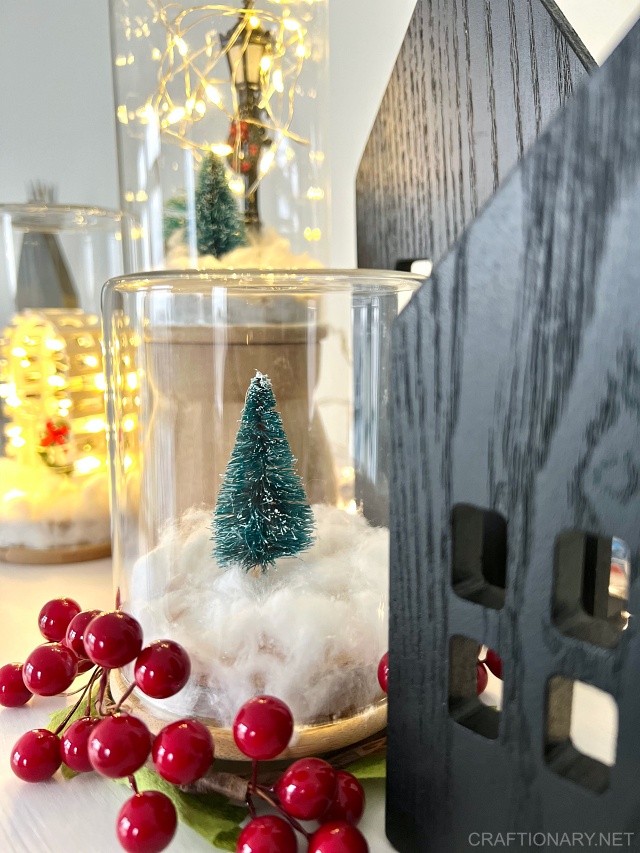
How to create lighted village winter wonderland?
In order to create this wonderful winter wonderland lighted village scene, I used the following items:
- Faux greenery garland (easily available at any store)
- Ceramic birds (IKEA)
- Salt lamp horse
- Decorative paper (Michaels)
- Black framed photo frames (Target)
- Wooden houses (Walmart)
- Potted evergreen trees (IKEA)
- Candle holder (Bowring)
- DIY Snowglobes with lights
- String lights
Video tutorial DIY Winter Snow Globe
I would be thrilled to have you join me at instagram where I share fun ideas. Here’s a quick video tutorial that guides you through the full instructions step by step.
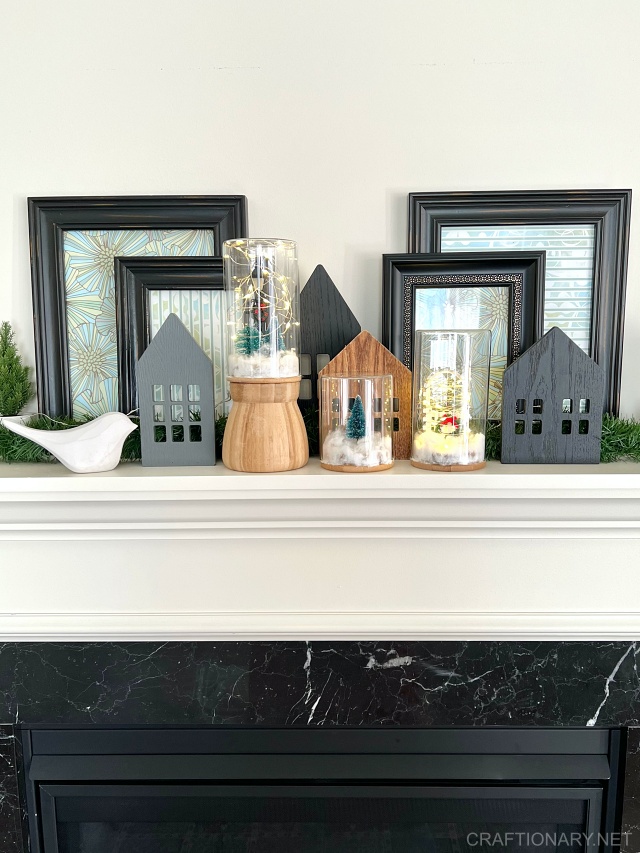
Here’s the final look:
Winter snowglobes village
Winter snowglobes lighted village
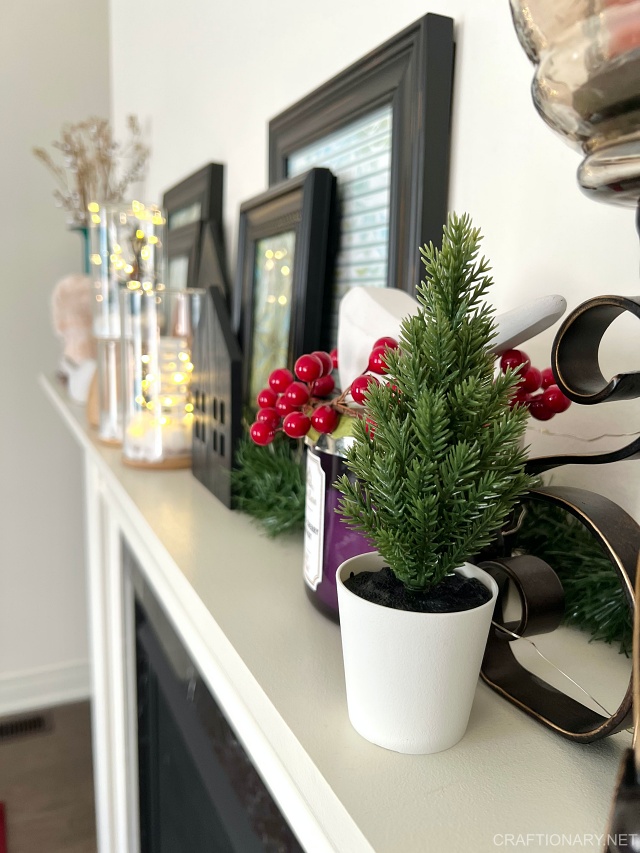
I framed scrapbook paper to create background for the village. The wooden houses bring the wood Christmas village effect and the led lights are best for illuminated Christmas village. So what do you think?
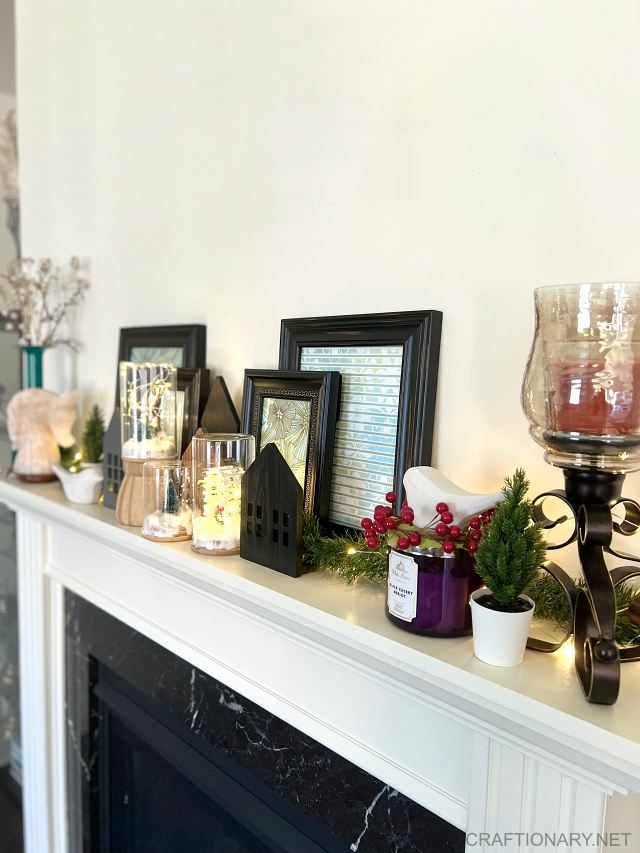
Here’s a few more pictures because it looks so beautiful!
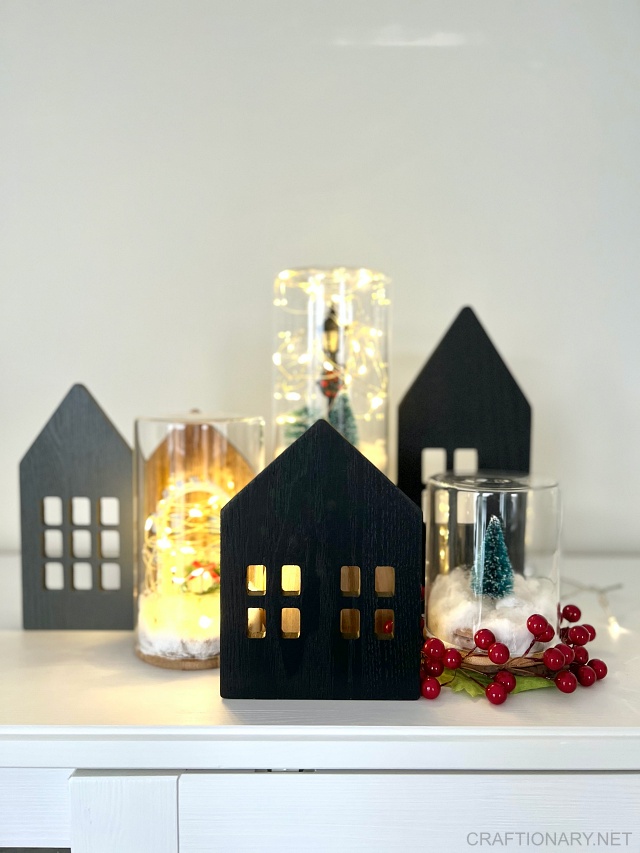

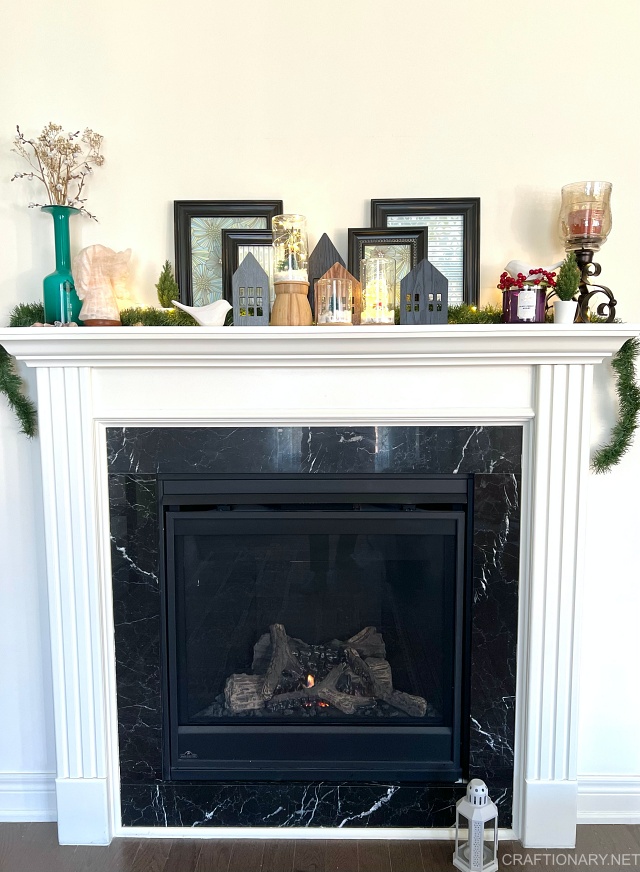
Please pin this image! Your minute means a world to me!
You will also like:





Nice DIY