This post may contain affiliate links. Please see our full Disclosure Policy for details.
Are you looking for an easy zipper pouch sewing pattern to create stylish and functional pencil pouches? Whether you’re a beginner or an experienced sewer, this step-by-step guide will help you craft a professional-looking zipper pouch in no time. From choosing materials to adding a lining, you’ll learn everything you need to make a beautiful and durable pouch.
Why Make a Zipper Pouch?
A zipper pouch is a versatile accessory that can be used for:
- Storing cosmetics and toiletries
- Organizing stationery or sewing supplies
- Keeping travel essentials tidy
- Gifting handmade pouches to friends and family
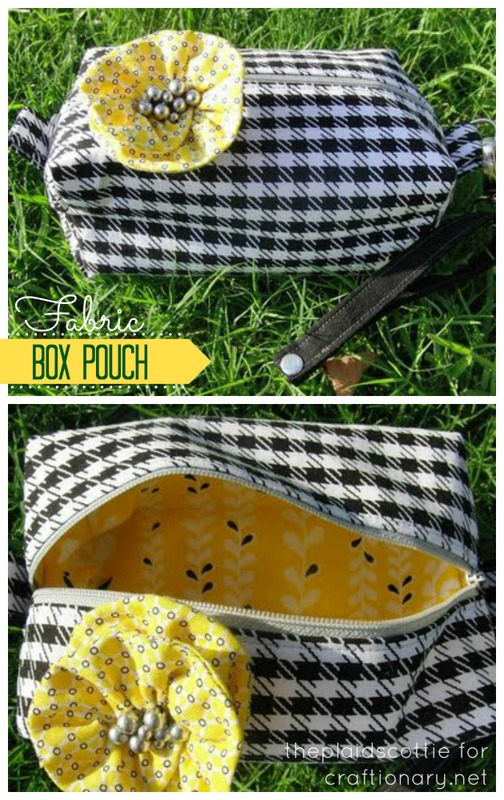
DIY Fabric Zipper Box Pouch Sewing Pattern
Zipper pouch sewing pattern
Sewing your own zipper pouch allows you to customize fabric, size, and design, making it a perfect DIY project for all skill levels.
Sewing A Zipper Pouch
Note: I am using pink print for exterior and purple solid for interior of the pouch in this tutorial so that it is easier to understand.
Materials Needed:
Before you start, gather the following supplies:
- Fabric Choices
- Outer fabric: Cotton, canvas, or faux leather
- Lining fabric: Lightweight cotton or polyester
- Other Materials
- Zipper (12″ long)
- 4 Interfacing pieces (optional for added structure)
- Sewing machine and thread
- Fabric scissors and rotary cutter
- Pins or clips
- Iron and ironing board
- Twill tape or 2 linen pieces for zipper pull (3″)
Zipper Pouch Sewing Pattern: Step-by-Step Instructions:
This will make a finished pouch of dimensions 6″ x 4.5″ x 3″ (length x width x height) box zipper pouch.
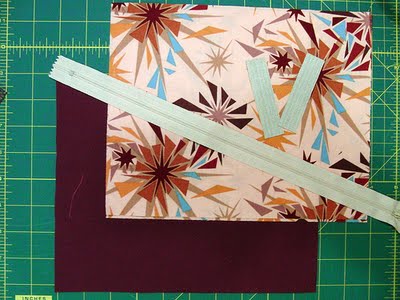
Cut your fabric pieces
Step 1: Cut Your Fabric
Cut your fabric pieces as follows:
- 2 Exterior fabric pieces: 8″ x 10″
- Lining fabric (optional): Same as fabric pieces
- 4 Interfacing pieces (optional): 8″ x 10″
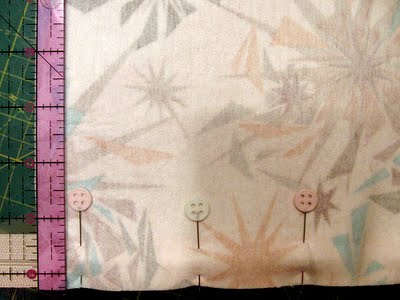
Step 2: Prepare Fabric
This step will guide you when you start sewing:
- Iron interfacing on both the pieces of the fabric, this will act as the support to the box shape of the pouch.
- Draw the seams (1/2″) on the front and back of the exterior piece (using water-soluble pen), on the left and right side (and not the top and bottom).
Iron and Pin Fabric for Sewing
Step 3: Attach the Zipper
- Place one piece of outer fabric right-side up.
- Lay the zipper face-down along the top edge.
- Position a lining piece on top, aligning it with the zipper edge.
Layer the lining (front side up), zipper (front side up) and exterior panel (wrong side up).
- Pin or clip all layers together.
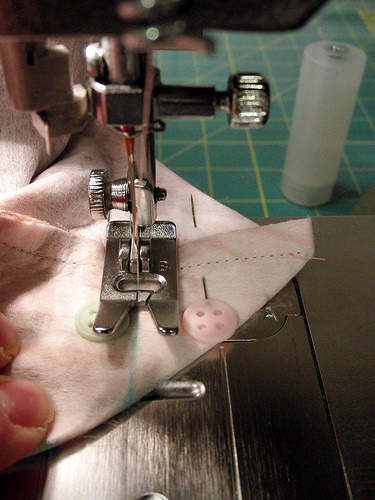
- Stitch the zipper to the fabrics using your zipper foot leaving 1/8″ distance from the teeth of the zipper on your sewing machine.
Note: You have to start and end on the 1/2″ line on the left and right side of the fabric. This is important.
Pin the zipper to fabric
- Flip the fabric right-side out and press with an iron for a clean edge.
- Fold, iron and front-stitch leaving 1/8″ distance, starting and stopping at the 1/2″ marks.
Sew zipper to fabric
Repeat the same method to sew the zipper on the other side of the fabric with the second outer and lining fabric pieces.
Sewing zipper on outer side
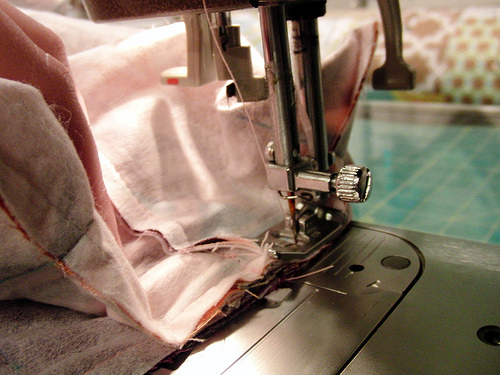
Step 3: Sew the Pouch Sides
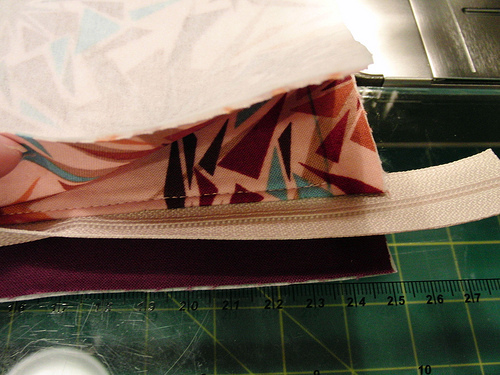
- Open the zipper halfway (important for turning later).
- Now carefully fold the fabric and pin, so that the two lining panels are facing each other and the two printed panels (exterior) are facing each other.
- Match outer fabrics together and lining fabrics together, right sides facing each other.
- Pin around the edges, leaving a 2-3 inch gap at the bottom of the lining.
- Sew around the pouch leaving a 1/4″ seam allowance, avoiding the zipper area (do not worry about leaving 1/2″ at the end).
- When sewing the lining panels together, remember to leave 2 1/2″ opening in the center. This will be used at the end to turn the bag right side up when we are finished.
- Clip the corners to reduce bulk.
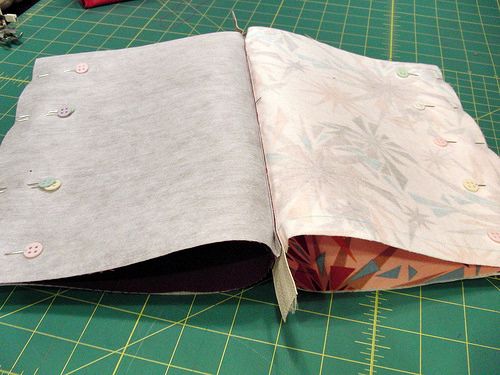
Pin the pouch sides
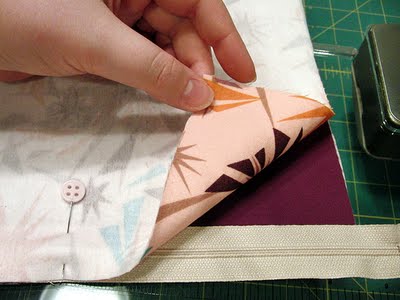
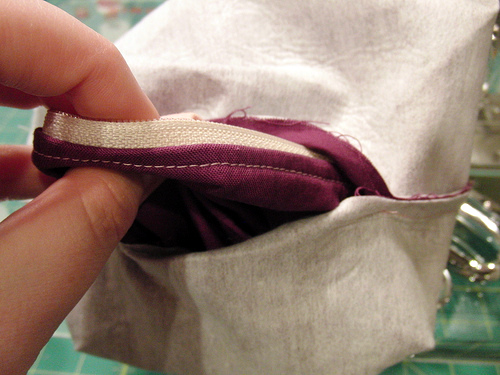
Pull the lining panel out, fold and center over the zipper; finger crease to flatten it. Repeat the same with the printed panel.
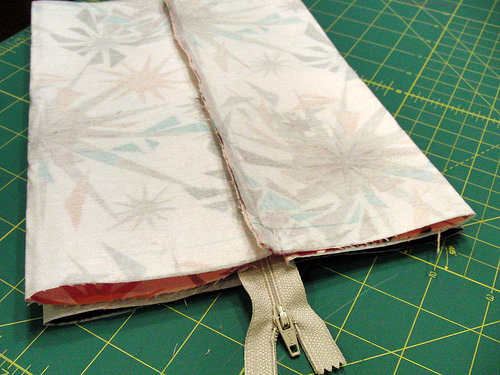
Zipper pouch sides sewing
Step 4: Shape into a pouch
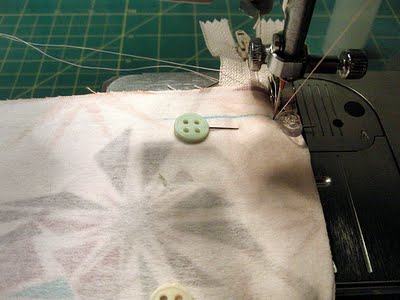
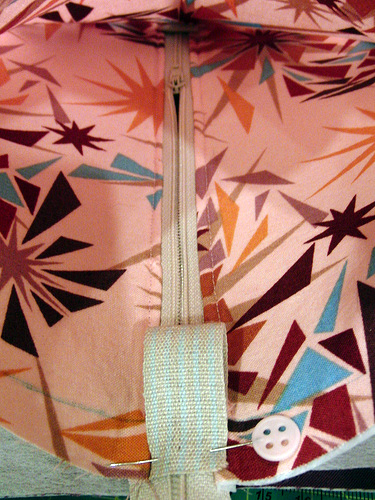
At the end of the zipper, fold a piece of twill/ linen tape in half and pin it at the center of the zipper. Make sure the loop is facing in and when you pin it to the zipper you do not catch any lining.
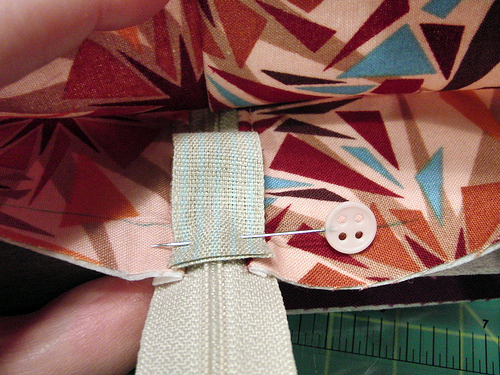
Zipper pouch center adjustment
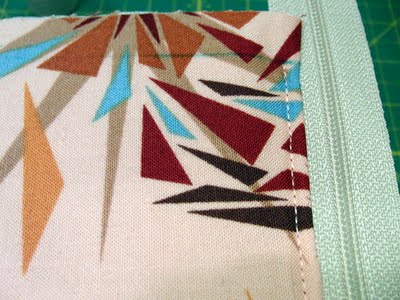
Flip over and sew the 1/2″ seam, be careful not to include any lining in the stitch or you will not get your box shape perfectly in the end.
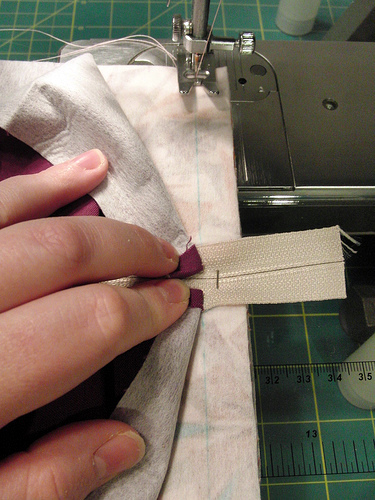
Sewing fabric to stitch zipper
Now repeat the twill sewing on the other side of the pouch. Remember to open your zipper a little before sewing, otherwise it is very difficult to turn the box right-side-up.
Sewing zipper pouch top
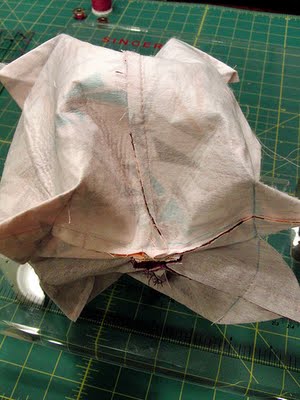
Your bag should now look like this. Trim the excess seam and zipper.
Note: You should be able to pull the lining and exterior apart at this point.
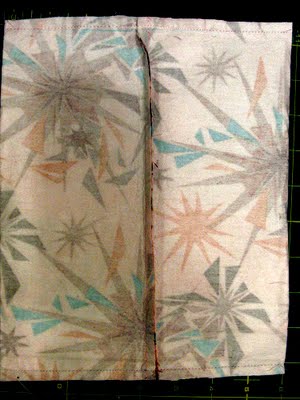
Sewing zipper pouch sides
Step 5: Create Neat Box Corners
As demonstrated, pull one of the corner.
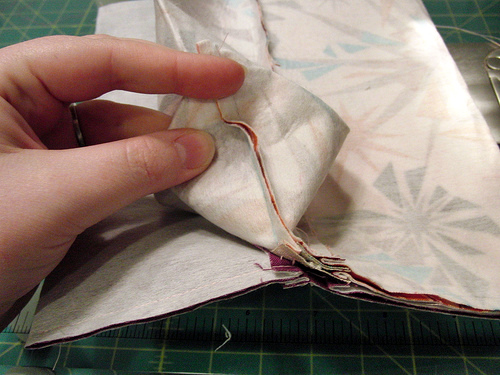
Creating neat pouch corners
Measure 1 1/2″ down and 3″ across and carefully draw a straight line.
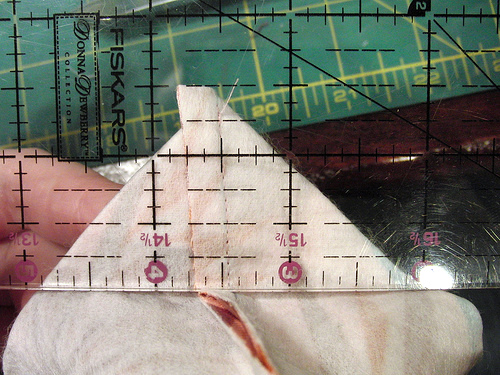
Measure and mark corners
Pin and sew the corner in place. Make sure your fabric is lying completely flat before you sew it, otherwise the corners will be pinched out.
Pin and stitch corners
Repeat the same with the other 7 corners of the fabric. Trim the seam when you are finished.
Tip: Do not trim the seam along the way but wait until you sew all the corners so that if something goes wrong you can rip off the seam and fix it.
Box shape zipper pouch
- Before turning the box right-side-up you will have to sew the lining and exterior together at the zipper.
- Find and flatten the side seams as much as possible and sew your seam 1/4″ above and below the zipper.
Step 6: Turn and Finish
- Turn the pouch right-side out through the opening in the lining.
- Hand stitch or machine sew the opening in the lining before pushing it in.
- Push out the corners for a crisp shape.
Turn zipper pouch right-side out
- Stitch the lining gap closed using a small seam.
- Press the pouch and you’re done!
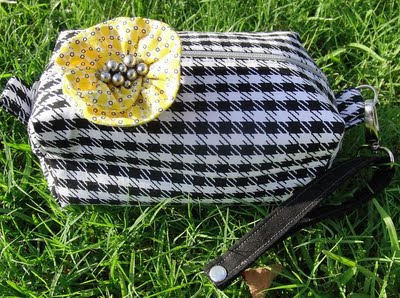
Congratulations! You have made a box pouch.

Box zipper pouch
Customization Ideas
- Quilted Design: Add batting for a padded look.
- Boxed Corners: Sew corners for a flat-bottom pouch.
- Embellishments: Try embroidery, applique, or fabric painting.
Creating a zipper pouch is an excellent sewing project for beginners and a great way to use up fabric scraps. With this easy zipper pouch sewing pattern, you can make beautiful handmade pouches for yourself or as gifts.
Now that you’ve mastered the basics, experiment with different fabrics and designs to make your pouches unique! Enjoy making zipper pouch with this sewing pattern!
You Asked: Sewing a Zipper Pouch
What size zipper should I use?
A 7-9 inch zipper works well for a standard pouch, but you can adjust it based on your desired pouch size.
How do you sew a zipper without a zipper foot?
While a zipper foot makes sewing easier, you can still use a standard presser foot by stitching close to the zipper teeth.
Can you use vinyl or leather for a zipper pouch?
Yes! Use a teflon foot or walking foot to prevent sticking, and avoid pinning to prevent visible holes.
How do you make my pouch more structured?
Adding interfacing or batting will give your pouch a sturdier shape.
You will also like:


hi,came here via Khadija,s-i'm going to make one,thank you for the tute