This post may contain affiliate links. Please see our full Disclosure Policy for details.
Make your own snow globe with DIY Christmas snow globe tutorial and instructions. Follow these steps to craft snowman snowglobe in just 5 minutes.
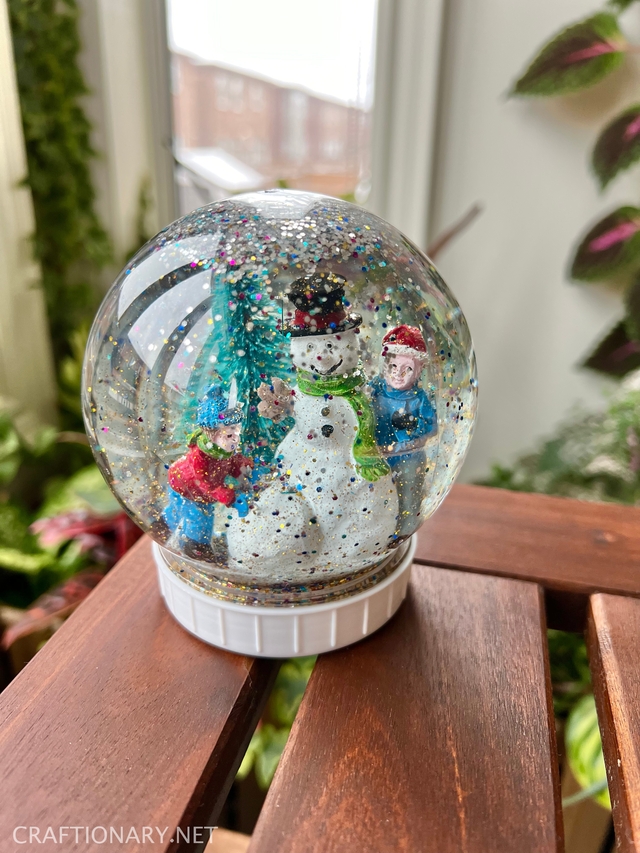
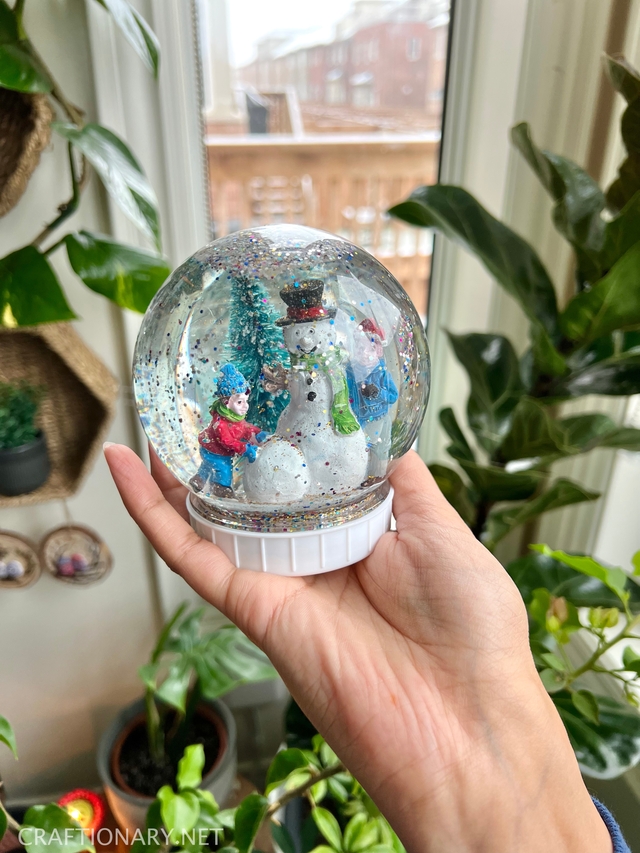
Christmas snow globe
To DIY snow globes all you need is a container, holiday themed accessories, glitter, and a medium that makes it flow. Put the things together and you have a unique homemade snow globe. Personalize snow globe with your interests. It can be a nativity snow globe or a custom snow globe with snowman and Harry Potter inspired accessories for instance. These make great gifts for holidays.
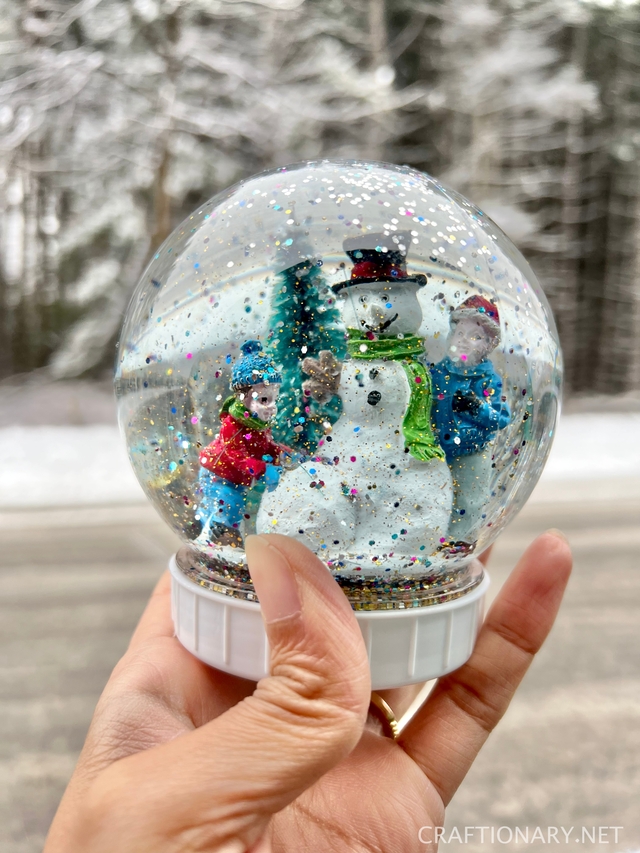
I made a waterless snow globe with fishbowl which is perfect for your Christmas centerpiece. To make this quick winter craft that is equally fun for kids and adults you will need:
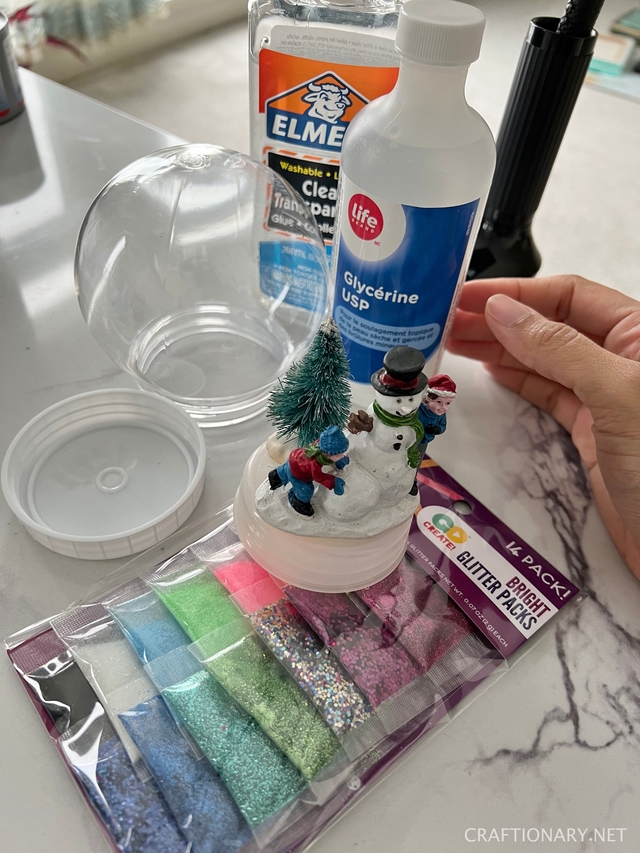
Materials:
- Plastic snow globe – they are good for decorating as they are shatterproof or glass water globe – doesn’t lose shape or clarity with time.
- Clear school glue or Glycerin
- Artificial snow
- Glitter – biodegradable, fine or Holographic glitter
- Waterproof Miniature Christmas Accessories and Ornaments – you can use any Christmas DIY figurines that bring magic in your life. Think about the things that excited you as a child or your kids. It can be Christmas tree, snowman, reindeer, Santa, and even a lamp post.
- Waterproof Adhesive or hot glue gun for attaching accessories to the base
Note: Glitter, accessories, and plastic snowglobe supplies are from Dollarama.
Instructions:
- Clean your selected jar carefully and remove any labels for improved recycling and unobstructed visuals.
- Disassembled the snow globe and use waterproof adhesive to stick the accessories to the lid of the snow globe.
- Tilt the globe upside down. Add about 1/3 of the bottle or 3 oz of Elmer’s liquid glue.
- Add 3-4 tbsp of glycerin
- Add glitter. I added a small pack of assorted winter colors glitter.
- Now fill the rest with water.
- Place the lid with accessories and tightly fix it in place. This is important to create an airtight closing. Consider closing the snow globe near the sink to avoid mess from excess water pouring out during this process.
- Now secure the outer lid in place.
Tips for best results:
- Add ? water in the jar, leaving enough space for the ornaments to adjust in the jar without spilling the contents. Skip this part if you are making waterless DIY Snow globes and adding artificial snow to them.
- If using a mason jar: Secure the rim by adding glue to the rim of the jar and attaching it. Leave the jar for a few minutes till the glue dries completely, making it water and air tight. Turn the jar upside down to in a bowl to check for any leaks.
Related: 15 Best Ideas to DIY Snow Globes
Shake away and enjoy your magical snow globe.
You will also like:
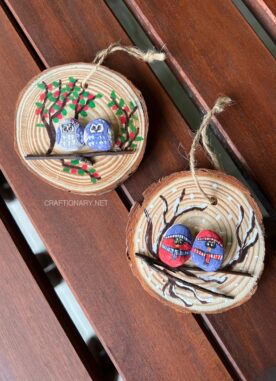
Paint a DIY Christmas Tree and Snowman Rock Art