This post may contain affiliate links. Please see our full Disclosure Policy for details.
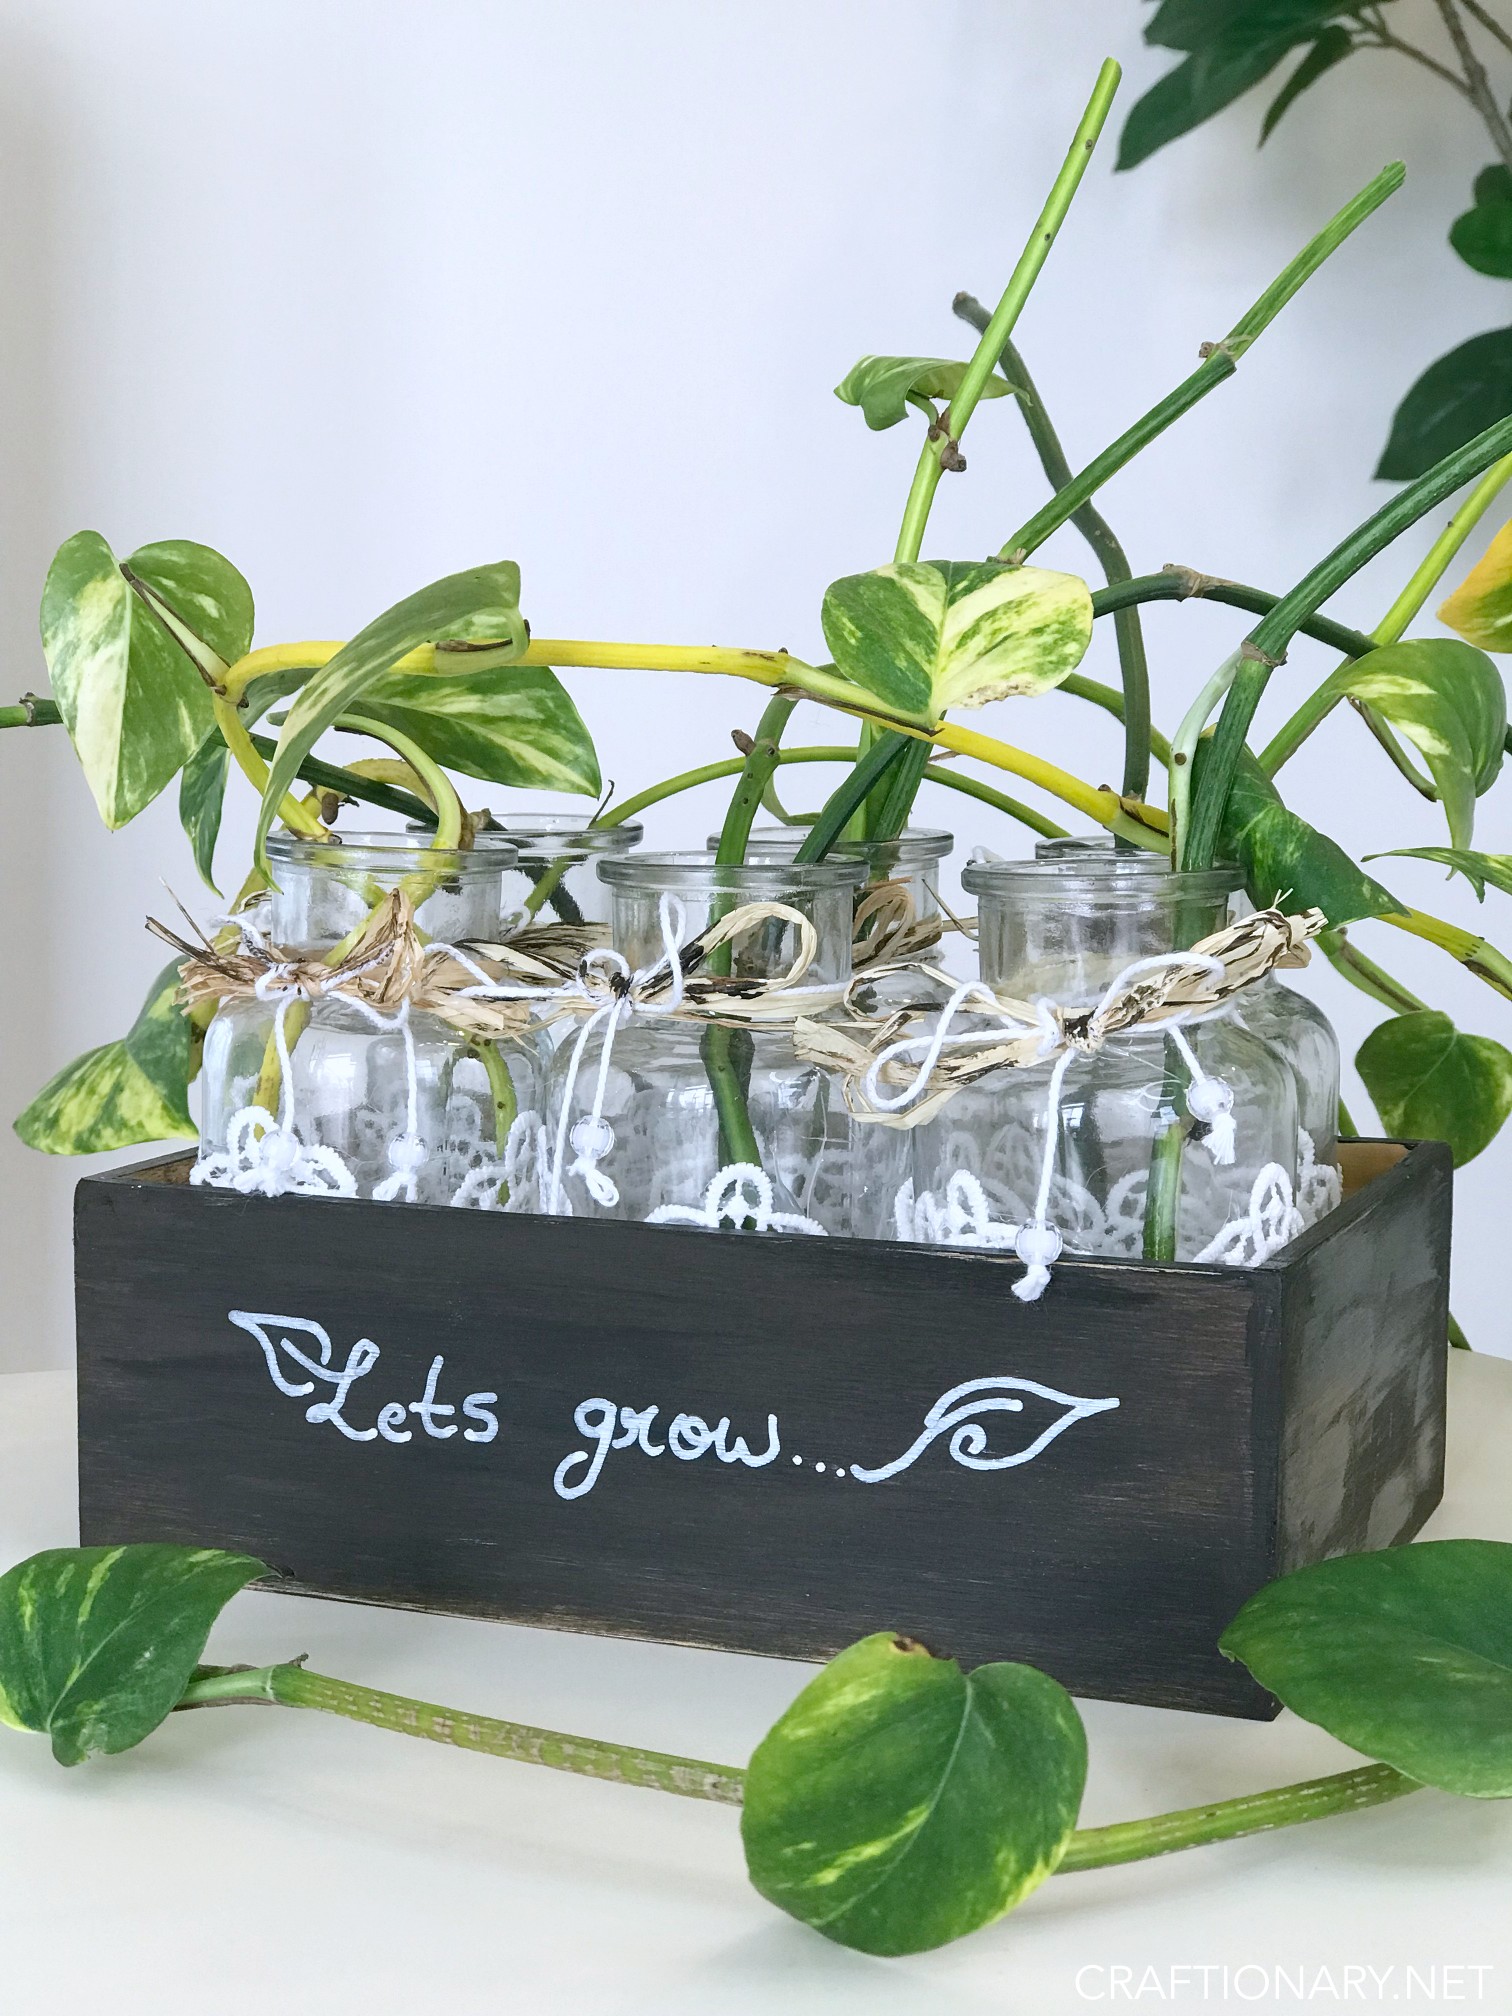
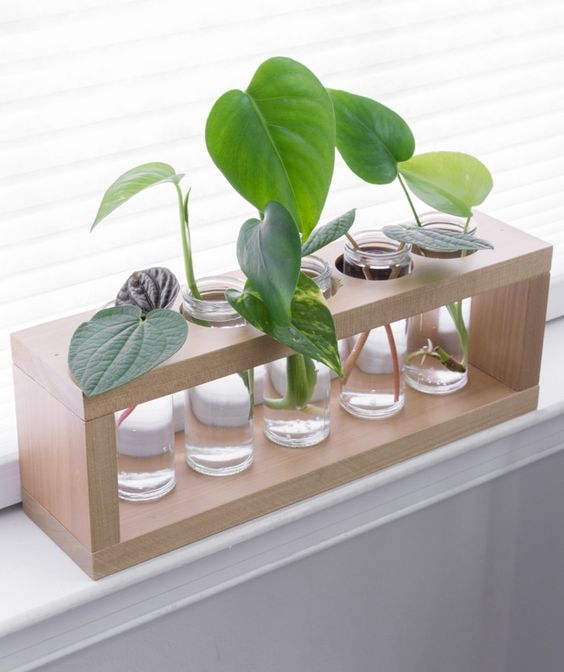
Learn to make plant propagation station that works without test tubes. Propagating plants is a gardening technique that is used to grow new plants from existing plants. Multiply your houseplants with stylish DIY propagation stations. Make easy and inexpensive propagation chamber with wood box and glass jars.
You will also find beginners guide on how to setup a propagation station for all budgets with DIY stations and plant propagating products you can buy as well. DIY plant propagation station is a cute way to display plants while rooting plant cuttings in water.
What is plant propagation?
The process by which new plants grow from a variety of sources is called plant propagation. These sources include seeds, cuttings, and other plant parts. In simple words, taking a stem or leaf cutting from a plant and growing it into a new plant.
Plant propagation usually occurs as a step in the overall cycle of plant growth. Plant can propagate by soil, water or a process called air layering. Hence, the act or action of propagating means to increase in number, or to spread something abroad or in new regions, or to enlarge and extend in a solid body.
What is a plant propagation station?
Plant propagation station is a dedicated spot or place for you to propagate your plants. It is a designated home for your plants.
What plants can you put in a propagation station?
You can put a variety of plants for propagating. Most common ones include:
- Pothos
- Chinese money plant
- Philodendron
- English ivy
- Tradescantia zebrina
- Croton
- Chinese evergreen
- Spider plant
- Lucky bamboo
- Cactus
- Monstera
- Begonias
- Herbs (include mint, basil, sage or lemon verbena)
- Tropical and sub-tropical houseplants
- Swedish ivy
- Fiddle leaf fig
- Baby’s tears
- Impatiens
- Coleus
- Grape ivy
- African violet
- Most succulents
What are the methods of plant propagation
There are four methods of propagating plants, these are cutting, layering, division, budding and grafting. Of all these methods, planting seeds is the easiest; layering has the most success; while division and stem cuttings are the fastest methods.
How do you propagate plants from cuttings in water?
Seven easy steps for proper propagation of plants:
1. Identify the location on the main plant where you will snip your cutting. Look right below the leaf, stem, or vine joint for a small brown root node. These tiny bumps are the key to propagating plants like pothos for example.
2. Carefully cut the stem just near the node with scissors or clipper.
3. Place your plant cutting in the test tube or glass jars.
4. Make sure you cut off any leaves that are too close to the node, so that the leaves don’t get immersed in water.
5. Put it in a spot where it can receive sufficient sunlight.
6. Add more water as required or every 3-5 days.
7. Let the plant take its time to grow new roots.
What are the benefits of plant propagation for beginners?
There are two benefits of propagation for home gardeners:
- You can get plants for cheap and in large quantity
- You can have the satisfaction of starting and nurturing plants
Video tutorial: Make plant propagation station
Finally, enjoy a quick video tutorial to make plant propagation box. Enjoy!
How to make plant propagation station?
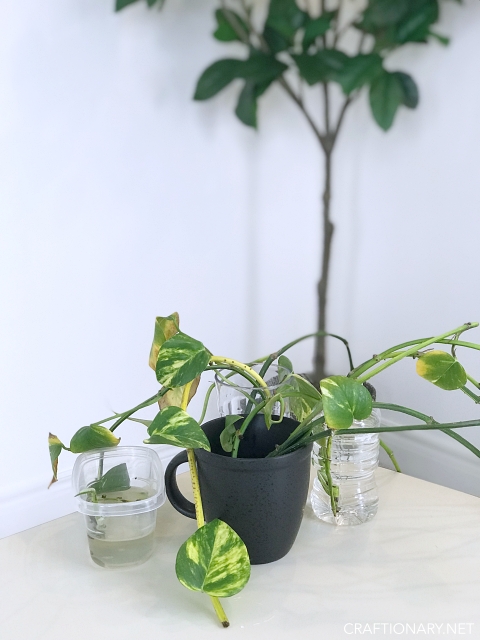
I had this beautiful plant for years that I had winded around a 3 tier in a large pot. It was growing beautifully, until it grew too long and started to weaken and lose leaves. I unwinding it and realized some of the stems had started rooting from center and where ever it found possible to seek required nutrients. I left the healthy ones to root in the soil and cut of stems to propagate and make a new planter for them later when they grow roots. All those details are for a later project.
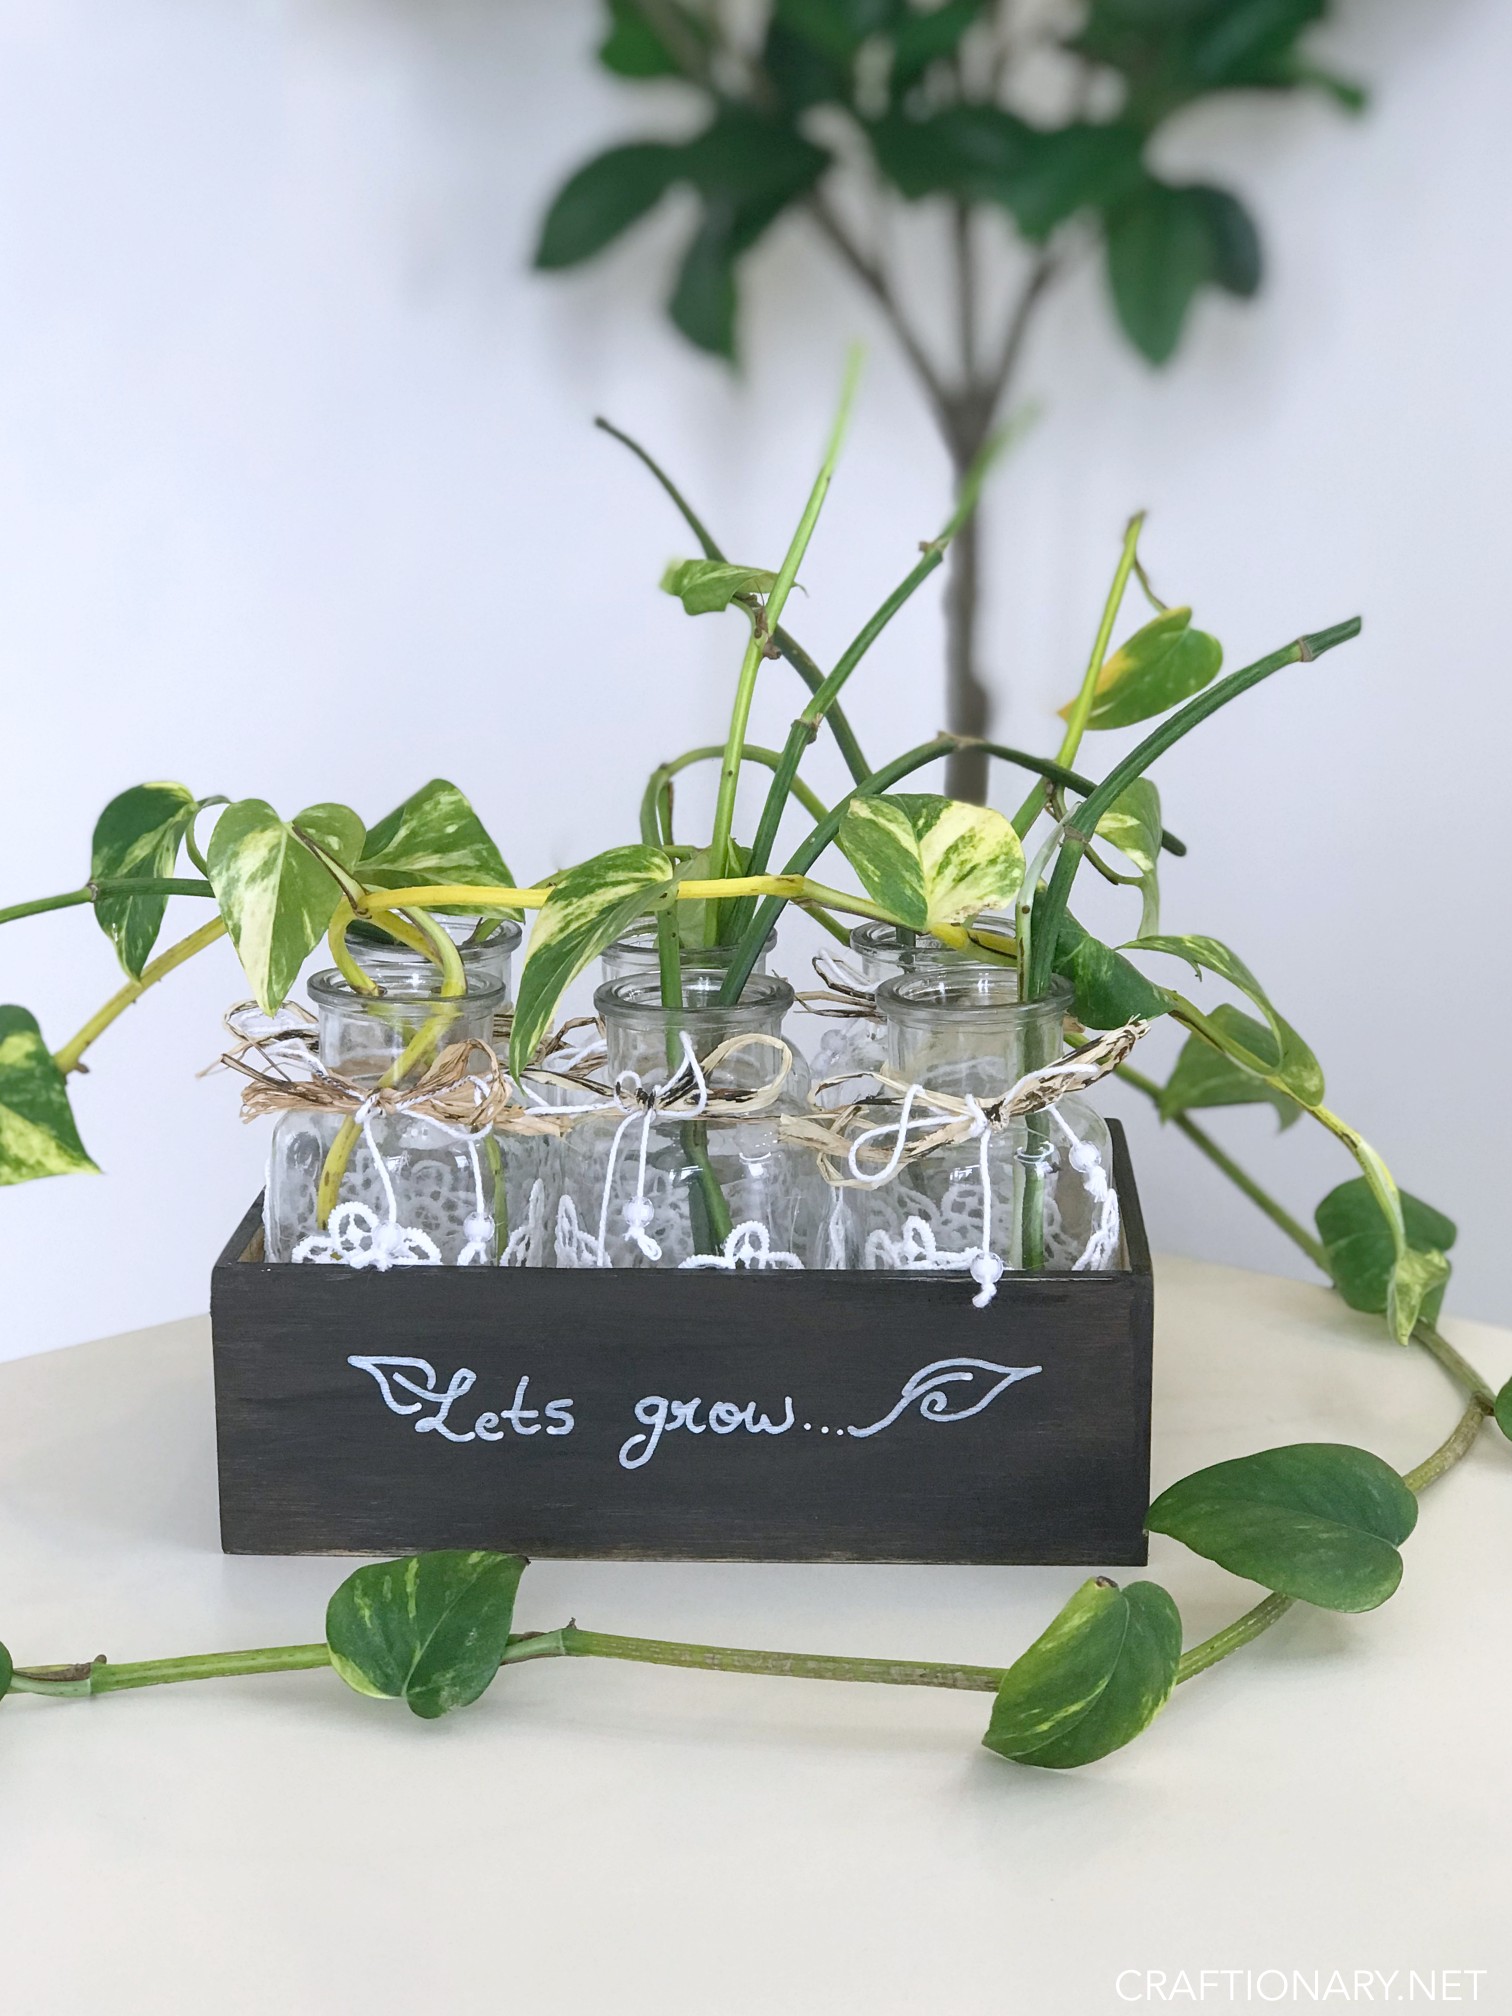
Today we are making a beautiful plant propagation box.
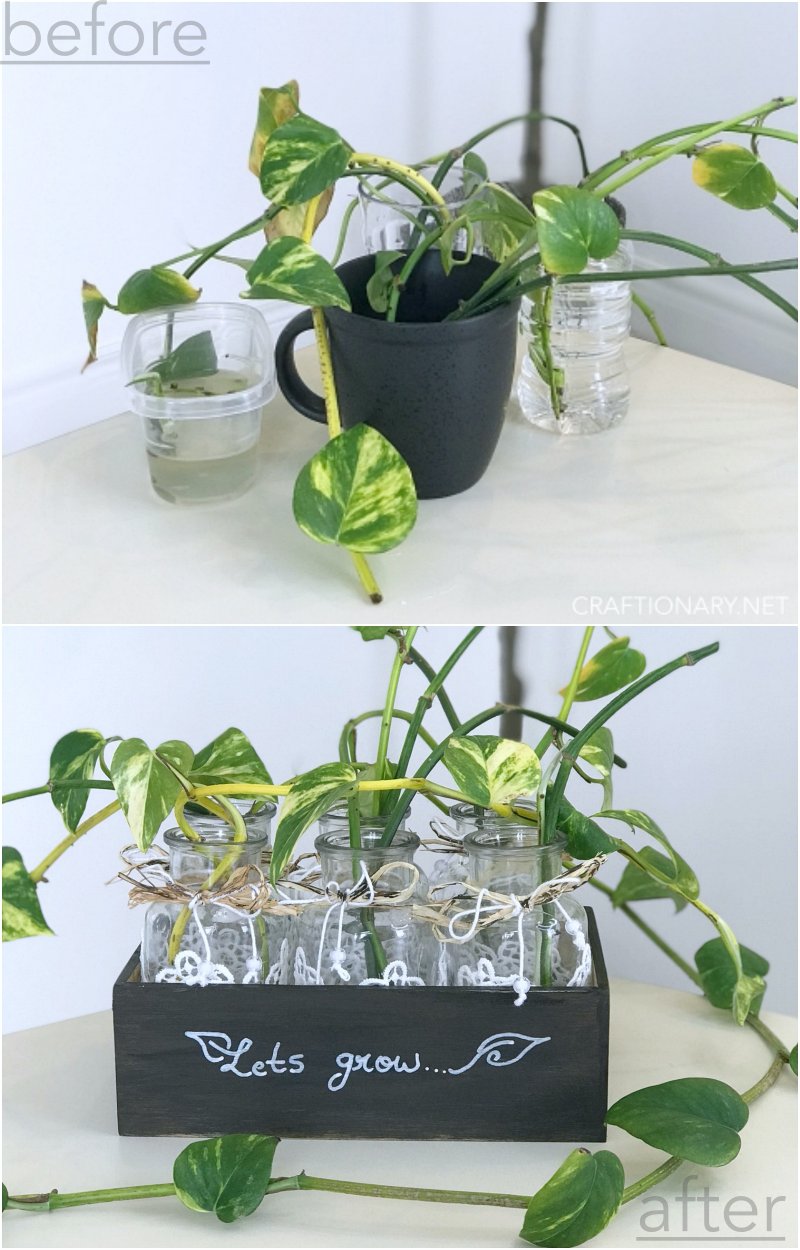
I had my stems propagating in jars and bottles I found around the house. But I was not happy with it, these were hard to move around in case the plant was not happy in a particular location. A few times the bottles lost balance and created a huge mess.
So, today I am sharing DIY plant propagation station that is so simple and easy. It will take you no time to make this one. It all started with me searching for a propagation station online and all I found were some fancy glass tube ones or hanging planters for the price I wasn’t willing to pay. Lacking the DIY skills and tools to make a beautiful test tube wooden rack, I got into searching for some supplies that will serve the purpose and satisfy me.
Material and supplies for Plant Propagation Station:
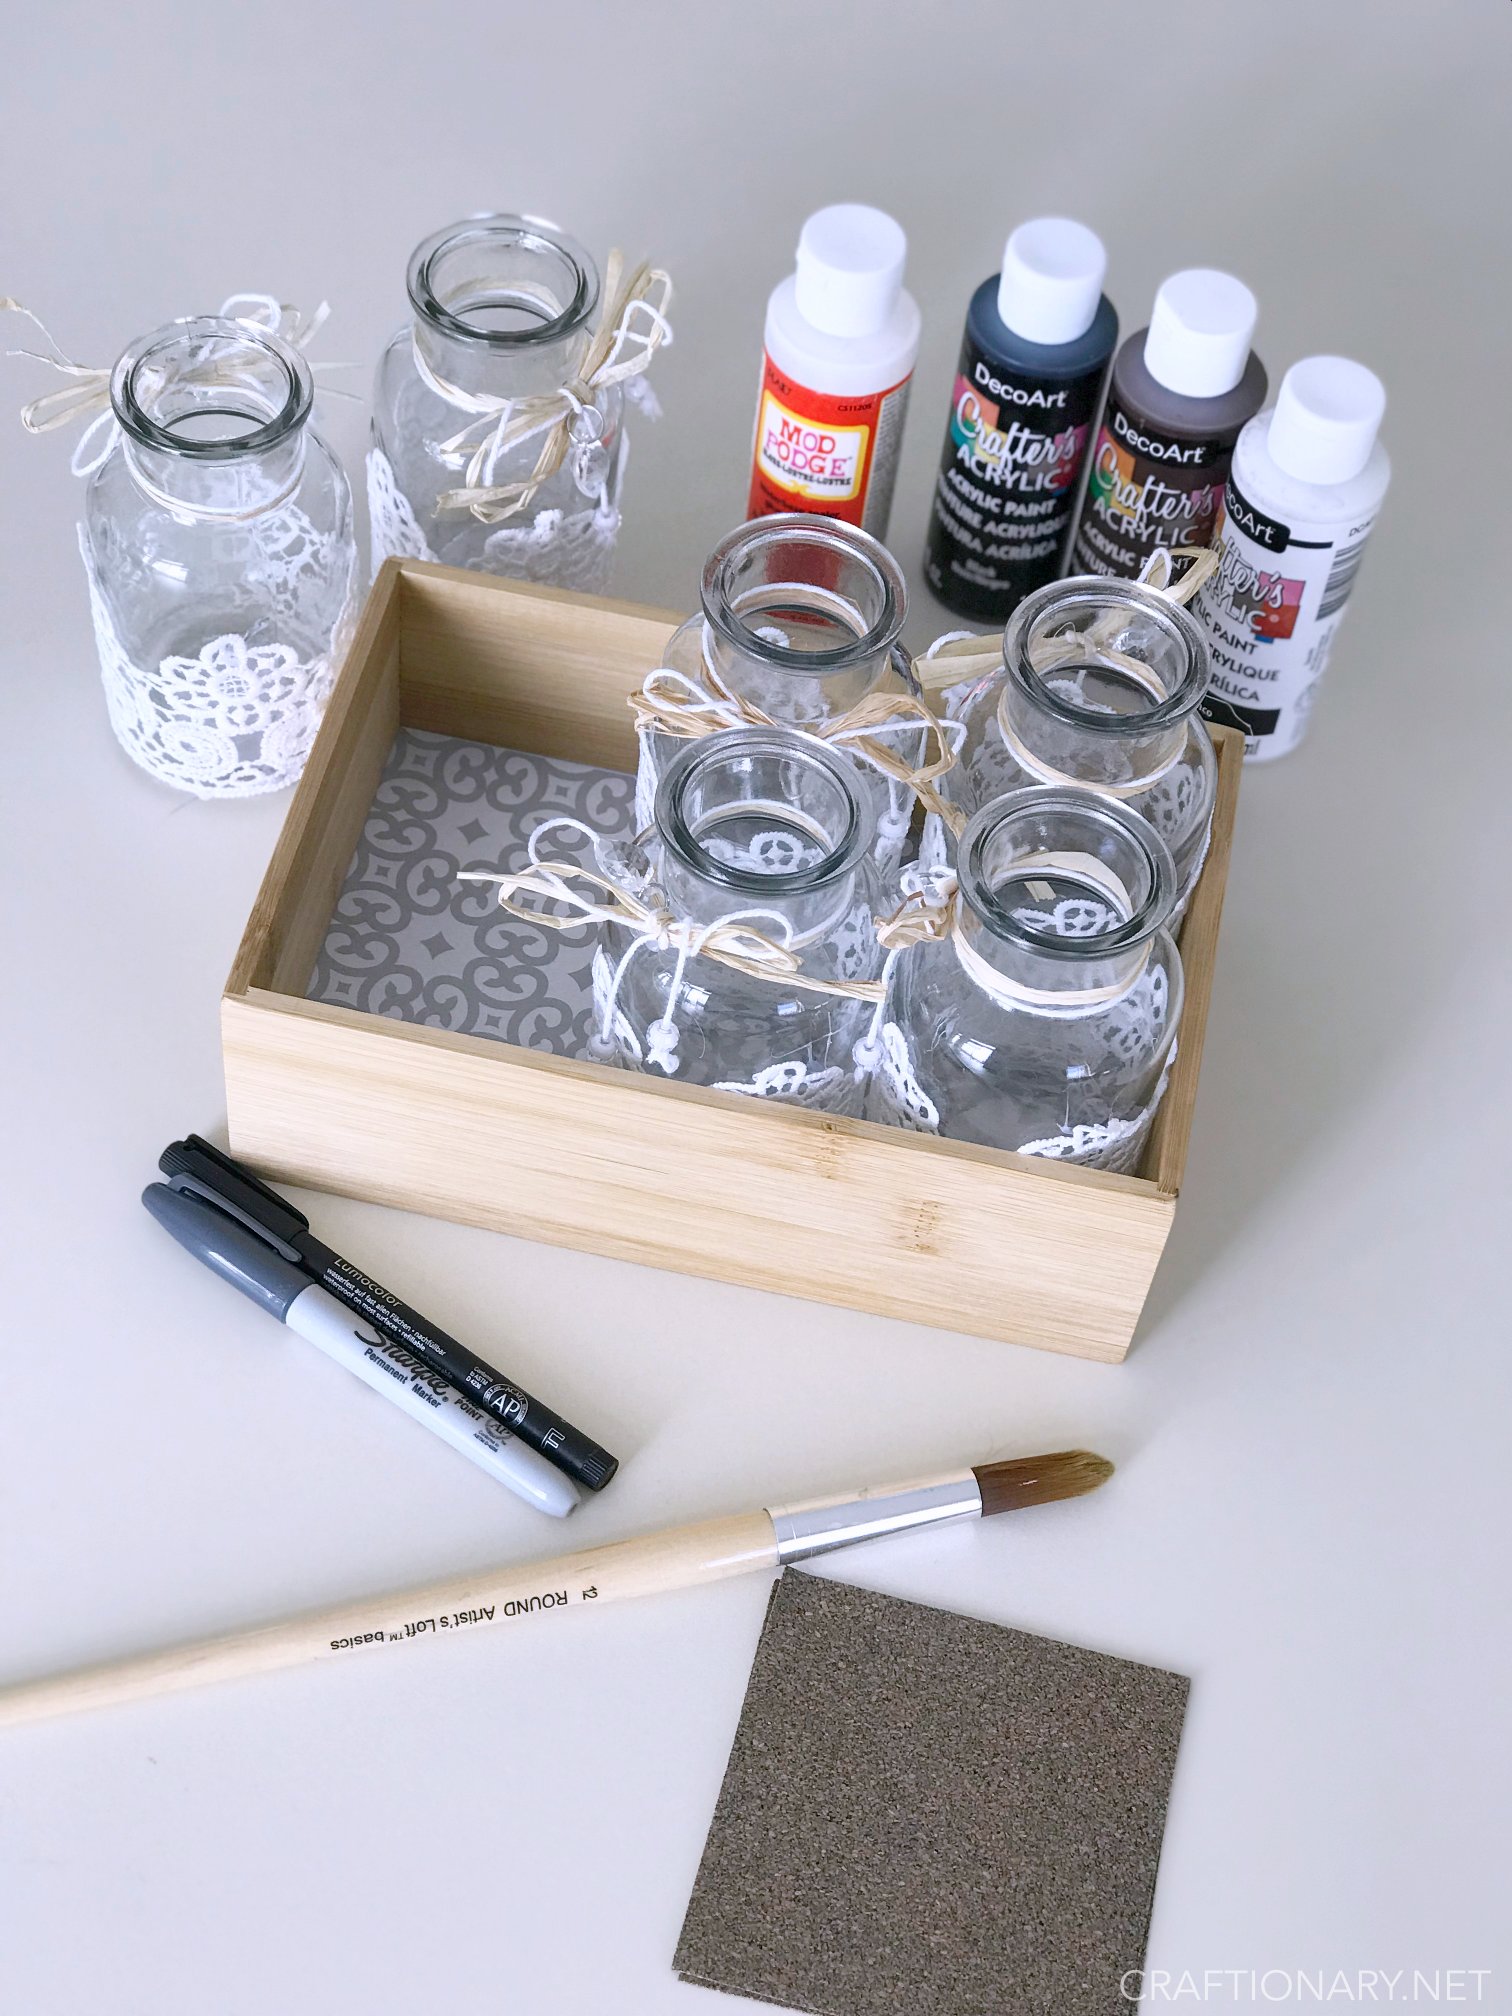
Here’s the material you need to make propagation station:
- wooden box (dollarama)
- glass jars (dollarama make sure they fit perfect in your choice of box)
- acrylic paint
- paint brushes
- paint marker (Elmer’s opaque paint markers)
- sandpaper
- modpodge (matte finish mod podge)
Instructions to DIY plant propagation station
This simple project is self explanatory. The materials needed for this project can be readily found in Walmart, amazon or even dollar store so I am not linking to any here.
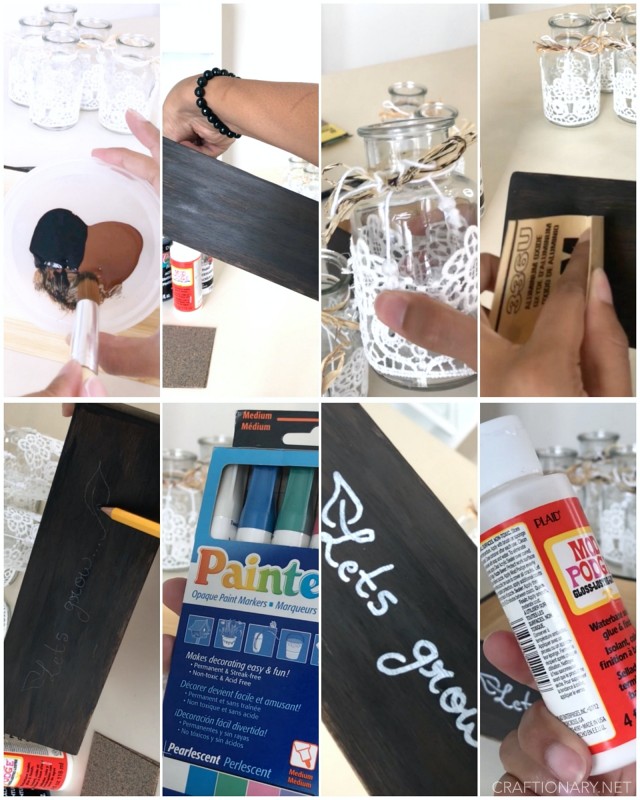
1. Paint the wooden box
I used black and brown acrylic paint and dipped my brush in both at the same time and brushed the wooden surface of the box. This gave it a shaded contrast which I love. You can dip less or more depending on the color you want to dominate in your project. I wanted it to be more brownish so I dipped more in brown paint. Let it dry!
2. Match the glass jars
While I waited for the paint to dry, I shaded the corn husk bow on the glass jars to match the box.
3. Write something on the box (optional)
I wanted it to look just made for propagation, so I traced with a pencil and used opaque pearl white paint marker to write “Let’s grow” on the front of the box.
4. Sand and seal the wooden box
Once it all dried in a few minutes. I used fine sandpaper to give it a distressed look. Finally I coated it with modpodge to seal and protect it from any water damage.
5. Glass jars and wood station ready to propagate plants
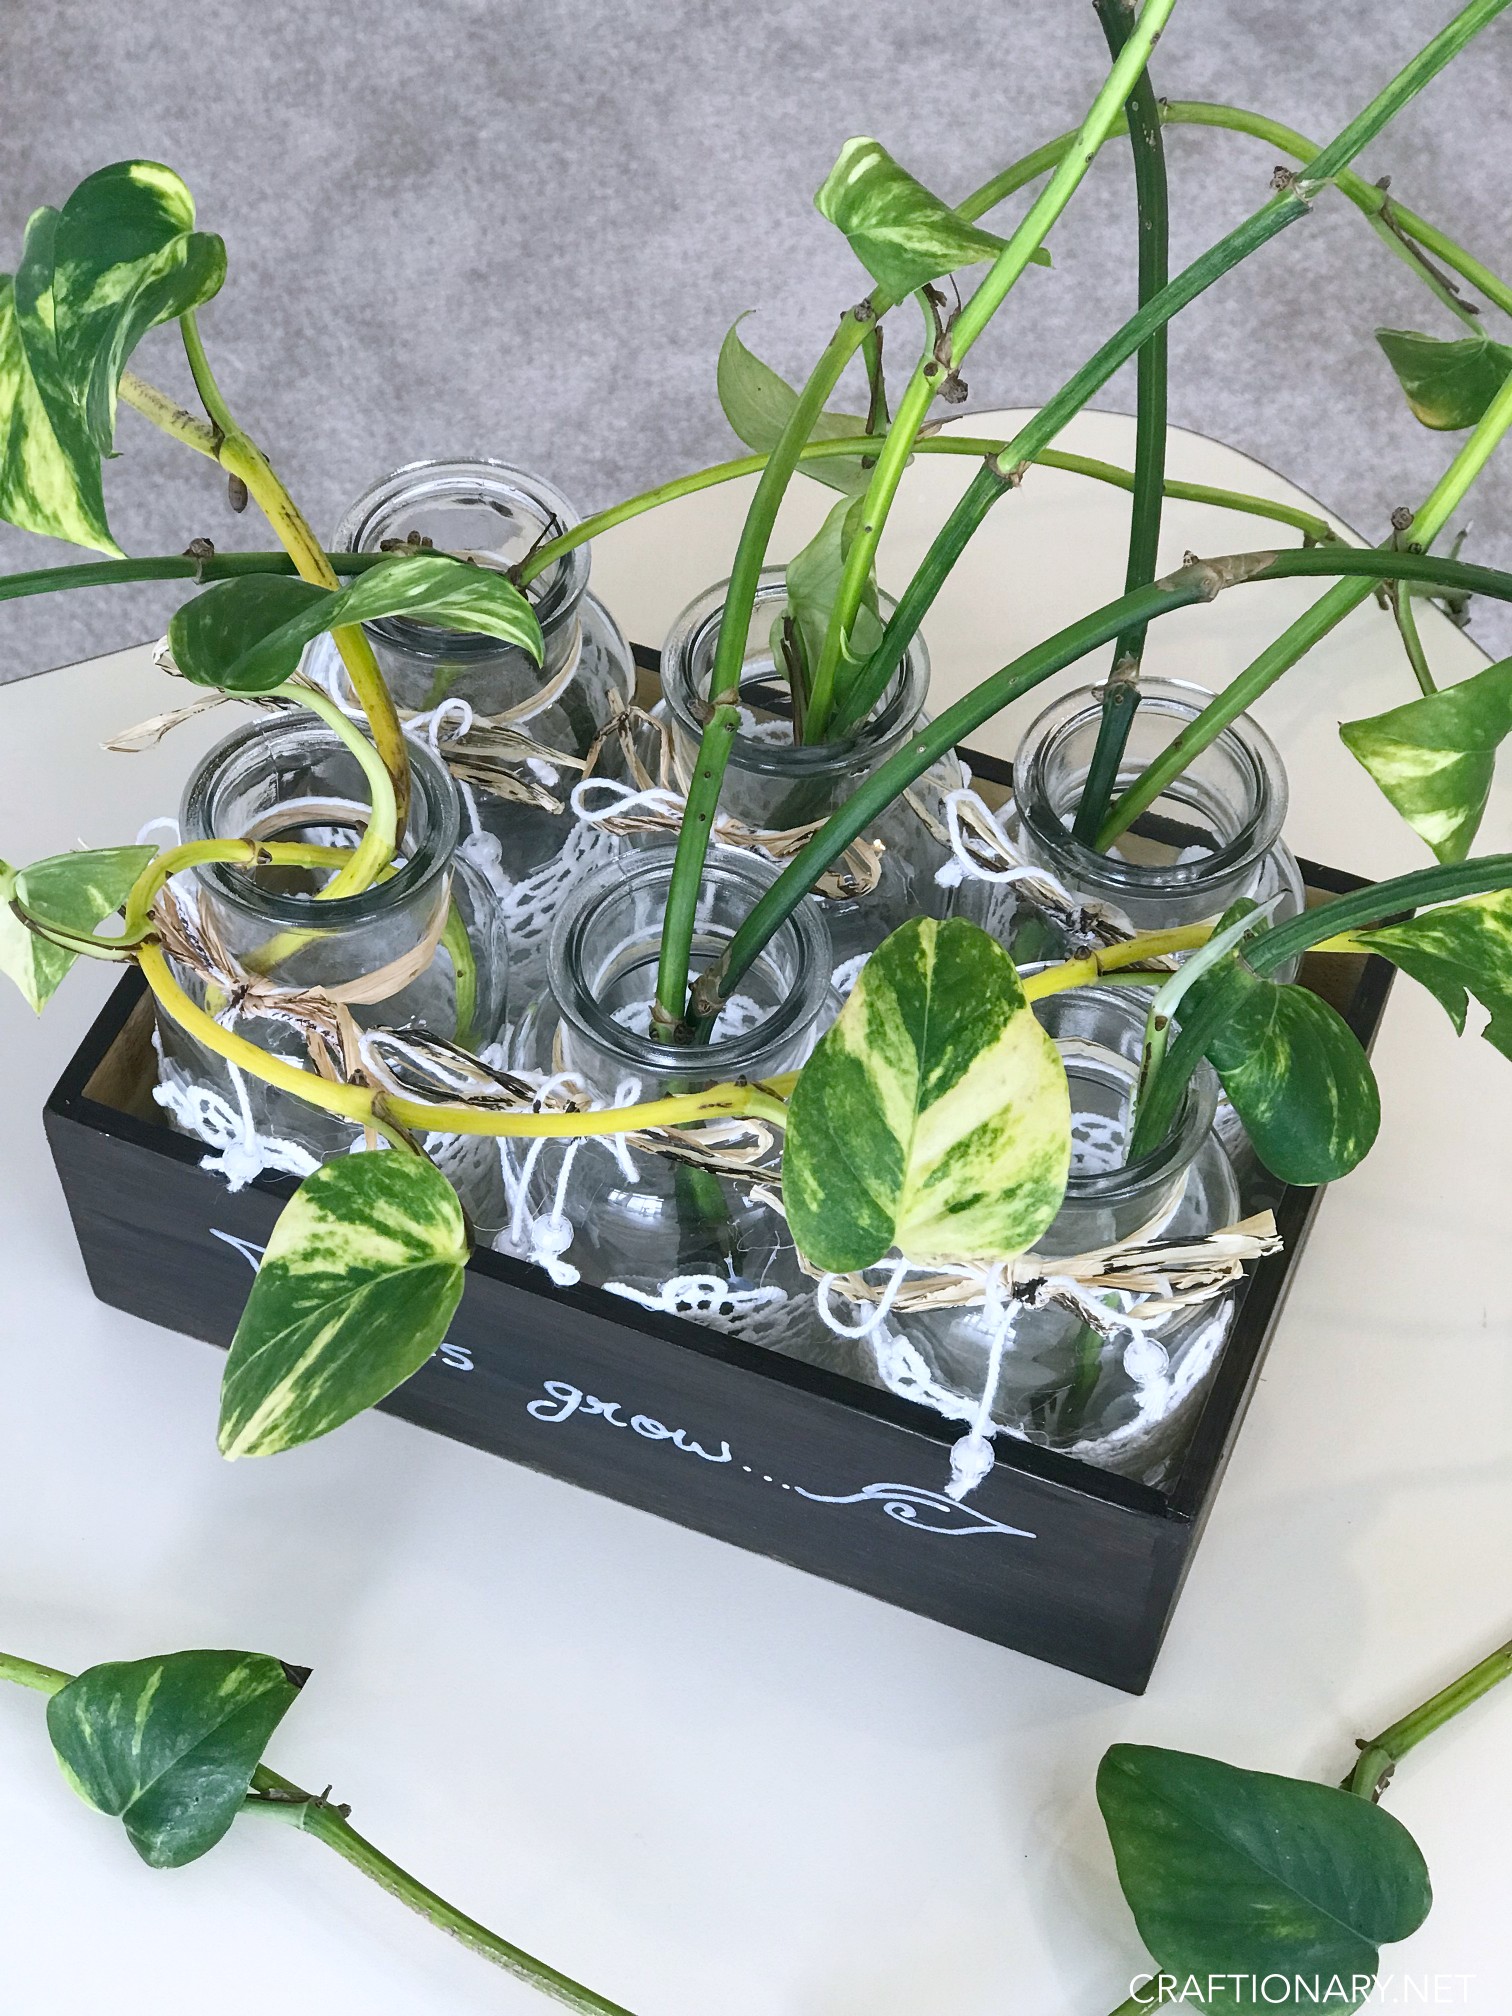
Now put the glass jars in the box, fill up water in the jars and leave your stems to propagate. That’s about it all. In just less than 30 minutes, I have a beautiful plant propagation station that works properly without test tubes.
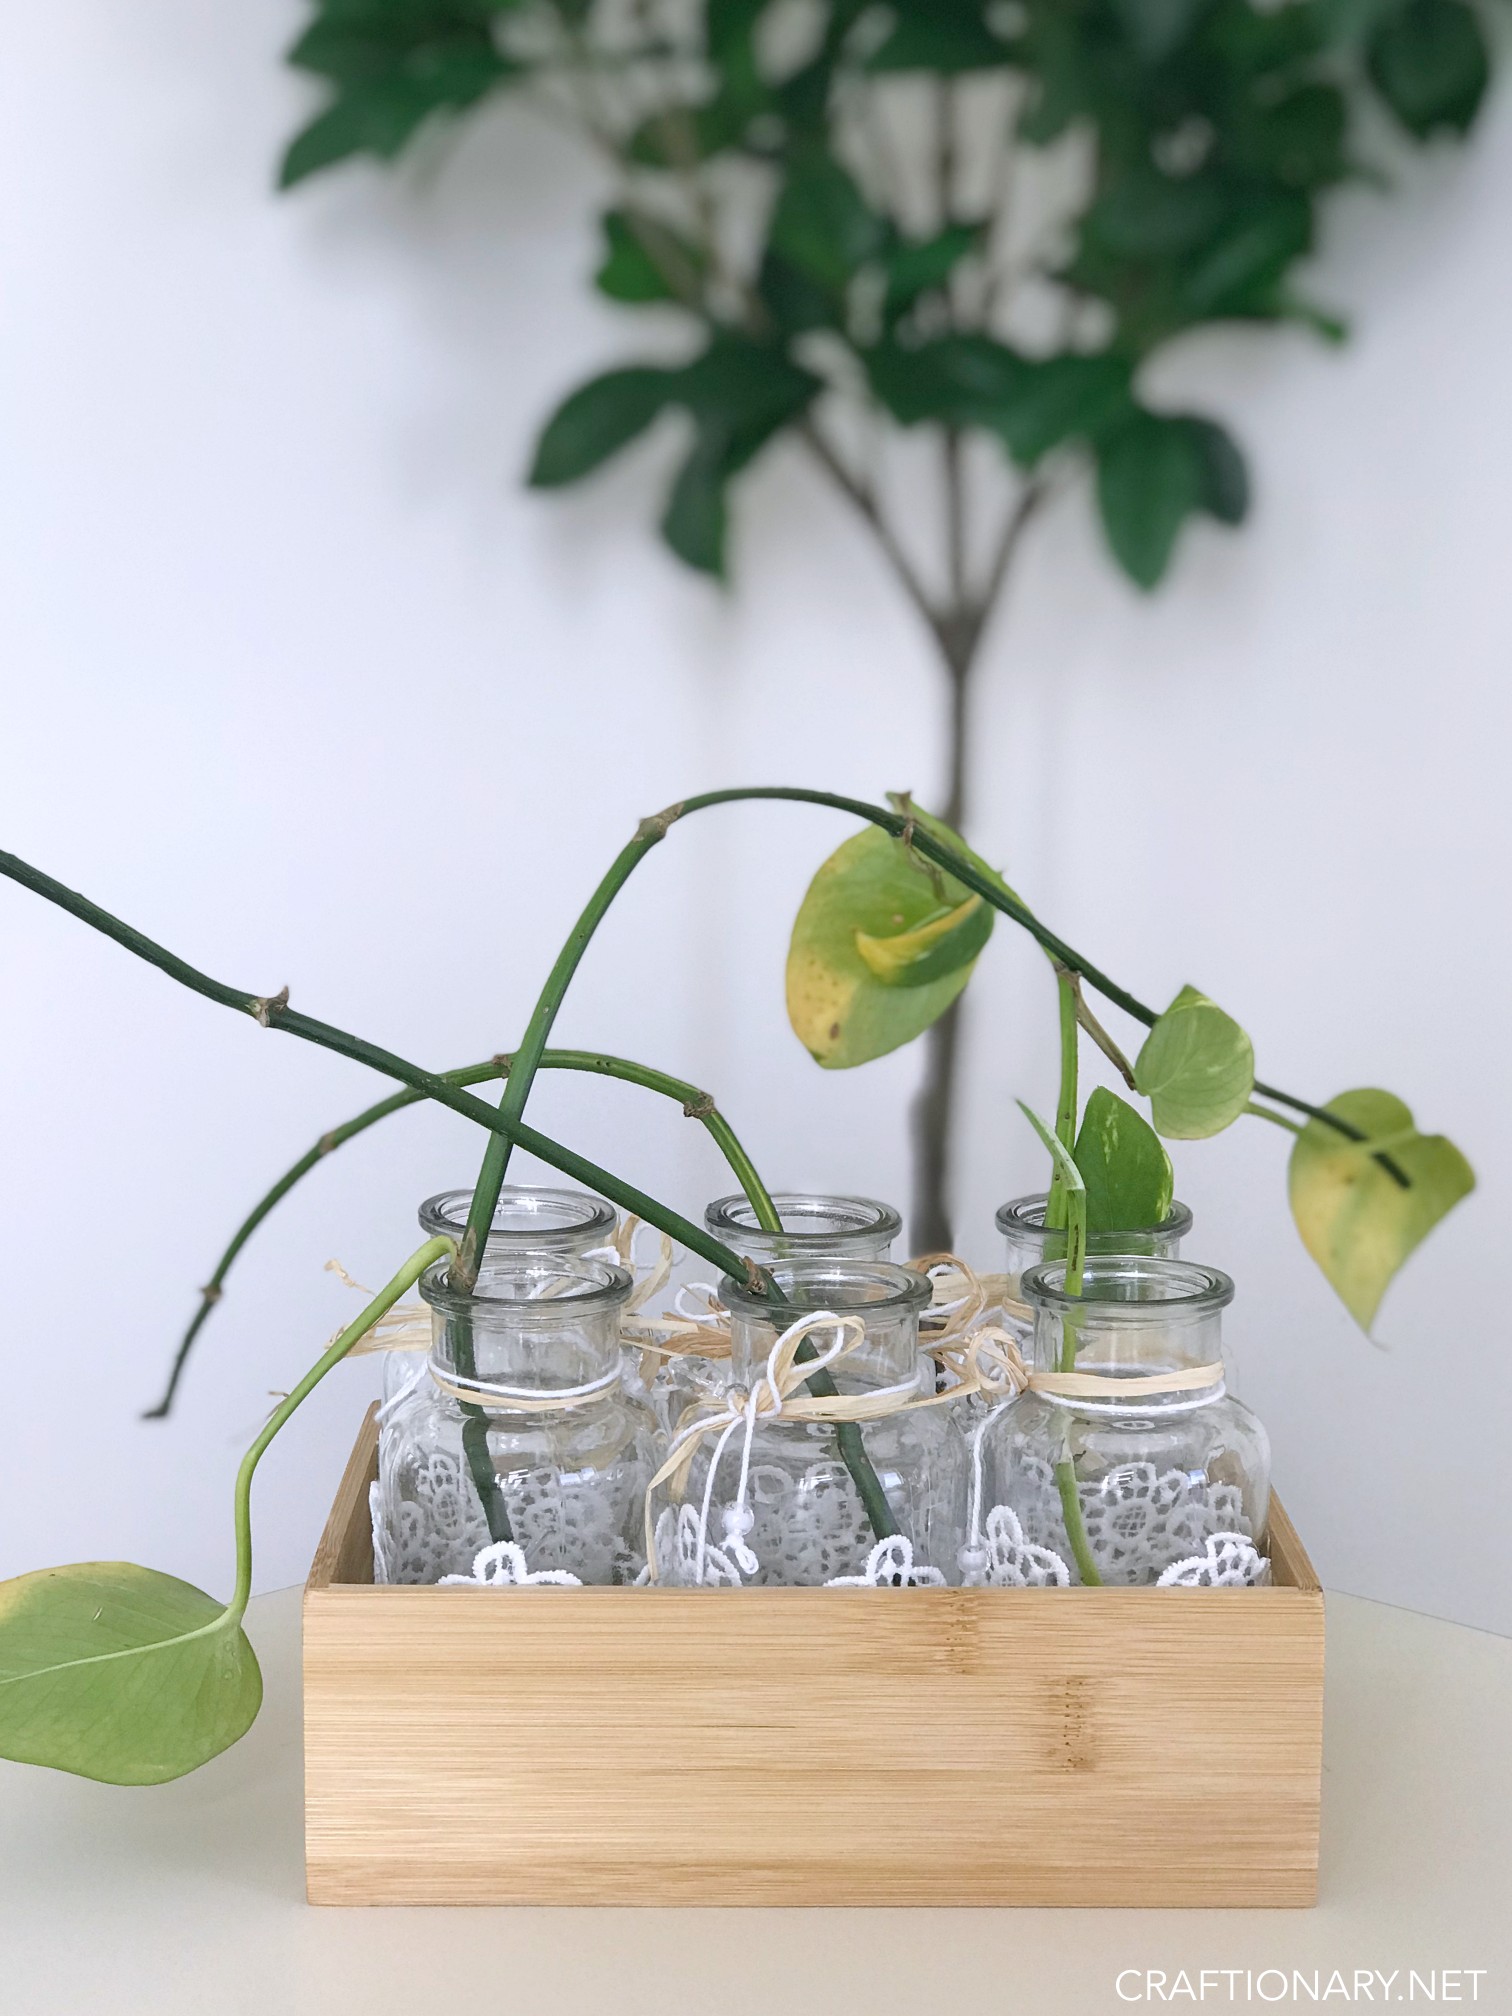
You can also choose to let it stay natural as it looks beautiful in it’s own elements as well.
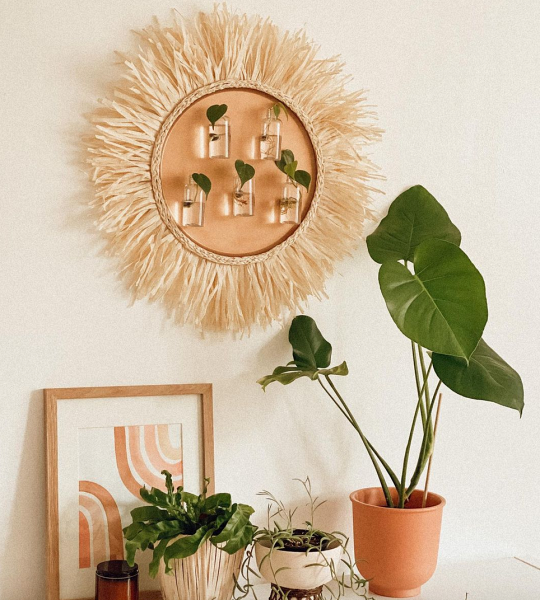
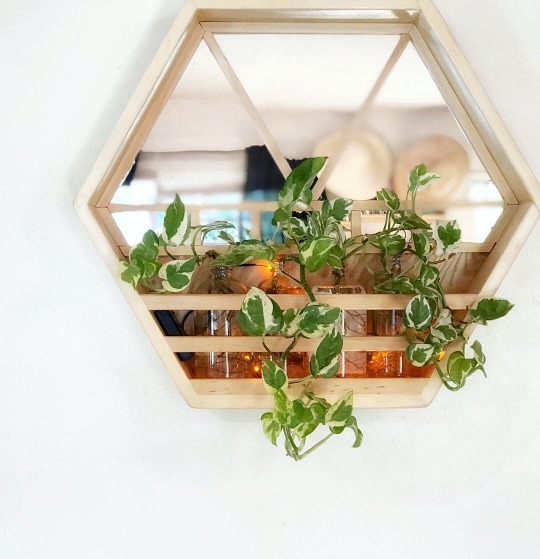
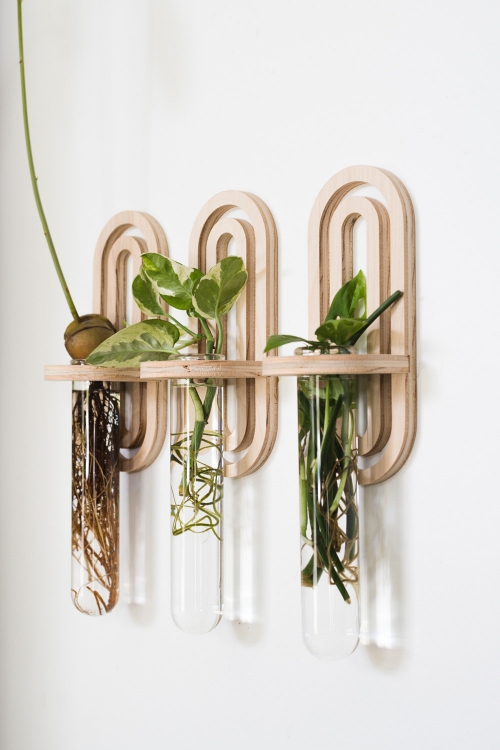
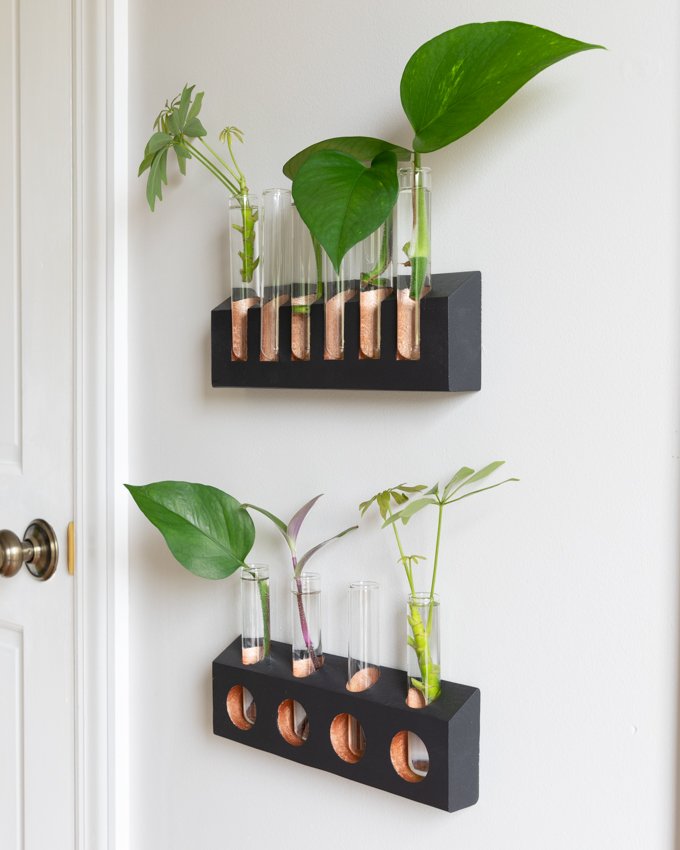
DIY plant propagation stations
Here are a few other ideas you can make at home if you are a test tube fan or have the right tools to execute these terrific ideas.
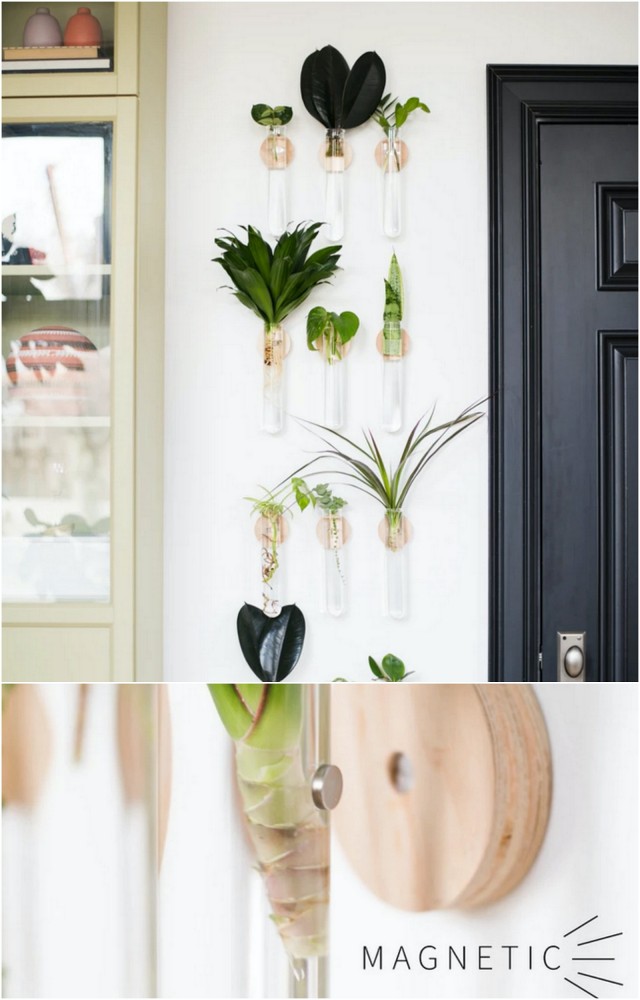
Make a Magnetic propagation station from pizza pan and stick glass bottles using magnetic disks to it.
DIY wall mirror propagation station with hexagon mirror wall hanging, some wood sticks and glass bottles.
Modern arch propagation planter diy
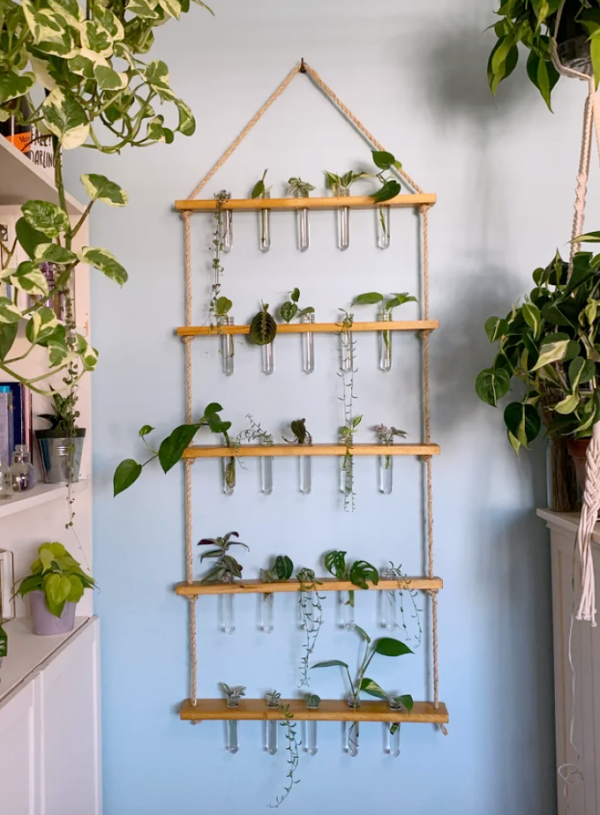
DIY test tube propagation station
Plant propagation station you can buy
Some beautiful propagation planters you can buy
Modern propagation planter
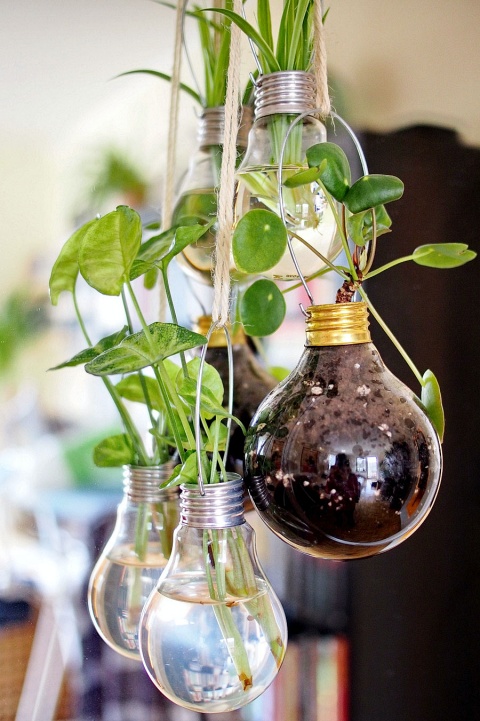
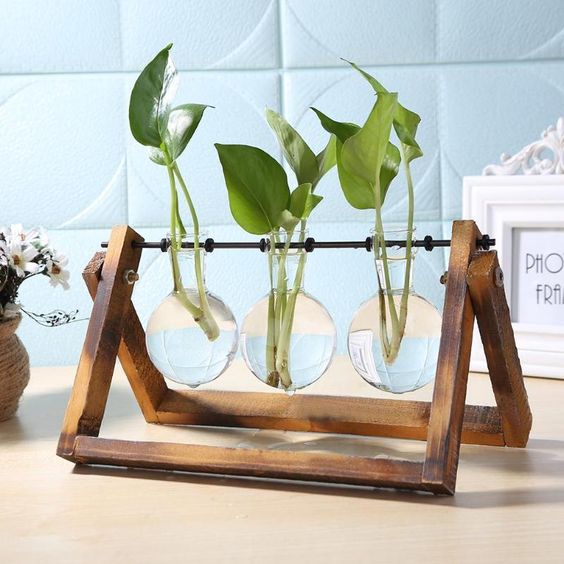
Hydro pendulum plant stand with cute glass propagation bulb vase and wood stand.
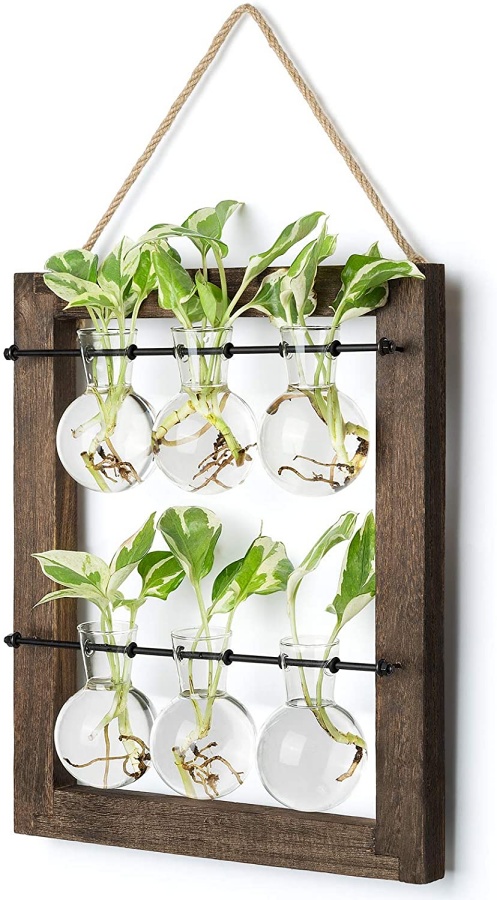
Hanging glass plant propagate station via amazon
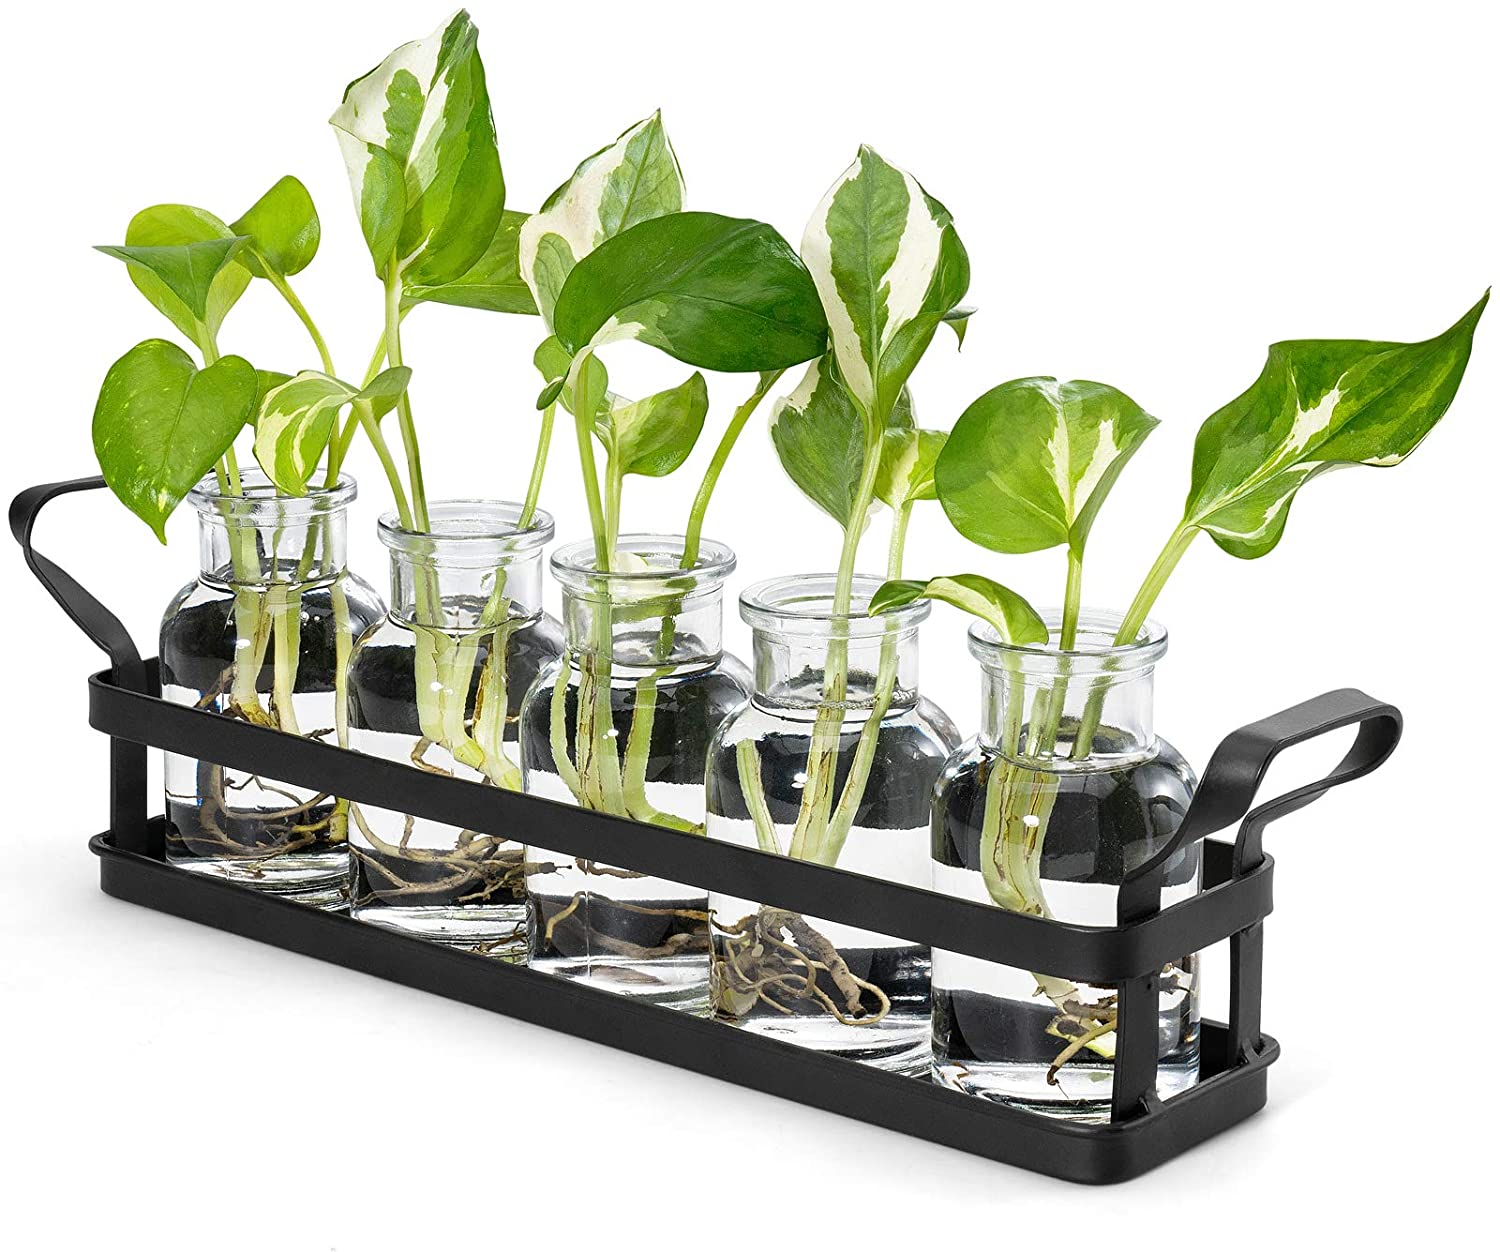
Metal stand propagating station via amazon
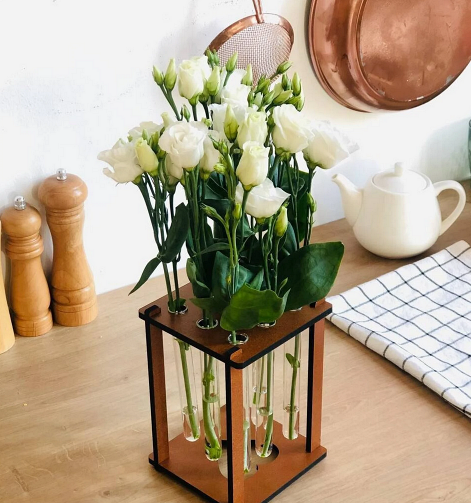
Propagation station vase and tubes via Etsy
There are millions of DIY propagating stations and vases you can make as well as buy from almost every store. I have shared a few that caught my eye. Let me know in the comments what you think about my plant propagation station. I would love to know your thoughts!
You will also like:
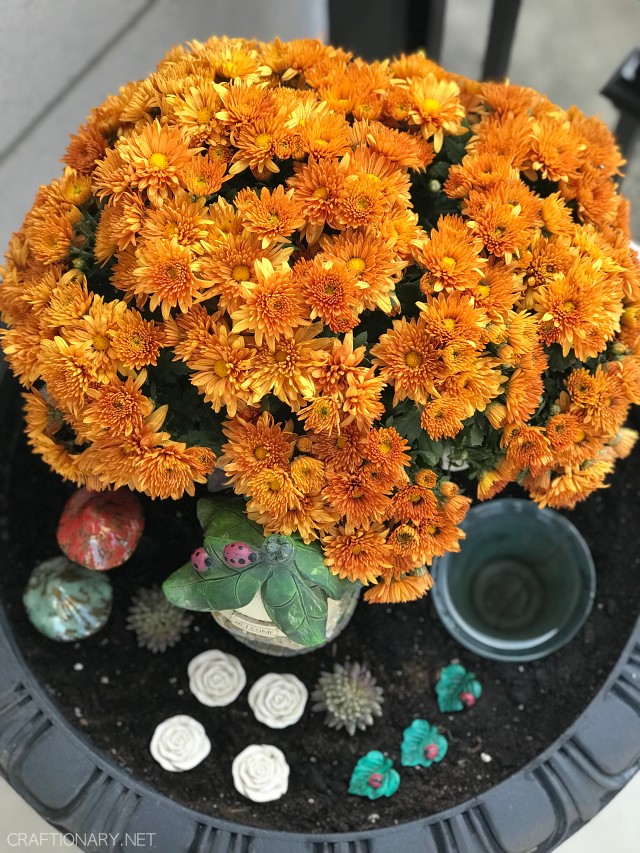
Front porch Fall planter DIY fairy garden bird bath
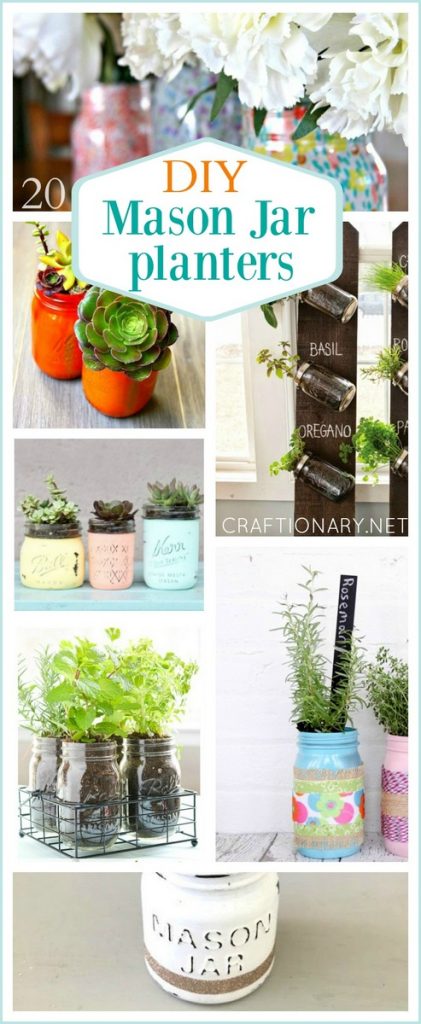
DIY mason jar planters for garden lovers
SHARING IS CARING
If you like my article please share it on your social media to help others find content you like. I’ll appreciate this kind gesture. You can find sharing buttons at the top and the bottom of the post. I would also like to take this opportunity to invite you to follow me on Instagram, where I just recently started sharing real time work on my projects and my life stories.







What a cute station and I love that you know how to propagate. I have never been successful at it but I worked with a nurse who could grow anything from clippings!! Thanks so much for linking up at the Unlimited Link Party 35. Pinned!
Great post – so many ideas and clear instructions. I’m working on some plants now too. I’d honored if you shared this post at our link up on the Big Fat Menopausal life.
CONGRATS! Your post is FEATURED at my Unlimited Link Party 36!