This post may contain affiliate links. Please see our full Disclosure Policy for details.
Hi, I’m Aimee and I have too many craft books. I’ve declared 2012 to be my Year of the Craft, and I’m on a mission to use one craft book a week and blog about it at Suzy Cucumber until I run out or completely burn out. I have more than 200 craft books and pamphlets so I should be at it for awhile.
One lesson I’ve gleaned so far is that what you learn from one book can be applied to other projects. A few weeks ago, I made starched fabric flowers using a Japanese craft book from the 1970’s. The starched fabric is like paper… and paper can be run through an inkjet printer. Hmmm. Thus was born:
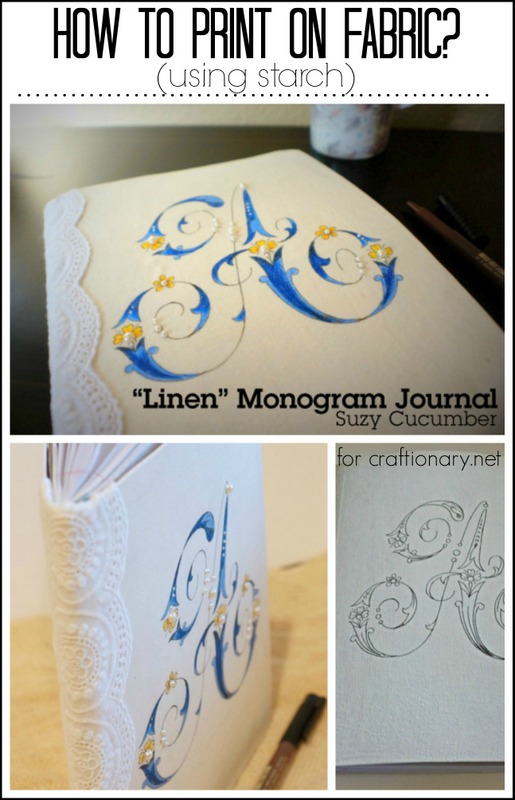
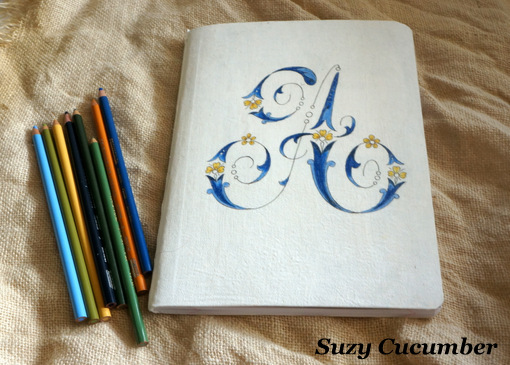
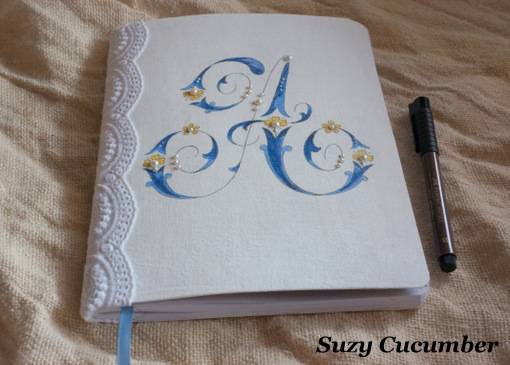
I did not draw that fabulous A onto the journal. I printed it on fabric using an inkjet printer and colored it with colored pencils.
This is what I used:
1. Supplies: corn starch, matte finish spray or other fixative, gesso, Mod Podge, white or blue gel glue, tacky glue, composition journal.
2. Design source (I used Treasury of Floral Designs and Initials as my craft challenge book.)
3. White cotton fabric.
4. Embellishments (adhesive pearls, wide lace).
5. Tools: ruler, scissors, flat paint brush, pencil, colored pencils.
I stiffened my fabric with a glue/starch mixture.
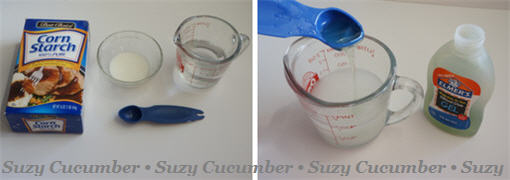
Here’s the recipe:
Add 2 tsp cornstarch to 2 tsp water and stir. Boil 1/2 cup water in the microwave.
Add the starch mix to the hot water. It should thicken immediately.
Then mix in 2 tsp white or gel glue. Easy!
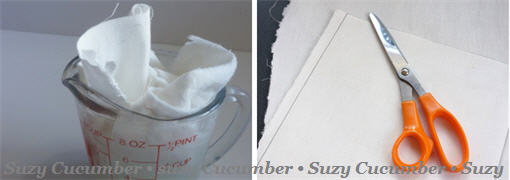
I cut two 10×12 chunks of white fabric and saturated them in the starch mixture.
When the sheets were partially dry, I pressed the slightly damp fabric between two paper towels with a hot, dry iron.
The starched fabric acts and feels like paper.
I trimmed the fabric sheets to 8.5×11 inches to fit my printer tray.
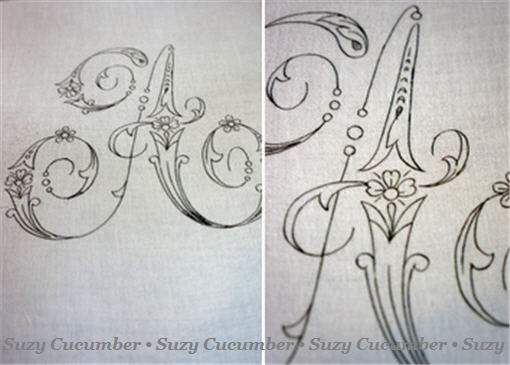
I scanned the floral A from Treasury of Floral Designs and Initials and printed it on the fabric using my inkjet printer.
The fabric fits into the printer as if it were paper.
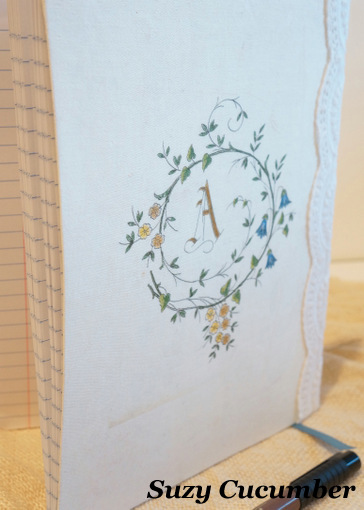
I printed both a front design and a back design on the sheets of stiffened fabric.
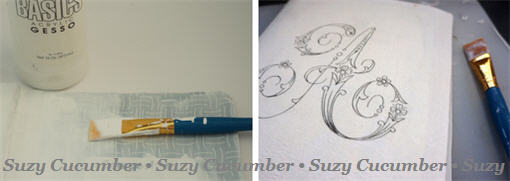
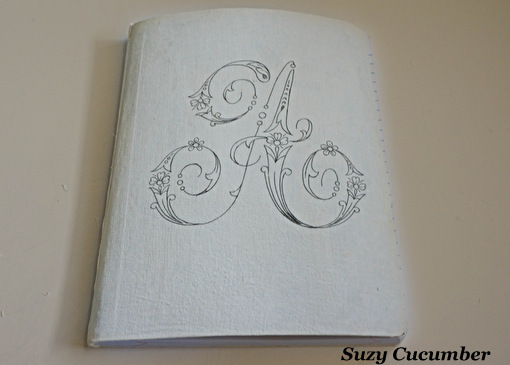
After painting several coats of gesso onto a plain composition book to hide the design, I Mod Podged my printed fabric sheets to both the front and back of the journal.
I did not seal the top with Mod Podge as I wanted the fabric texture to remain.
The result is a faux linen journal.
Now for the color!
I used Prismacolor colored pencils to color in the front and back monograms once the Mod Podge was dry.
The starched paper accepts the colored pencil with no drag. A layer of Krylon Matte Finish should help protect the fabric from dirt.
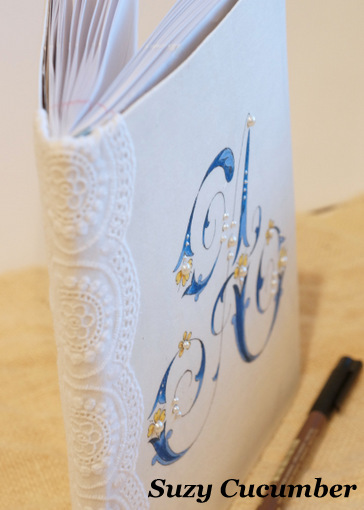
The final step was to glue a strip of wide lace down the spine, place a few adhesive pearls on the circles in the original design.
And glue in a strip of matching ribbon as a bookmark.
Here’s the back design.
And if you’re thinking you can print full–color designs that are ready to frame, yes, you can.
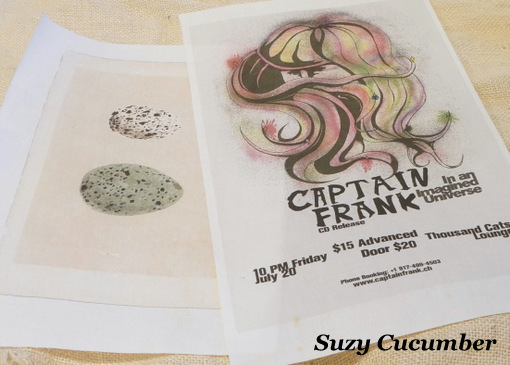 |
| Egg print from The Graphics Fairy; band poster by my daughter. |
I’ll be exploring a new book in my craft library every week at Suzy Cucumber. Do you have any craft books you’ve been meaning to try?
Hani, thanks for the opportunity to share my madness!
I can already think of numerous possibilities to craft using printed fabric.
Thanks Aimee!
A few amazing projects that are on my Must Make list from Aimee’s blog:


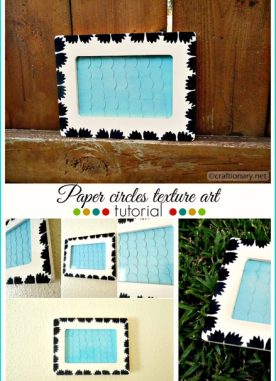
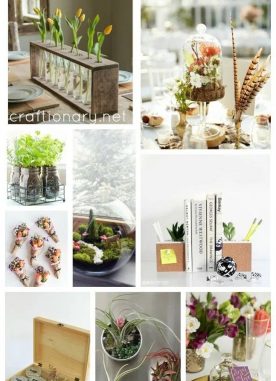
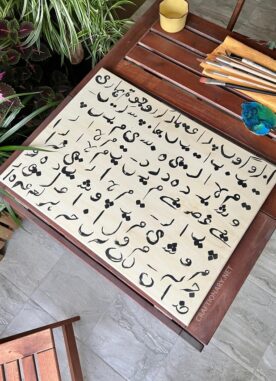
What a terrific tutorial. I love the journal – it looks like it would go for quite a few bucks in a boutique!
Thanks, Hani! You are awesome.
Aimee
This is such an amazing process and tutorial. I absolutely love it!
all i can say is WOWWW!!! thank you for sharing this amazing project as well as breaking down all the steps!!
the notebook is so beautiful!