This post may contain affiliate links. Please see our full Disclosure Policy for details.

Cardboard wall holders

Things to make cardboard wall holders
- Cardboard (you can use any sturdy cardboard box)
- Wrapping paper or decorative paper of your choice
- Super glue or any strong glue
- Stickers or hooks for hanging
Tutorial to make cardboard wall holders
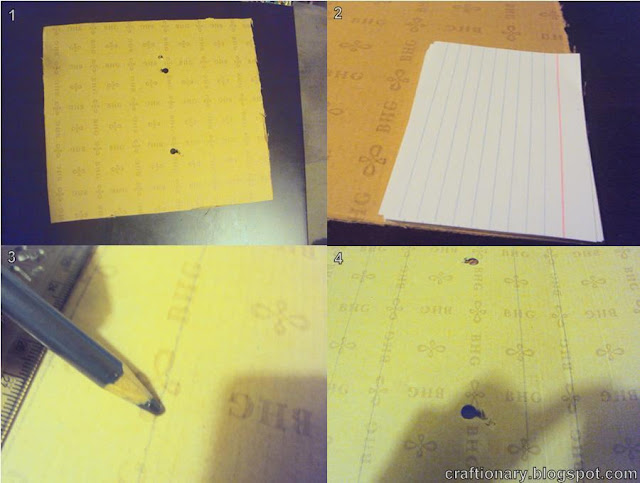
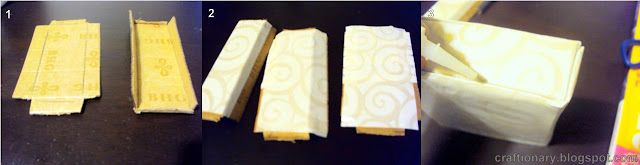
Place you papers on the sheet to make an estimate about the width and height of the final box. Mark these two widths, “paper’s width” and “stack’s width” leave a seam area for easy sliding. Remove the paper and mark the two width’s alternatively. So, that it closes into a box. Cut the excess side.
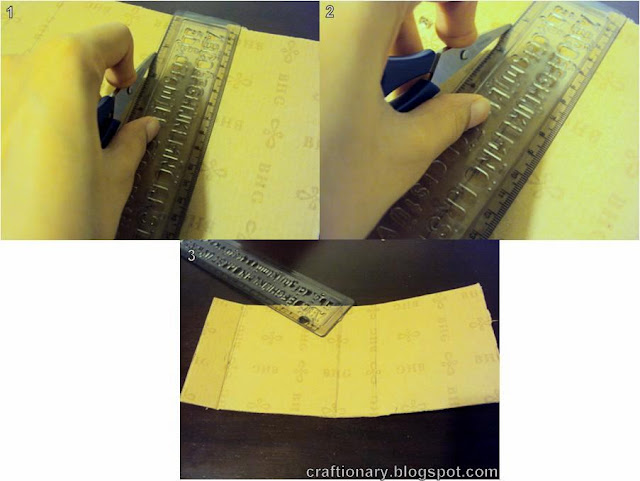
Crease the lines with pressure using ruler and scissors. If you have a bone that will be perfect. Now decide what height you want your holders to have. Mark and cut. I divided the cardboard into 3 holders. You can make according to your cardboard size.
Now wrap the entire piece in the pattern paper like you wrap a gift and glue the ends. Make sure the ends meet down and inside the holder.
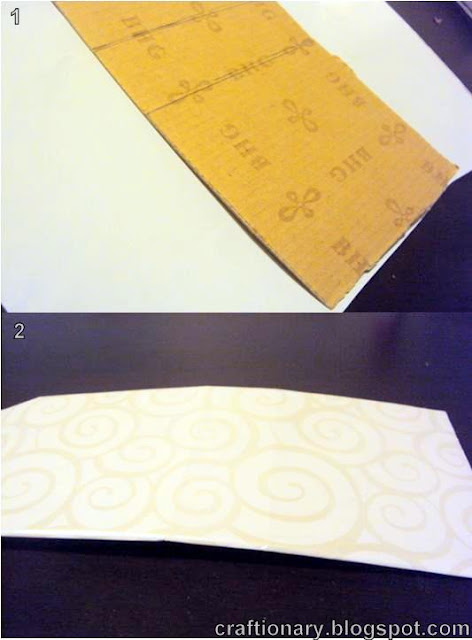
Fold and super glue the side. Leave it to dry.
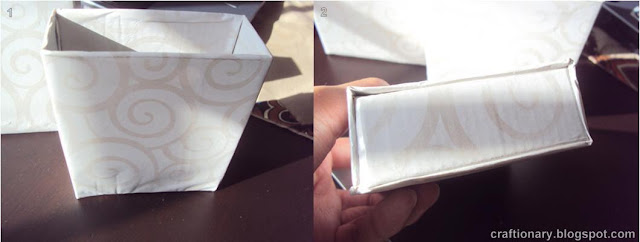
Cardboard stationery holder tutorial
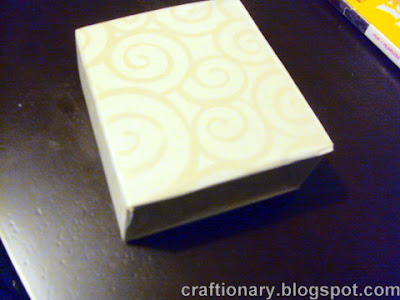
Now take another piece of cardboard to close one end of the holder. Place the holder over the piece of cardboard and sketch the boundaries with a pencil. Cut the corners as shown in the picture and crease the lines. Glue wrapping paper over it and push inside at the bottom. Use super glue and hold with your fingers to firmly glue the ends.
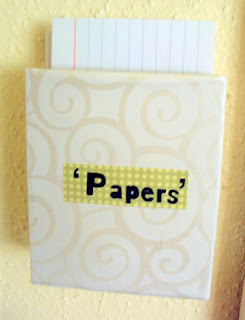
Here’s the final look when the glue dries.
Keep your sticky notes, and papers.
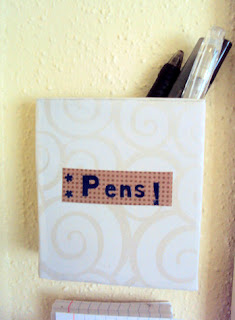
Pens or any other stationery items. They are also good for keeping receipts and business cards.
Recycle tin cans into organizers
Looking for more great DIY ideas to organize?


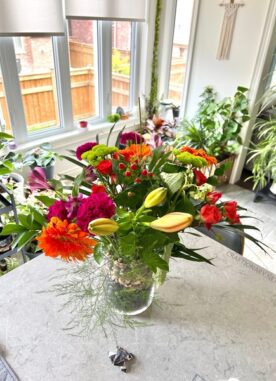

That looks great, I love all your flower works. I haven't tried these craftworks before but thinking about it now. Will try your flower works and let you know about the outcome 🙂
thanks.. 🙂 can't wait to see your flowers..
So creative! Love this post…thank you for linking up to Whassup Wednesday! Hope to see you tomorrow:)xoxokara
what a nice way to organize,i love this ideai m building and organizing my art studio,so i guess this project can come handy
thanks.. I will surely drop by kara..@ Shahana.. great! seems like we both are busy building our creative spot.. 🙂
What a nice cheap and easy project! Looks very effective!Thanks for linking to a Round Tuit!Hope you have a great week!Jill @ Creating my way to Successhttp://www.jembellish.blogspot.com/
Love this! New follower here 🙂
Cool idea! Thanks for linking up to Mad Skills Monday!
I LOVE this! What a great project! I need all the help I can get when it comes to organizing! LoL. I just voted, also! I am starting a new link party this week and I would LOVE it if you would link this up! http://www.homemakerinheels.com/2011/04/inspire-me-monday-week-1-is-here-come.html
Have a great week!
~Crysta
HomamakerinHeels.com
ll make a receipt holder soon…
thank u very much for the tutorial Vani..