This post may contain affiliate links. Please see our full Disclosure Policy for details.
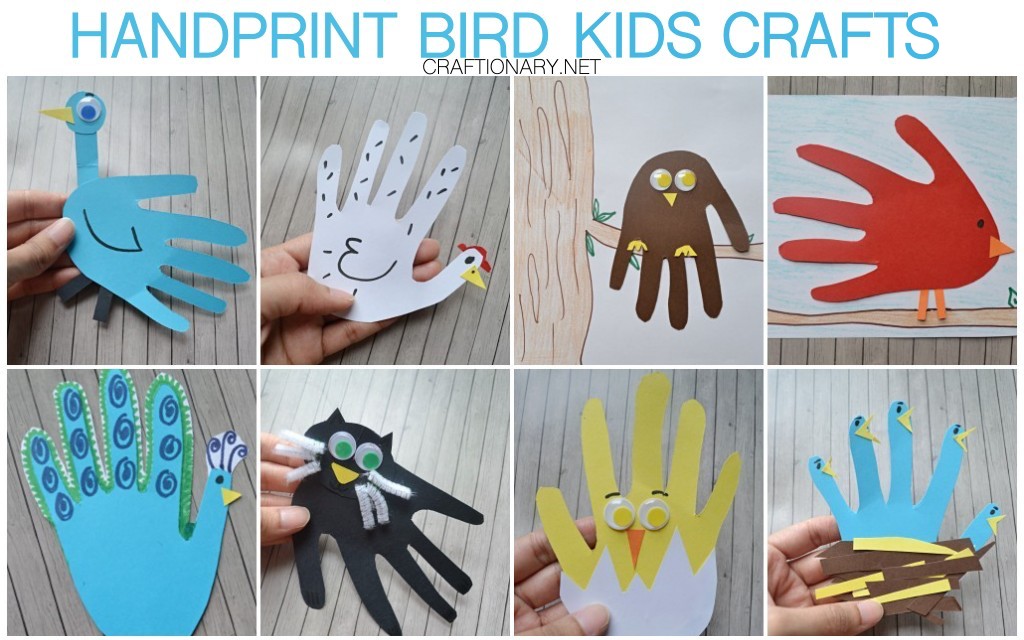
Make hand print crafts paper animals. Handprint turkey is the most famous followed by a variety of projects you can make with hand prints. You will find 9 bird craft ideas for kids with construction paper, glue, and markers. Children can enjoy playing show and tell or imaginary play with these paper birds and handprint art ideas. There are ideas for handprint Christmas tree you can craft with green construction paper and add stickers or glue paper shapes to make ornaments.
Toddlers will enjoy making faces in hand prints like handprint reindeer and snowman handprint ornament for Santa. Two handprints adjacent to each other on opposite sides can make handprint butterfly. Find fun ocean and sea handprint animals with video. You can use salt dough or playdough to make a variety of kids handprint art as well. These also make nice gifts for Father’s day and Mother’s day. Use hand print traces to make Halloween crafts and Easter crafts.
Some great ideas we have shared below:
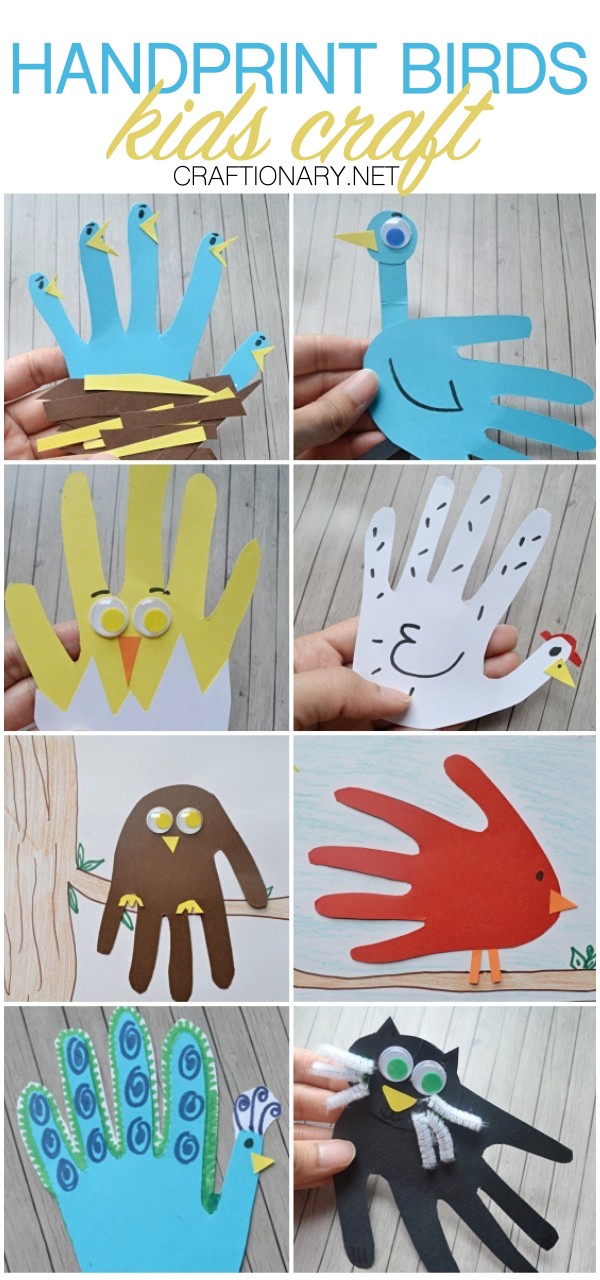
Handprint crafts paper birds
Video tutorial handprint animal paper birds craft
Watch the video tutorial for a step by step guide on how to make paper animals handprint crafts. Find more simple crafts at Craftionary on YouTube.
My kids had fun creating these paper birds. After we were done with these they enjoyed playing with them and hanging them around the house. These are super easy to make when you do not have many craft supplies on hand.
Supplies needed to make handprint crafts
- Construction paper
- Markers
- Crayons
- Gel pens
- Googly eyes
- Scissors
- Glue stick
Note: We used construction paper to make these animal crafts but you can use any other paper.
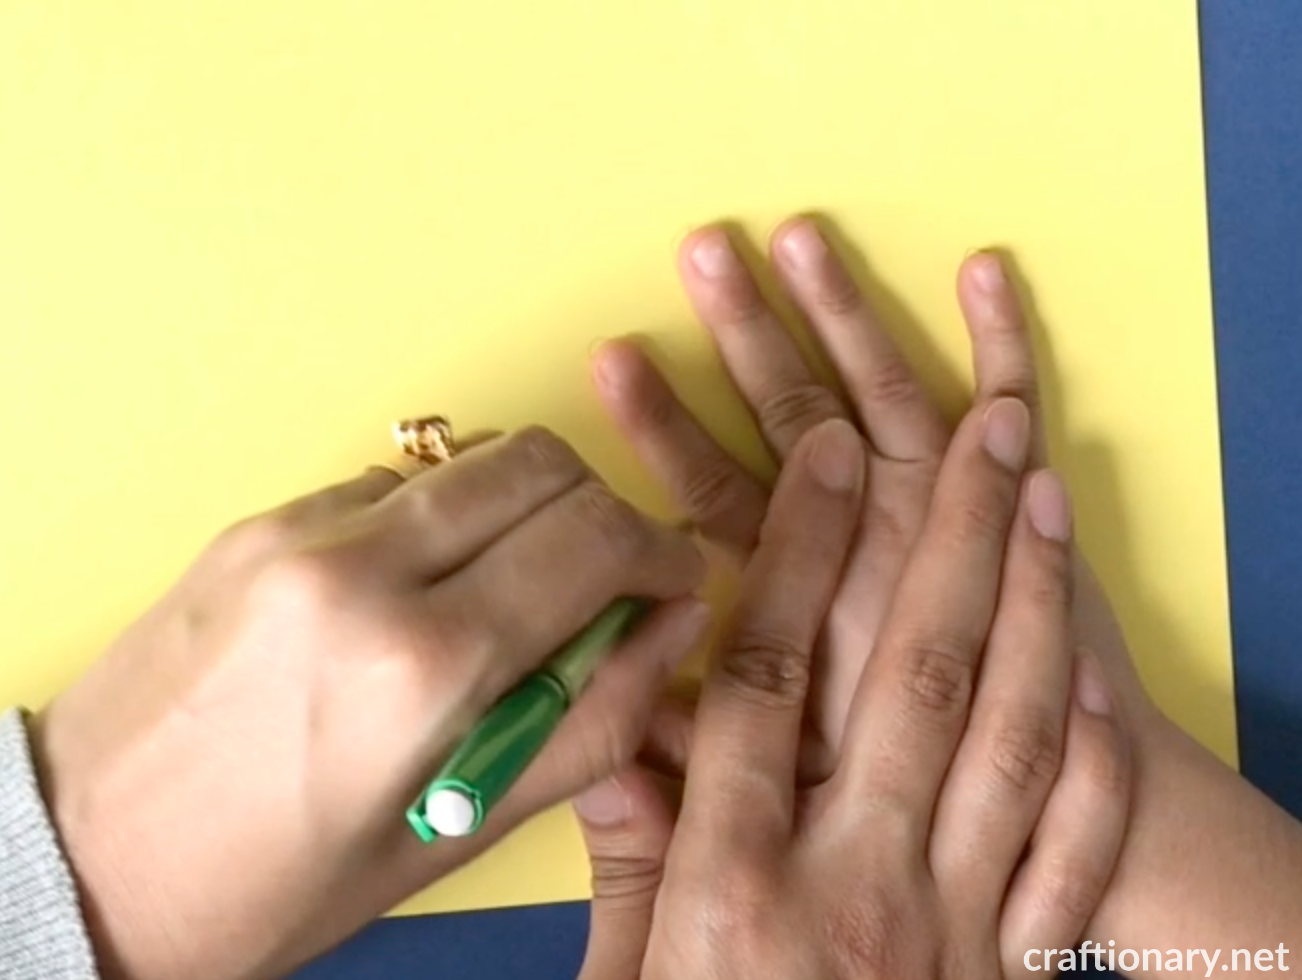
Start by tracing the child’s hand on the paper. Keep the fingers apart from each other as you trace. This will allow gaps and a more fuller look of the bird.
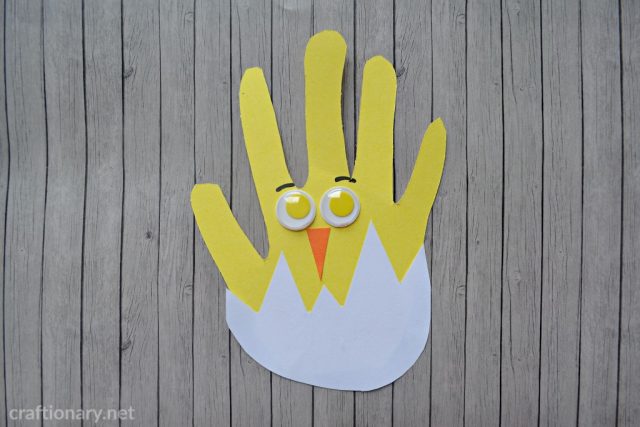
1. Easter Hand print craft
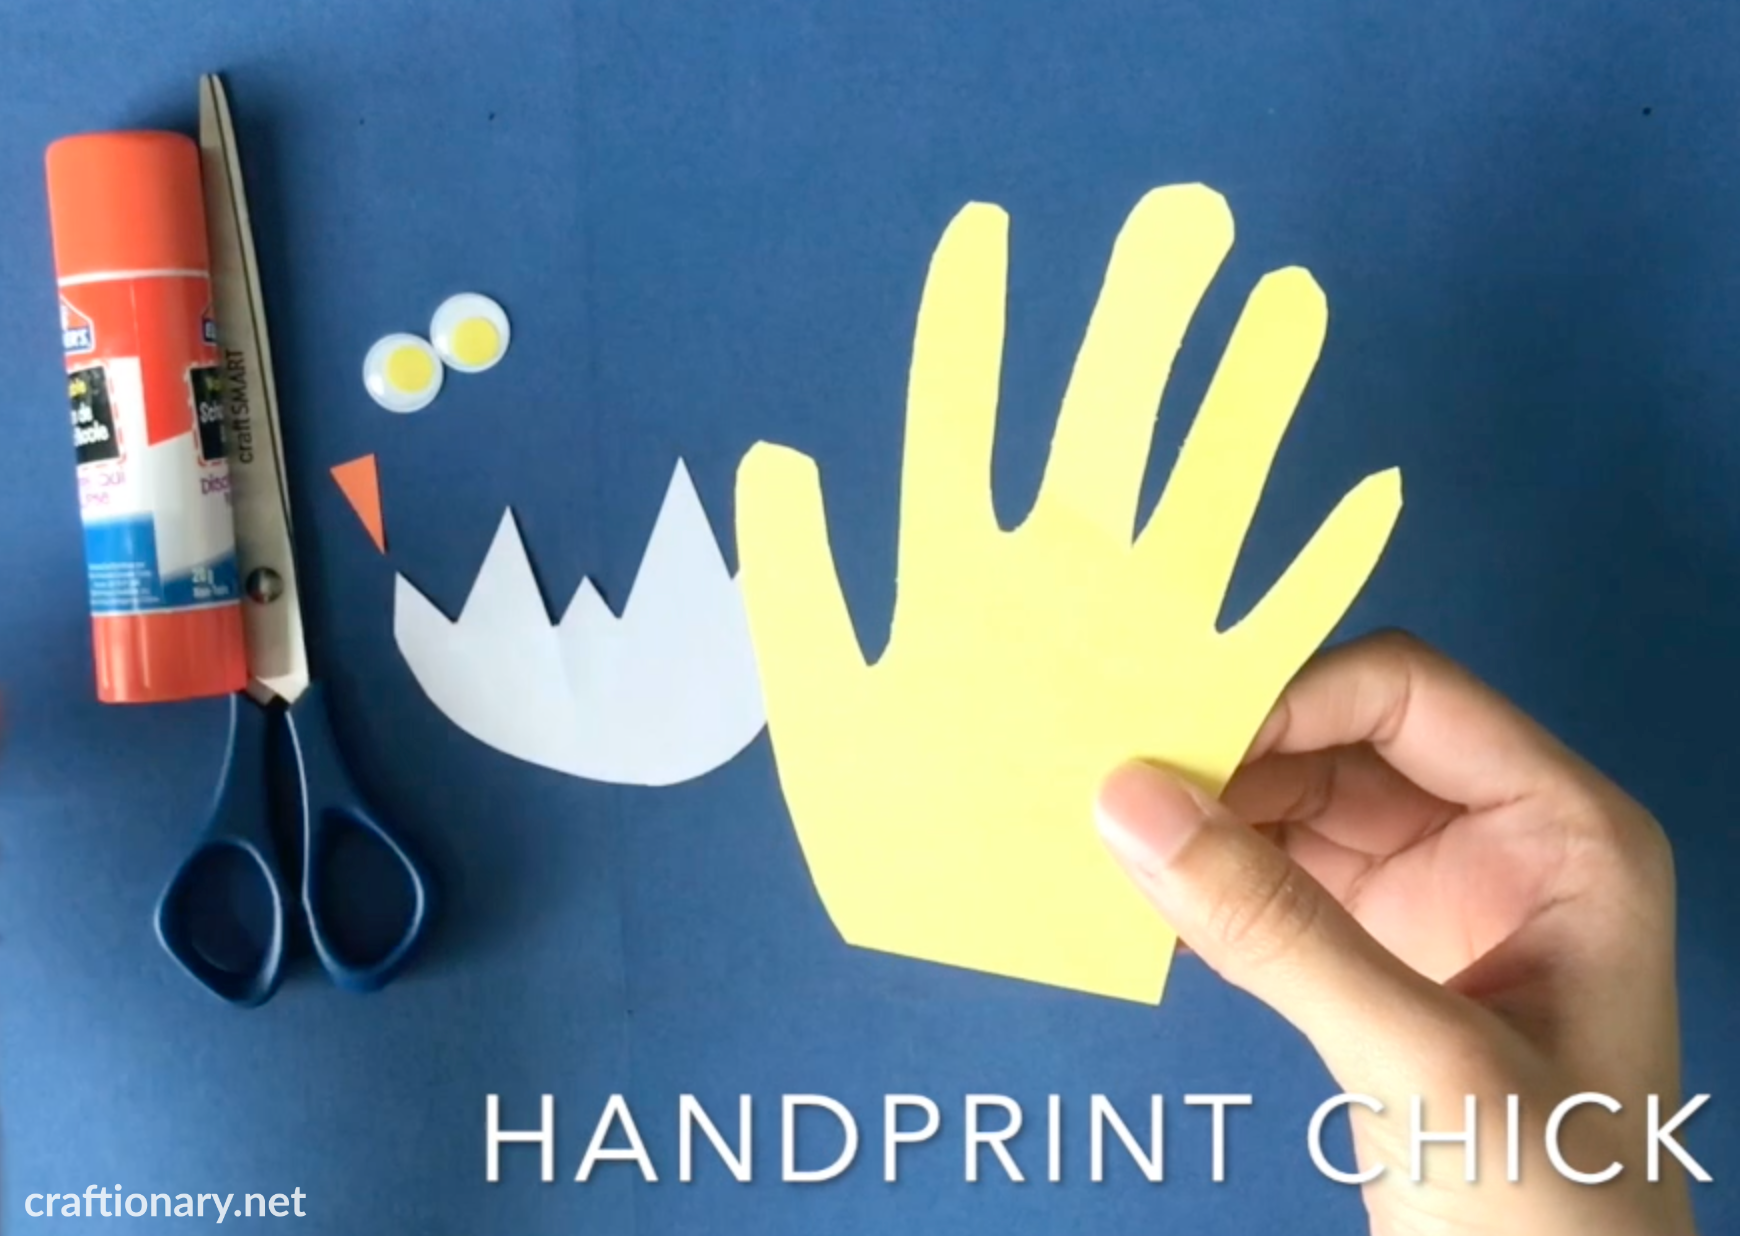
- yellow construction paper handprint trace and cutout
- two googly eyes
- a piece of orange triangle for the beak
- Paper eggshell. To make the paper eggshell, trace a oval base followed by haphazard peaks to show cracks on the eggshell. Now cut it out.
- Black marker for the eyebrows
Start by rounding the base of the hand to give a smooth look. Now use glue stick place all the parts together. Make eyebrows with the marker. Your cute little chick is ready to go.
2. Handprint bird on the tree
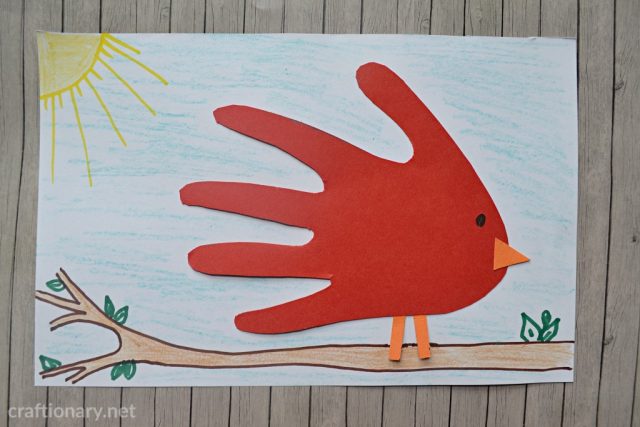
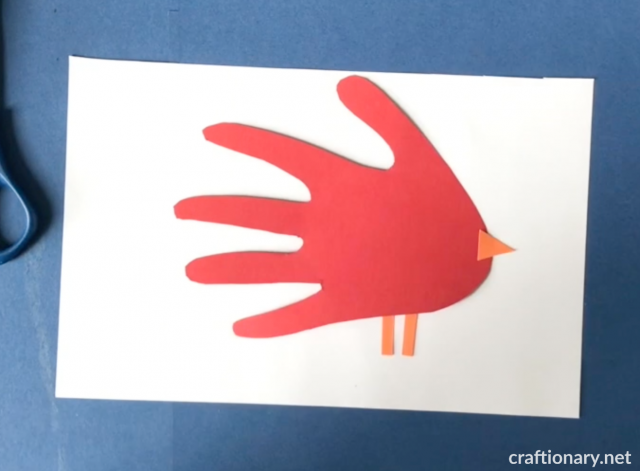
- Red handprint paper cutout
- Two little orange rectangles to make the feet
- One orange triangle for the beak
- A sheet of white paper(optional)
- Crayons and markers for the background (optional)
There are two ways you can complete this project. Either start by making the background and gluing the bird on top. Or glue the bird first and then draw the background. I like the first option as it gives a perfect flow of background without any break.
To make the background, I simply used markers to draw a bark, some leaves and sun shining. I used crayons to color the background. This would be fun to keep kids involved for a while. You can go all creative with the background. How about a robin on the tree in snow? Use cotton balls to make clouds for a rainy day? Ideas are endless.
Glue the paper robin and use black marker to draw the eye.
3. Hand print chicken on the farm
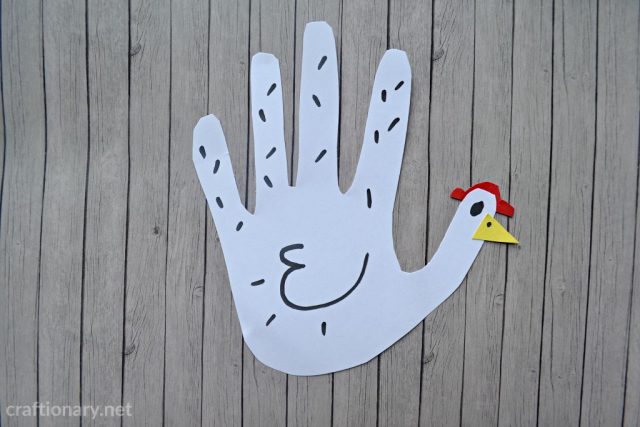
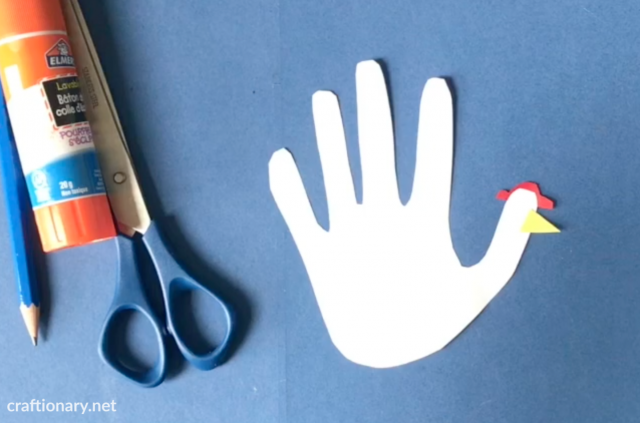
- A white paper handprint cutout
- Red paper cutout for the comb
- A yellow triangle for the beak
- Black marker for the finishing touches
Make handprint hen: Glue the parts together and use black marker to make the feathers, eye and nostril. Kid’s had the most fun drawing the details on the hen and wanted to try a rooster as it has a larger comb.
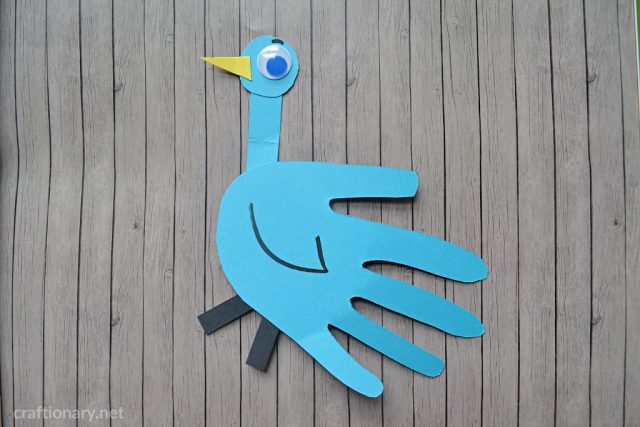
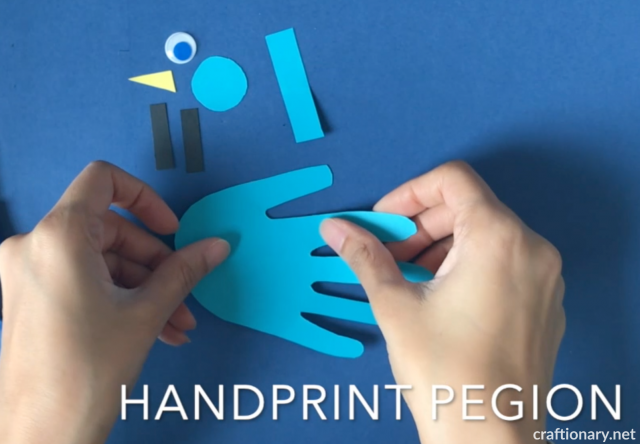
4. Pigeon Hand print craft
- Blue construction paper cutout of hand
- Black paper rectangles for the feet
- A longer blue paper rectangle for the neck
- Yellow triangle for the beak
- One googly eye
- Black marker for the eyebrow and feather
Use the glue stick to put all the parts together. Use black marker to finish the details. Inspired by pigeon books.
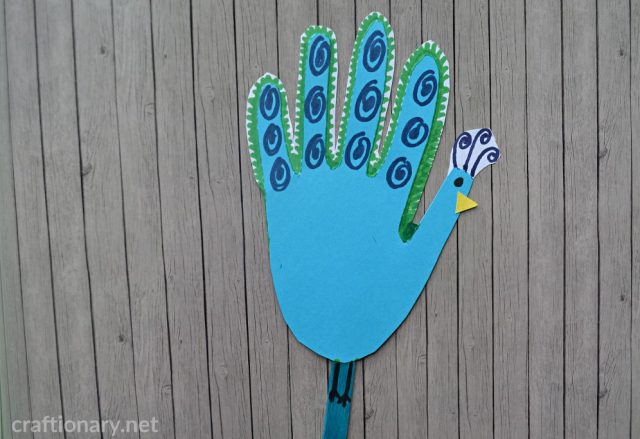
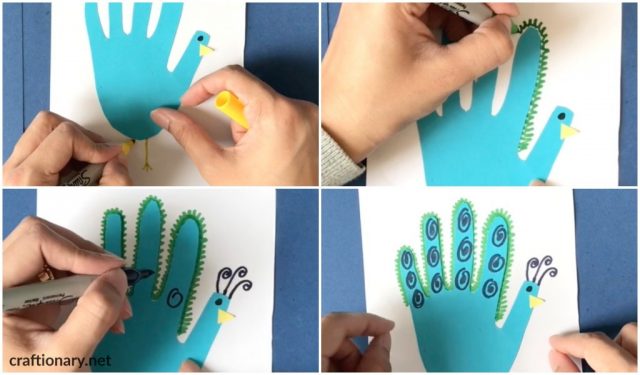
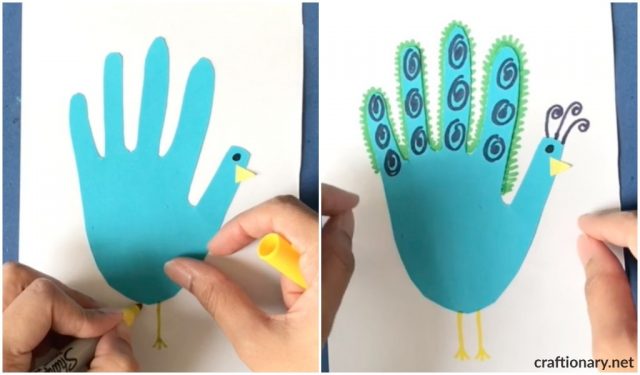
5. Peacock Handprint craft
- Blue hand trace and cutout from construction paper
- Yellow triangle for the beak
- Piece of paper to glue the peacock
- Marker to draw the details in green, dark blue, black and yellow.
- Popsicle stick for fun (you can use lolly stick to make puppets with all these craft projects)
By far this is our favorite handprint birds craft. Glue the hand on a sheet of paper. Use yellow marker to draw the feet, green to make loops and blue to make circles on the feathers. The crest is made with blue marker on it’s head.
This is a call for being crafty kids. You can make all sorts of patterns and amazing designs to decorate the peacock’s feathers.
Complete the look by adding yellow beak and eye. You have the option of leaving it on the paper and decorate the background to make a garden or a park. However, you can also cut the bird out and glue it to a popsicle stick to play with it.
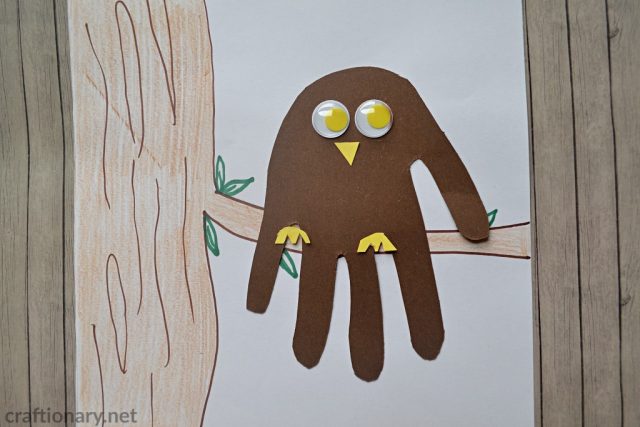
6. Handprint owl at night
- Brown paper hand print cutout
- Yellow paper triangle for the beak
- Yellow paper for the talons
- Two google eyes
- White sheet of paper for the background
- Markers in brown and green to finish the drawing
- Brown crayons for coloring
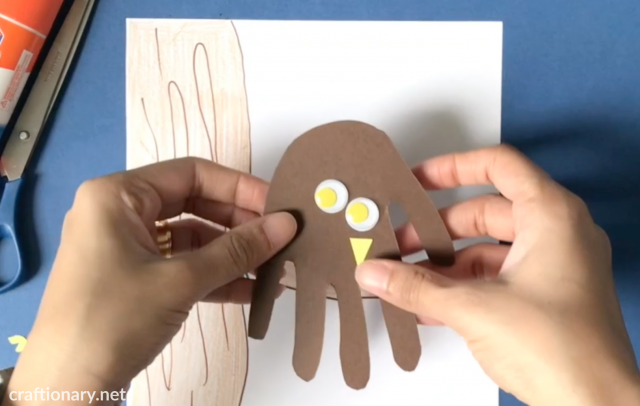
Draw the tree and a bark where our owl will sit using brown marker. Draw some leaves with green marker. Color the tree with crayons. You can also use a black paper to make a night scene. Glue the paper owl with remaining details on the tree bark to complete the project.
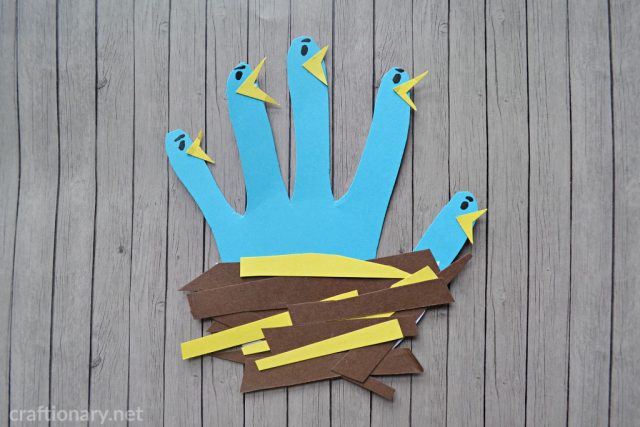
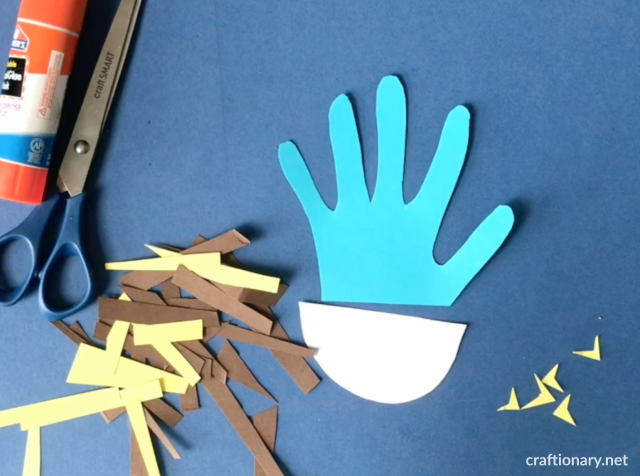
7. Handprint paper birds nest craft
- Blue cutout handprint
- A piece of white paper for the nest
- Yellow and brown strips of paper for the nest
- Yellow paper beaks
- Black marker for the eyes
Draw and cut a piece of white paper in the shape of the nest. Glue the hand behind it. Now use strips of yellow and brown paper to cover the white paper sheet to form the nest. Complete the project with final touches of gluing beaks and drawing eyes with marker.
I found these two projects super adorable to make and decided to include them in this post as they are closely related to the birds and spring.
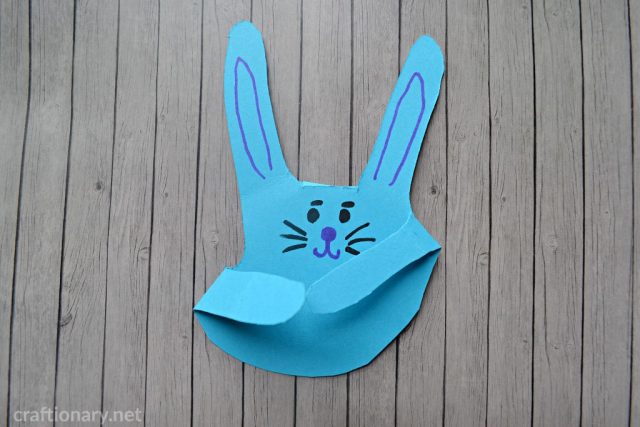
8. Easter paper bunny hand print rabbit
This adorable project is so fun to make and is sure to put a smile on your child’s face. Find bunny crafts for home.
- Blue paper hand cutout
- Markers in pink and black color
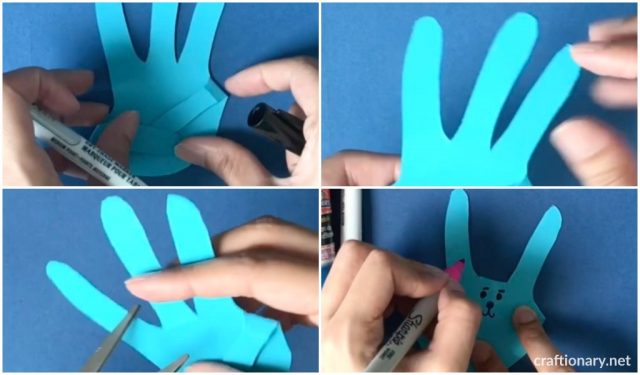
The hand print bunny has two arms that fold to the center, to make them symmetrical slightly cut the thumb to align with the pinky finger. This is also a good time to talk to your kids about symmetry and alignment. To make the ears fold and cut the middle finger. Use the marker to complete the details.
NOTE: You will see the bunny is slightly unaligned as the hands don’t fold in symmetry. I used the actual hand print to show you how it looks if it the thumb and pinky finger are not cutout equally.
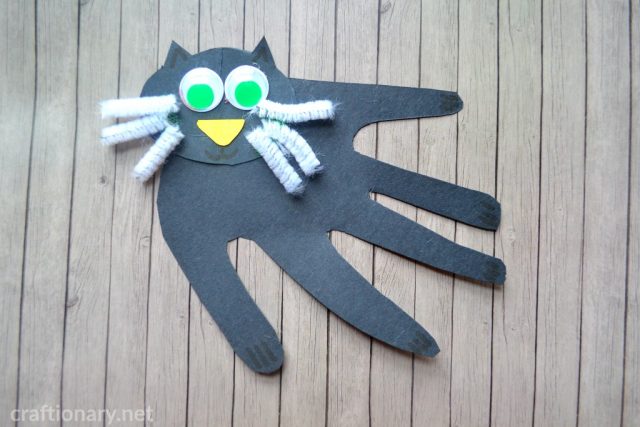
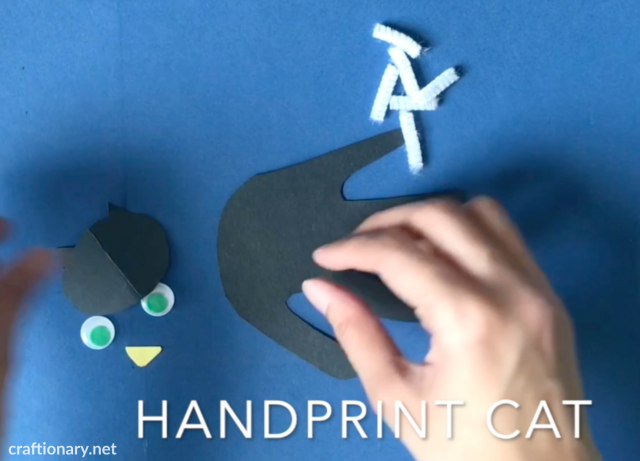
9. Handprint paper cat
- Black construction paper handprint
- Pipe cleaner for whiskers
- Yellow triangle for the nose
- Two green googly eyes
- Face cutout in black paper
- Marker for details. I have used black marker but a silver or white marker will be more visible.
Draw and cutout the cat’s head part on a black construction paper. Now glue the head, nose and googly eyes to the handprint. Use the marker to draw the paws and ears of the cat. Finally use some hot glue to stick the pipe cleaners. The handprint cat is ready to chase the birds.
You will also like:
Floating boat kids science experiment (Stem Activity)
DIY Shadow show for kids (Build projector at home)
DIY jigsaw puzzle crafts and ideas for creative minds
DO NOT USE THE ABOVE COLLAGE IMAGE TO FEATURE THIS POST. USE ONLY ONE IMAGE AND LINK BACK TO THE POST. THANK YOU!




I love these! Especially the kitty cat craft! Lovely!
These are adorable! Thank you for sharing at Party In Your PJ’s.