This post may contain affiliate links. Please see our full Disclosure Policy for details.
As promised earlier, today we are sharing Lego helicopter building instructions for kids. These lego instructions include written information regarding Lego bricks, tiles and plates that you require to complete this Lego project. It also includes video tutorial that guides you through step-by-step procedure as Abbas makes the helicopter. This kid made project will encourage your kids to make it as it’s already a Lego design by a child.
Also I cannot stress more that creativity is a continuous process and brainstorming is an important aspect of it. Therefore, I highly recommend you allow room for kids to redesign the project with their imagination and come up with new ideas.
Lego helicopter building instructions

Lego parts to build Lego Helicopter
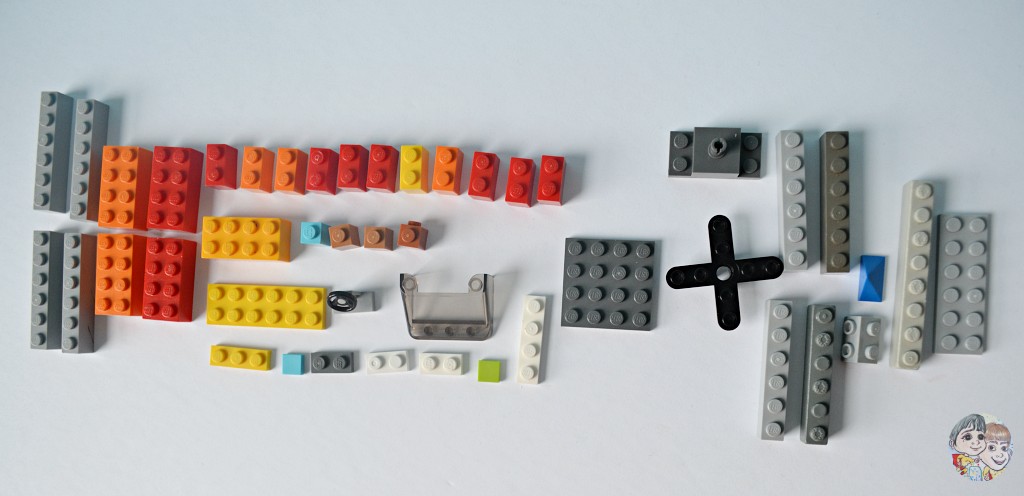
Step 1: Gather all the pieces as shown in the picture. The helicopter is a combination of Lego bricks, plates and tiles. We will guide you through the process to complete. Some pieces are rare and you may require to buy them separately if you already don’t have them. For example, the spinning plus/cross that forms the helicopter blades top rotor and the wind shield.
Written tutorial to build Lego Helicopter
The tutorial to construct the Helicopter is divided into three parts. The Helicopter main rotor, tail rotor and the main body. Let’s start with the Lego Helicopter main rotor.
Construct the helicopter main rotor
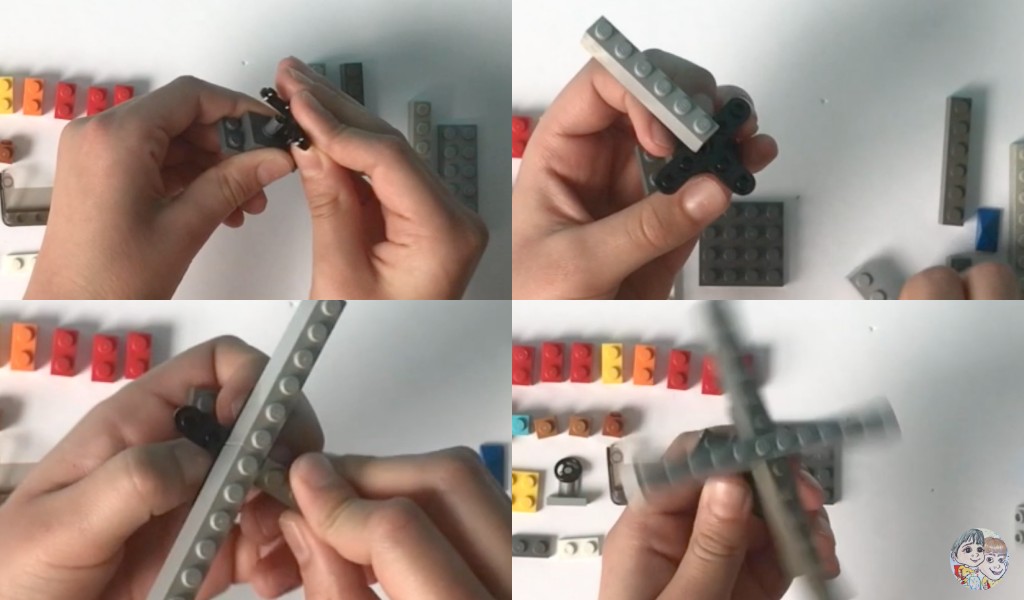
Step 2: Connect the spinning cross with the base as shown above. Then connect the 1×6 Lego bricks to complete the main rotor.
Construct the Lego Helicopter tail rotor
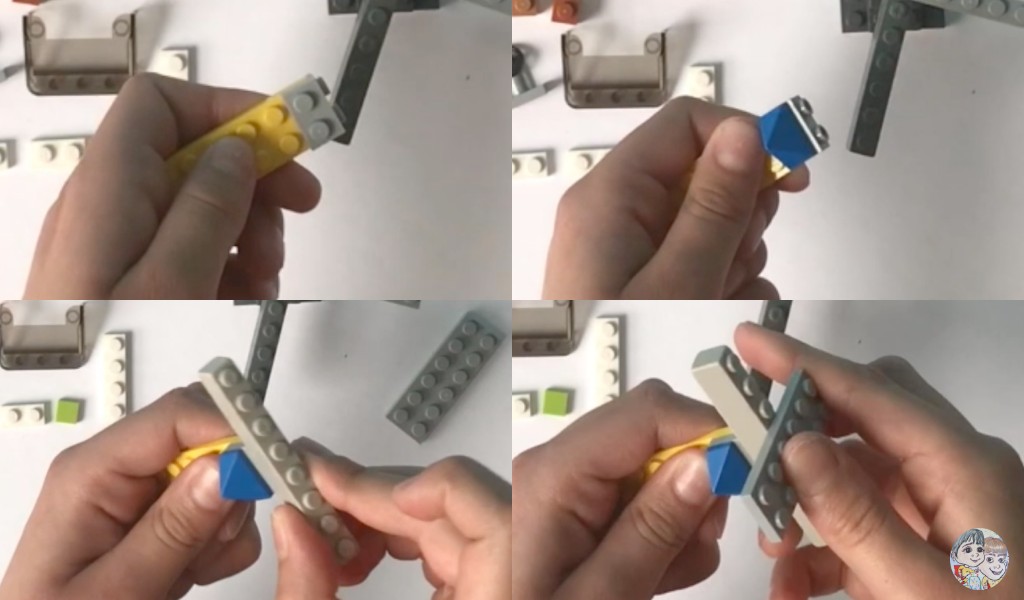
Step 3: Join 2×6 yellow plate with a corner 2×2 gray plate. The plate will allow to connect the tail rotor. You can have a spinning rotary blade as a substitute here if available. Now connect the triangular blue part. The 1×8 brick and 2×6 plate in gray complete the tail rotor.
Construct the helicopter main body

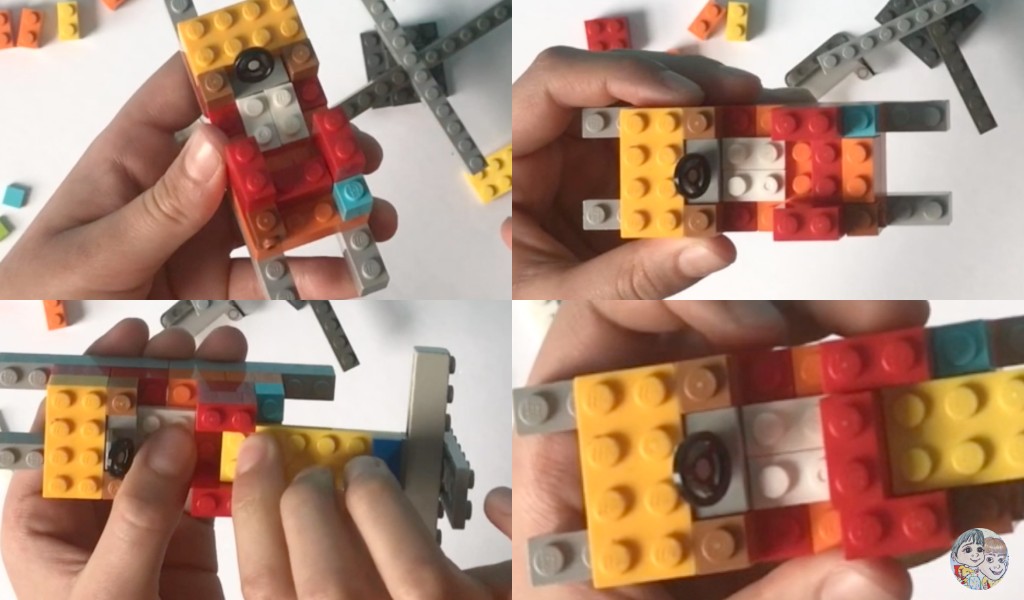
Step 4: Start by connecting two 1×6 gray brick with two 2×4 orange brick. Repeat it with two more gray and red bricks of same dimensions.

Step 5: Use one 2×2 or two white 1×2 plates to connect the two parts that you build in step 4. Now connect yellow 2×6 brick follow by the wheel at the center. Two brown 1×1 bricks form the sides of the wheel. On the back of the design connect five 1×2 red bricks such that two are put over one another to form the sides and one at the center.
Step 6: Connect 1×1 brown and blue brick on the backside. Followed by an orange 1×2 brick in the middle. Join the tail rotor to the center. Now add two red 1×2 bricks inside the body in front of the tail rotor.
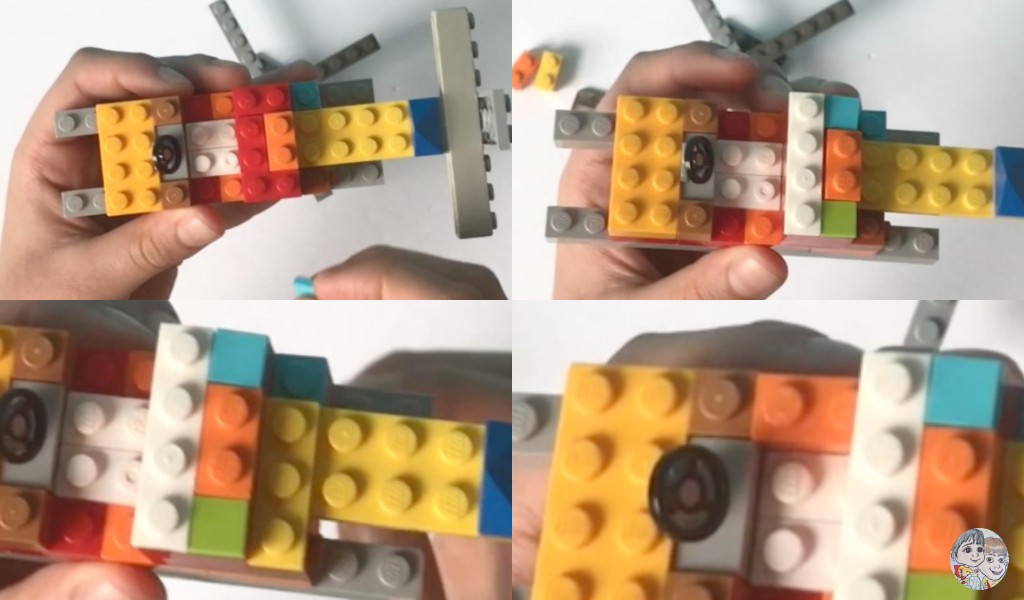
Step 7: Continue by adding a 1×2 orange brick behind the red one and use tiles to level up. Here a blue 1×1, green 1×1 and a white 1×4 tile are used. End this step by adding a 1×2 orange brick near the 1×1 brown brick.
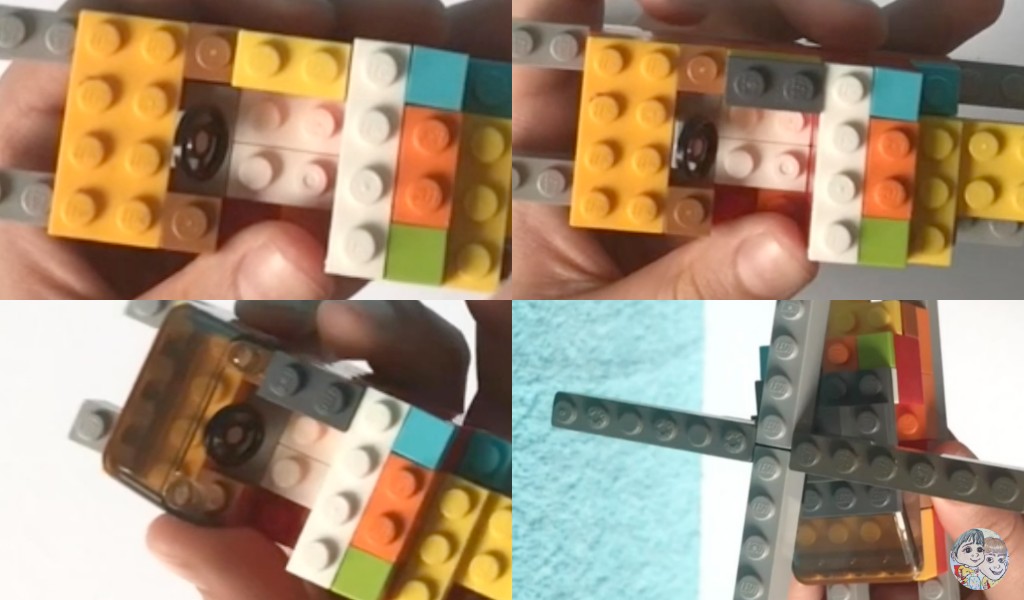
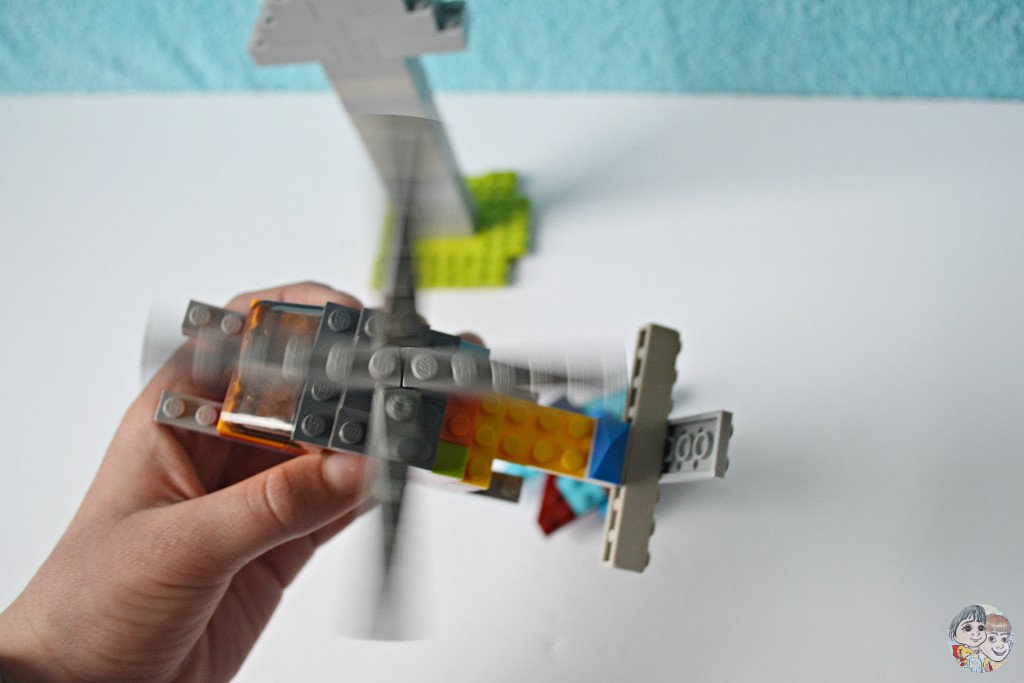
Step 8: Connect 1×2 orange brick followed by 1×2 gray plate. Now complete the design by adding windshield and main rotor. The Lego helicopter is complete.
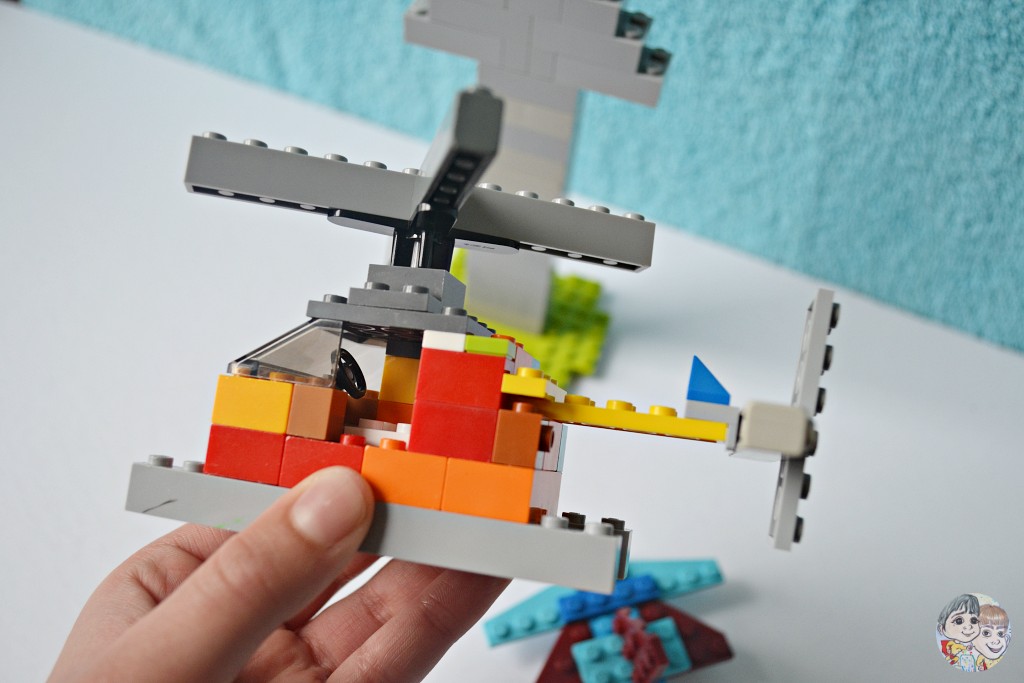
Here’s the side view of the LEGO® helicopter. Find below the view from the top.
Video tutorial to build Lego Helicopter
You may also like:
Lego plane building instructions plus Lego CN Tower
Tangram Train – Tangram Puzzles for kids
For more ideas to create using LEGO®, pattern blocks, magnetic tiles and more follow Build with Brothers.