This post may contain affiliate links. Please see our full Disclosure Policy for details.
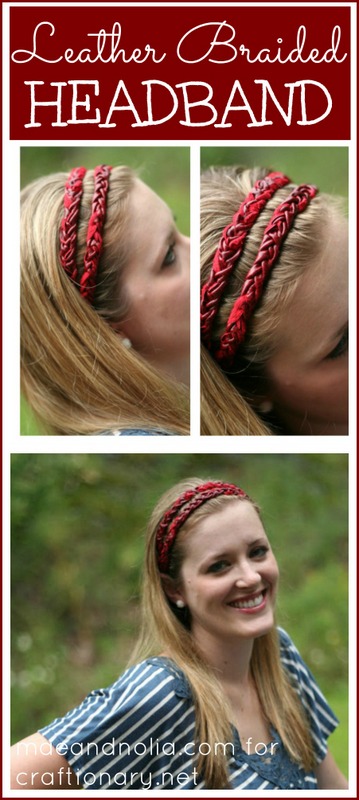
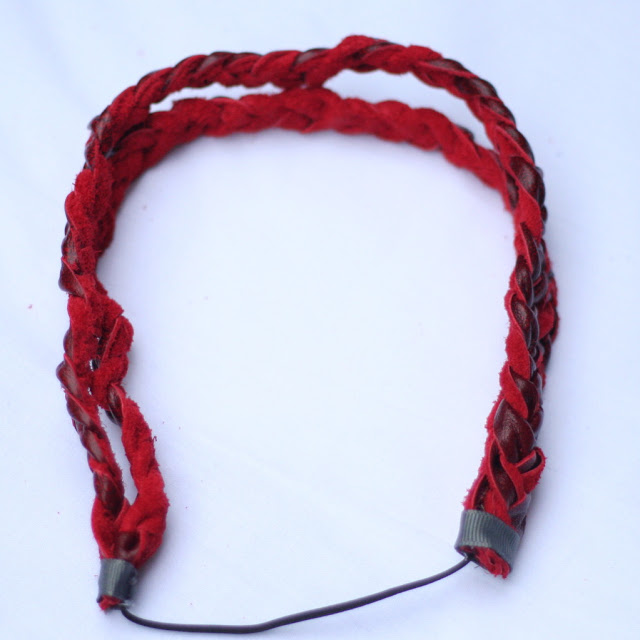
Leather braided headband
Make a leather braided headband inspired by an urban outfitter headband. Ashley was inspired by a braided headband and decided to knock it off by creating one for herself which leather braids. Hair accessories are always a fun to make and wear. This is a cute one and will look good on everyone. From kids to adults. Let’s check out what she has to share with us today.
Hi there! I’m Ashley from Embrace the Space.
I am honored to be guest posting here on Craftionary. I’m a wife, mom of two, and lover of all things creative. I love to decorate, sew, and make vintage-look jewelry for my Etsy shop, The poppy chain boutique.
Today, I’d love to show you how to make this headband, inspired by an Urban Outfitters headband.
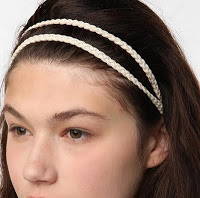
I love making “knock off” accessories, and this headband was easy to make and I am so happy with the way it turned out.
Let’s get started!
How to make leather braided headband?
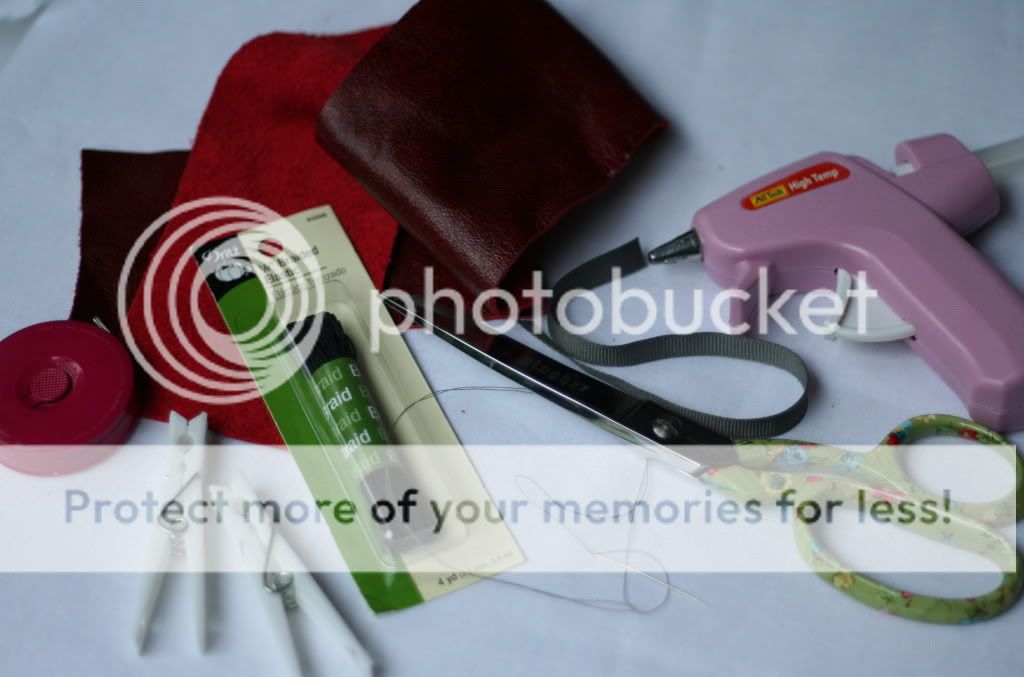
Material for braided headband:
- leather (or suede, or even strong fabric) scraps that are at least 22″ long
- grosgrain ribbon
- 1/8″ elastic
- scissors
- glue gun
- Fray Check
- tape measure
- needle and thread
Step by step instructions for braided headband:
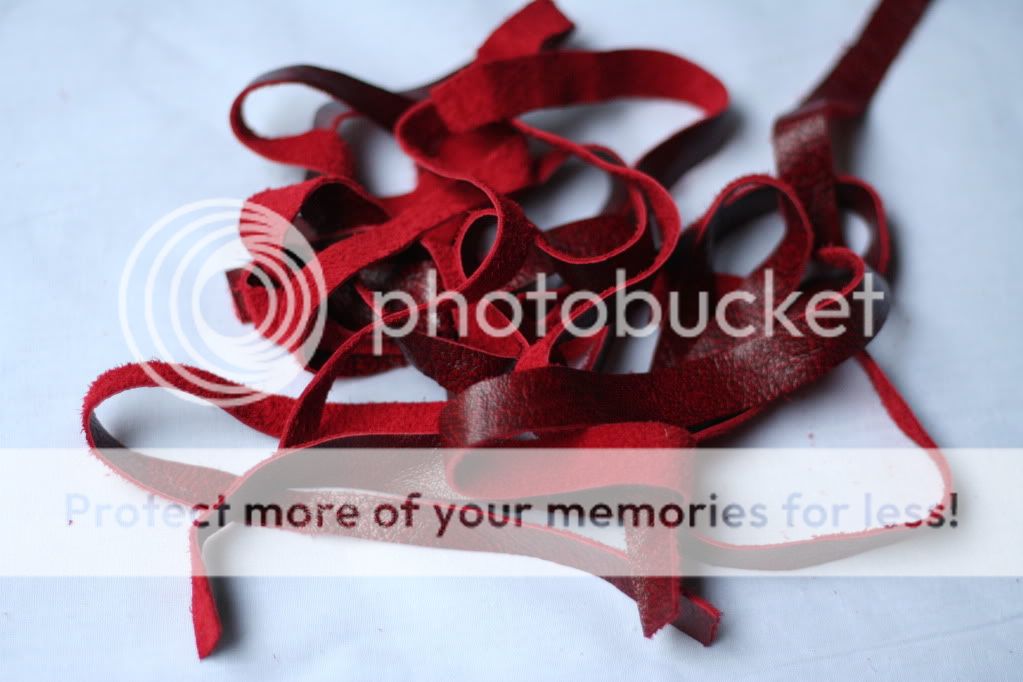
First, measure your head all the way around (like how your would wear a headband). Then cut the leather into SIX strips, 1/2″ wide and the measurement all around your lead long. My measurement was 22″, so I cut six 22″x1/2″ strips.
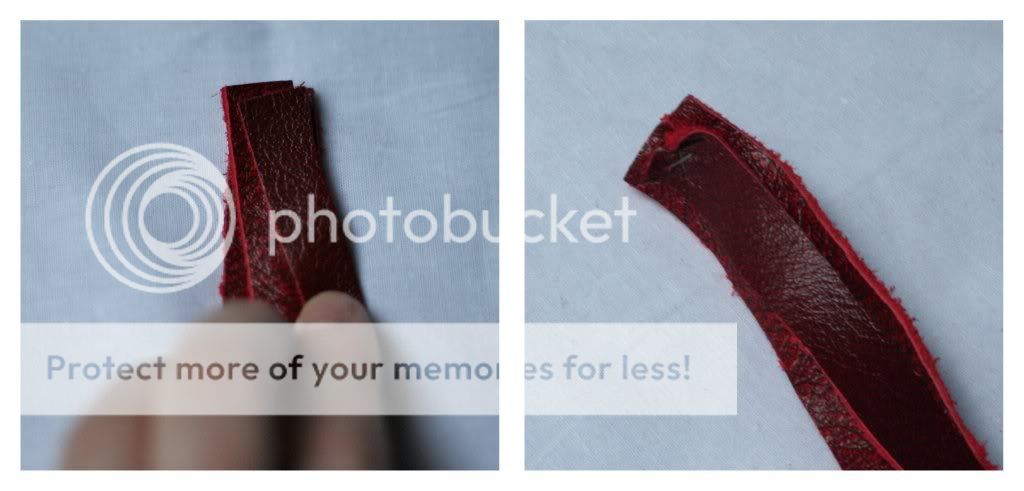
Now take three of the strips and stack the ends on top of each other and hand sew the ends of the strips together.
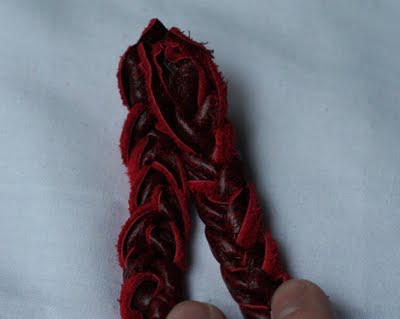
Take a clothespin and pin the sewn ends of the strips to something sturdy. I used the back of a chair. Now tightly braid the strips together.
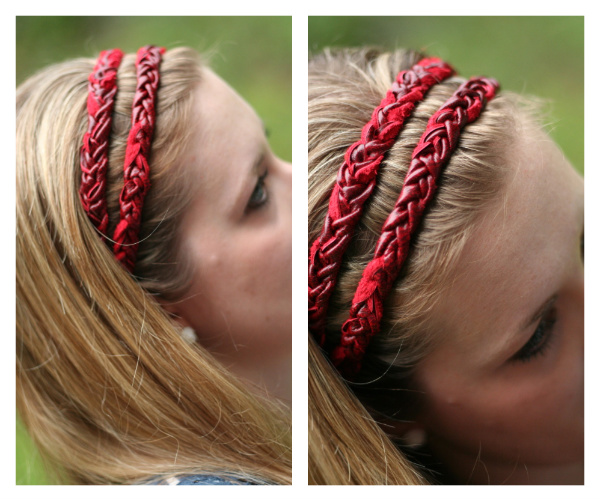
I also tried to keep the smooth part of the leather on the top part of the braid, but let just a bit of the underside show.
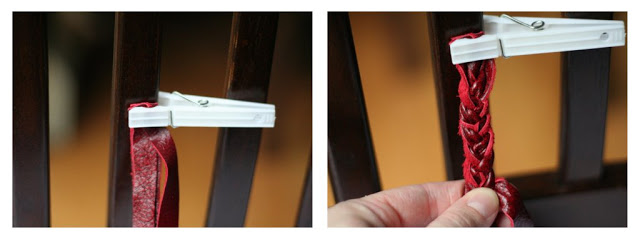
Now braid to the end of the strips, and pin the ends together with the help of another clothespin.

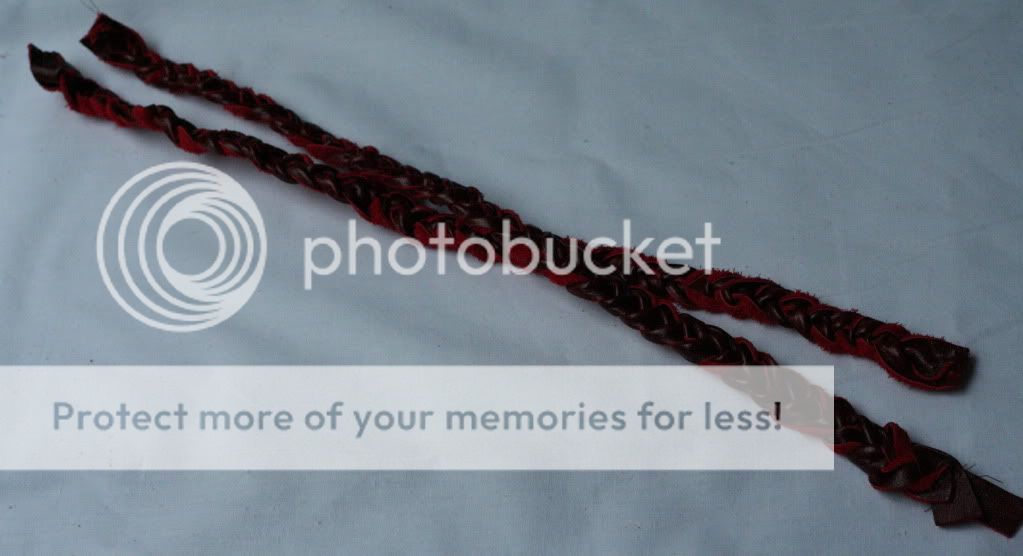
After that stitch the ends of the braid together and trim off any excess leather to make the ends even.

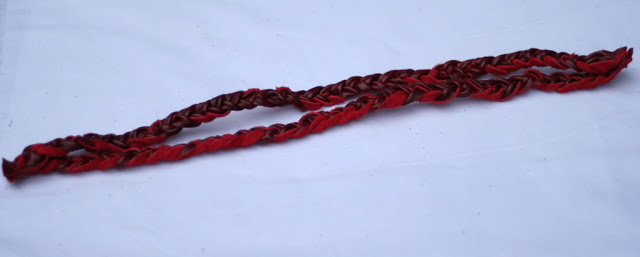
Now repeat steps 2-5 with the other three strips of leather, resulting in two leather braids.
Once done! Stack the ends of the braids together and stitch together.
Repeat on the other ends of the braids.
To join the braids together cut a 4″ piece of elastic. Stitch one end of the elastic to one end of the braids, then stitch the other end to the other end of the braids.
At this point, I tried the headband on to make sure the elastic was tight enough to fit my head.
If it’s too loose, you can always take the elastic off one end and cut the elastic down a bit (or if it’s too tight, cut a longer piece of elastic), then reattach it and make sure the headband fits your head.
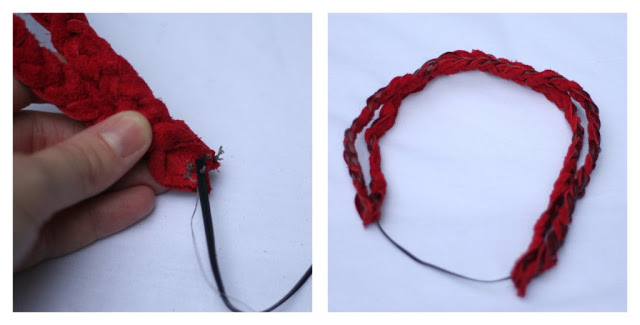
Finished handmade headband
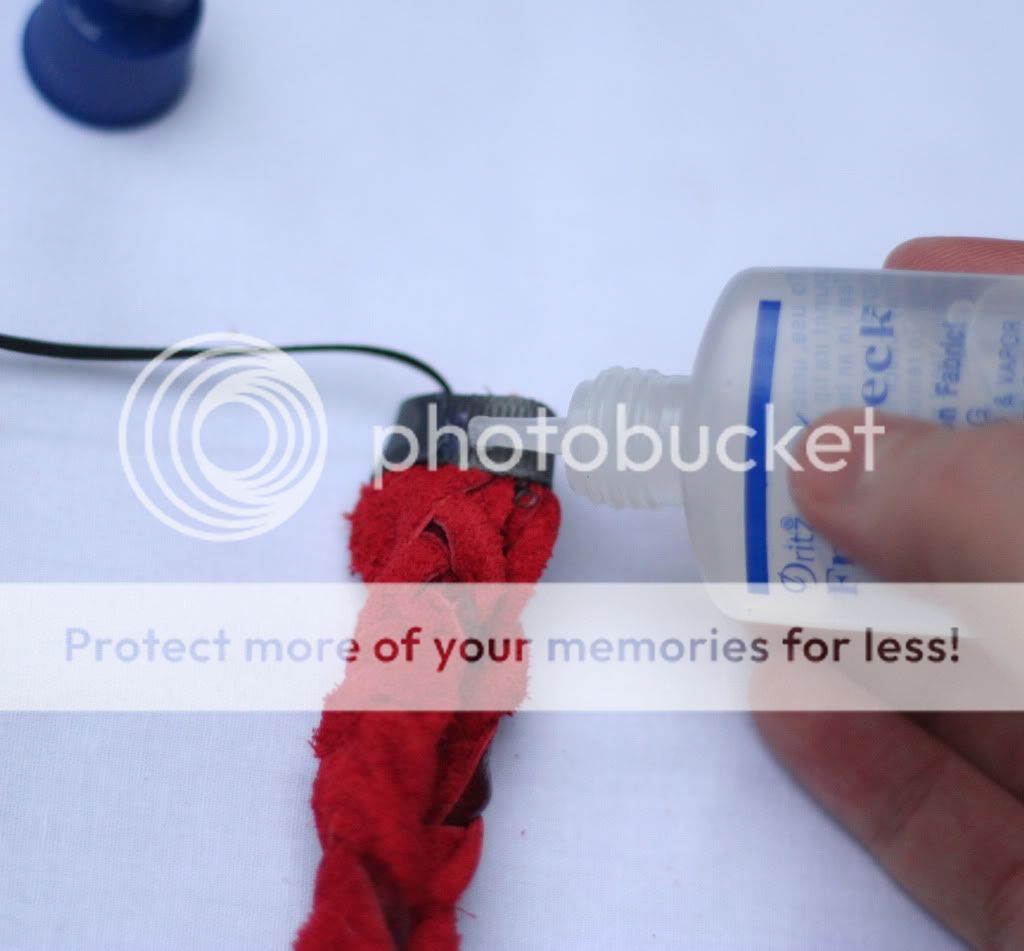
Cut a 2″ piece of ribbon. Using the glue gun, run a strip of glue along one side of the ribbon.
Glue the ribbon to the end of the braids where the elastic is stitched on, and wrap the ribbon around, gluing the ends of the ribbon on the inside of the headband.

Apply a bit of Fray Check along the unfinished end of the ribbon to prevent fraying.
Admire your trendy, handmade braided headband! Urban Outfitters has nothing on you! 🙂
I am in LOVE with this leather braided headband! I think I’m going to make a bunch more in different colors! Enjoy!

Thanks so much Ashley for sharing this wonderful idea with us.
A few more fantastic projects found on her cute blog:
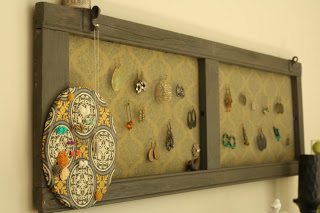
Shutter Turned Jewelry Display
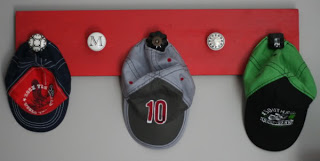
Knob hooks
You will also like:


Looking for more great ideas?
Are you on pinterest?
You will also enjoy DIY Jewelry Board.
These are updated regularly whenever I find unique ideas.


HOLA HANI !!!! QUE COSA TAN SENCILLA Y BONITA!!!! ESTA DIADEMA, ESTA MUY BIEN !!!! SALUDOS AMIGA DESDE CADIZ, ESPAÑA.
Muito lindinho,
Parabéns!!!
Bjs
Lelê