This post may contain affiliate links. Please see our full Disclosure Policy for details.
Tired of generic holiday gift wrap? This year, add a touch of handmade magic and personalized charm with our adorable DIY Rudolph Handprint Gift Wrap!
This project isn’t just about wrapping a present; it’s about creating a memorable, interactive experience that recipients (especially parents, grandparents and teachers) will cherish.
We’re taking a classic brown paper wrap and transforming it into the most famous reindeer of all, complete with jingle bells that make the whole package sing! Get ready to spread some serious holiday cheer.
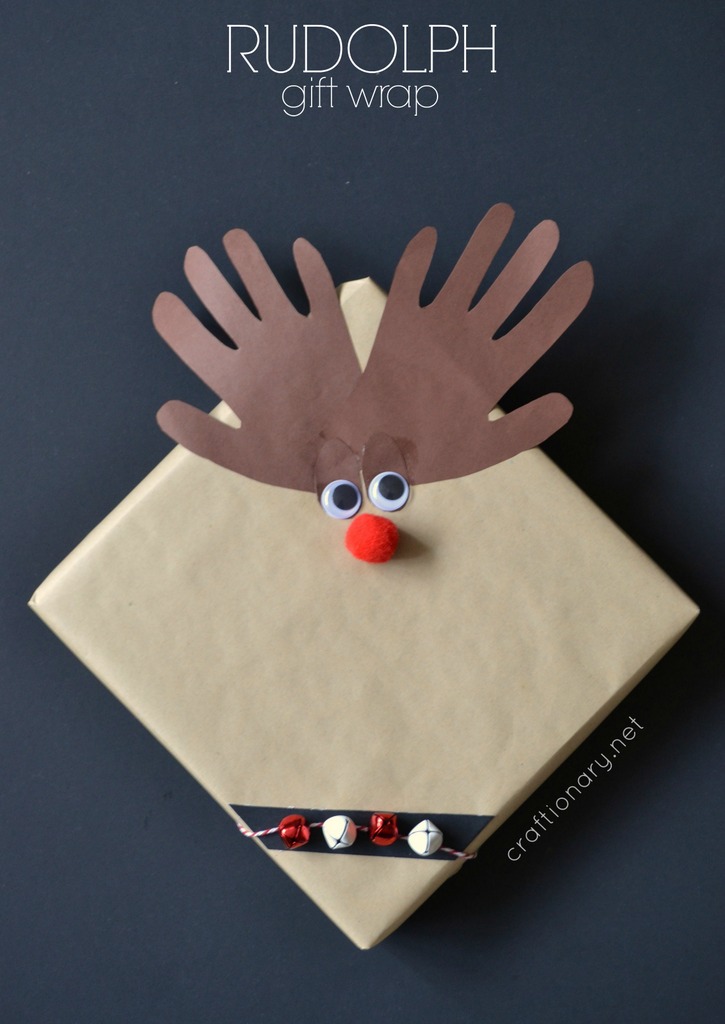
DIY Rudolph Gift Wrap
You can wrap any gift container, even or odd shaped box with brown paper, and then turn it into a cute little Rudolph.
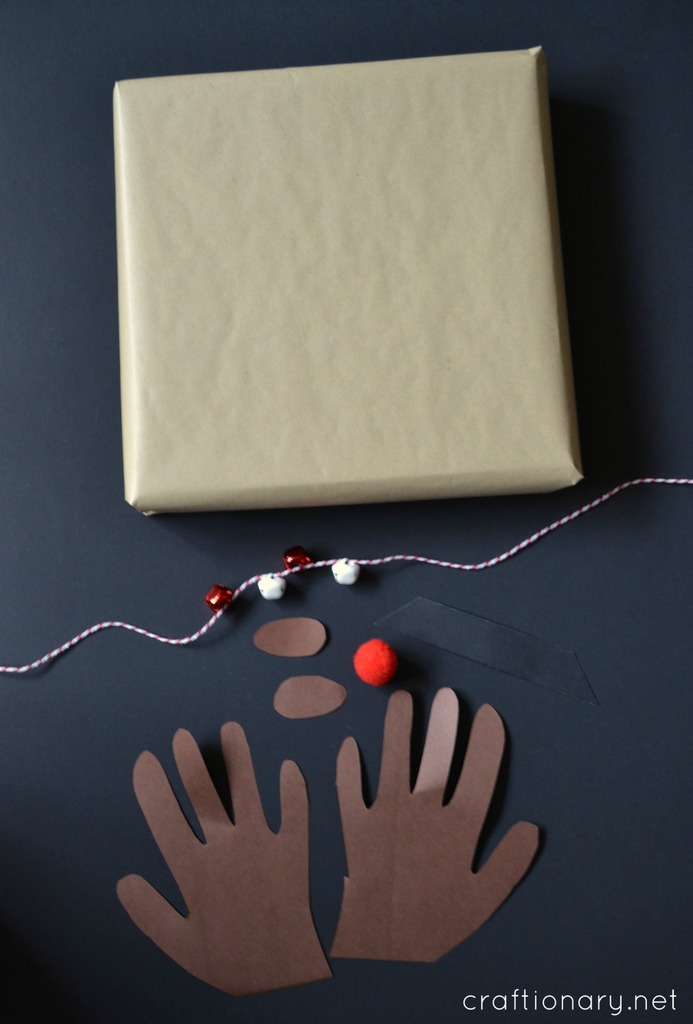
Materials You’ll Need
You only need a few inexpensive supplies to create this Rudolph gift wrap masterpiece:
- Brown kraft paper (recycled wrapping paper works great)
- Red pom-pom (for Rudolph’s nose)
- 2 googly eyes
- Construction paper or cardstock (for handprint antlers)
- Pencil or marker
- Scissors
- Glue stick or hot glue gun
- Twine or string
- Mini jingle bells
- Optional: Add glitter accents or a felt scarf around the base of the gift for a cozy look
Step-by-Step DIY Rudolph Gift Wrap Tutorial
1. Wrap Your Gift
Start by wrapping your present in brown kraft paper. Smooth out edges and fold neatly to form a flat “face” surface on the top of the box.
2. Create Rudolph’s Antlers
- Trace your child’s handprints onto brown or tan cardstock.
- Cut out both handprints — these will be the antlers.
- Glue them at the top corners of the box so they extend upward like real reindeer antlers.
Pro Tips:
- For a glittery touch, brush the tips with gold paint or sprinkle on some fine glitter before attaching.
- You can also hot glue branches or twigs to make the antlers as shown in this popsicle sticks rudolph craft.
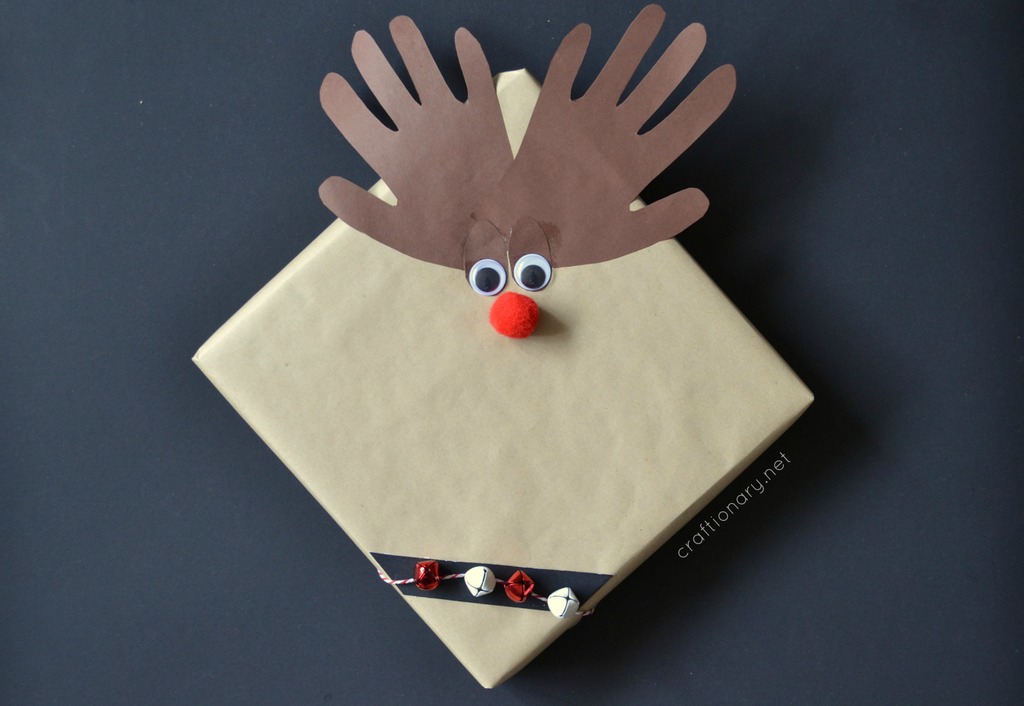
3. Add the Googly Eyes
Glue two googly eyes slightly below the antlers. Make sure they’re evenly spaced and aligned to give Rudolph a cheerful expression. I missed: Also cutout oval eye shapes to make the eyes look bigger.
4. Attach the Red Pom-Pom Nose
Place a bright red pom-pom in the center of the “face,” just below the eyes. This is the heart of the design — Rudolph’s iconic red nose!
5. Add the Jingle Bell Garland Collar
- String 3–5 mini jingle bells onto twine or string.
- Tie the garland around the base of the gift like a collar.
- Let the bells rest slightly loose so they jingle softly when the box moves.
- Use a tape to ensure the string stays in place.
6. Add Finishing Touches
You can draw a small mouth under the nose, add a tiny gift tag saying “To: From:”, or tie a bow behind the antlers for extra flair.
When the receiver opens the gift wrap, they can keep the jingle bells garland to hang on the Christmas tree as an ornament or use as keychain, door bell or even decoration.
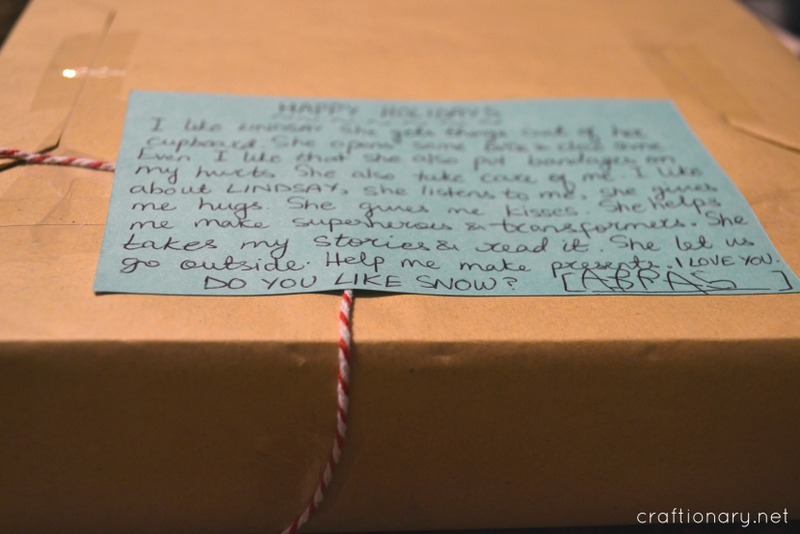
Each of these DIY Rudolph gifts have a personal message on the back. All words written by my 4 year old was his teacher. It adds that special love to it!
Perfect Holiday Craft for Kids
This Rudolph wrapping idea doubles as a holiday kids’ craft. It’s simple enough for children to do (with adult supervision for glue or scissors) and adds a personal touch to gifts for teachers, grandparents, or friends.
Encourage your kids to personalize each one by:
- Using different nose colors (gold, silver, or felt).
- Drawing freckles or eyelashes.
- Naming each reindeer!
Educational bonus: This project builds fine motor skills and creativity.
Eco-Friendly and Budget-Friendly Wrapping
Instead of commercial wrapping paper, use recycled brown paper, grocery bags, or old kraft packaging. Decorate with non-plastic add-ons like:
- Wooden beads instead of plastic bells.
- Paper eyes instead of googly ones.
- Natural twine or cotton string.
- This small switch keeps your project sustainable and zero-waste friendly.
Creative Variations of the Rudolph Gift Wrap
Once you’ve mastered the original, try these fun twists:
- Mini Rudolph Gift Bags: Use brown paper lunch bags for small gifts.
- Snowy Reindeer: Paint white dots (snowflakes) around Rudolph’s face.
- Family of Reindeer: Wrap multiple gifts as Rudolph, Dasher, and Blitzen — each with different color noses.
- Photo Reindeer: Replace googly eyes with printed family photos for a personal touch.
How to Use DIY Rudolph Gift Wrap for Décor
Your Rudolph boxes don’t just belong under the tree! Use them as:
- Table centerpieces (clustered with fairy lights)
- Mantel decorations
- Classroom displays for holiday craft shows
- Party favors — fill small boxes with candy and tag them “From Rudolph’s Workshop”
Common Questions About DIY Rudolph Gift Wrap
1. Can you use fabric instead of paper?
Yes! Burlap or linen fabric can be used for a rustic reindeer look. Secure with hot glue instead of tape.
2. What if you don’t have pom-poms or googly eyes?
Use red buttons or felt circles for the nose, and draw the eyes with a black marker.
3. How do you stop the jingle bells from tangling?
Secure both ends of the string with a small glue dot or knot under the box.
4. What glue works best for kids?
Regular craft glue is safe for kids; adults can use a hot glue gun for faster drying.
The DIY Rudolph Gift Wrap is more than a wrapping idea — it’s a festive keepsake full of love, laughter, and handmade charm. Whether you’re helping kids make gifts for grandparents or adding a personal touch to your own Christmas presents, this easy craft makes unwrapping extra magical.
So grab your kraft paper, trace some handprints, and let Rudolph lead your gift wrapping this holiday season!
Wishing you all a very Merry Christmas and Happy Holidays.
You will also like:
30 DIY Gift Wrapping Ideas for Christmas Holidays