This post may contain affiliate links. Please see our full Disclosure Policy for details.
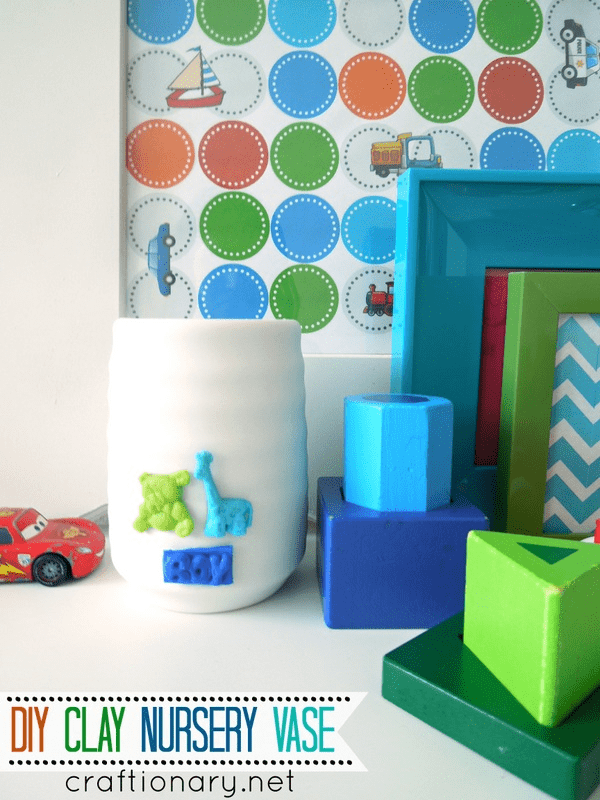
I am sharing an easy and cute DIY clay vase today. The project I am making is a cute vase for baby’s nursery but this idea is perfect for any theme. To make DIY polymer clay vase you only need clay and cutters of your choice to decorate your vase in a few minutes.
You can make your own cutters using wire or cardboard too. I recommend using the steel cutters as they cut smoothly. There is a huge variety of cutters out there and they are not expensive either. Secondly, for clay I recommend using air dry clay or playdoh too. Let’s see how it looks displayed before getting to the instructions.
You will also like: How to Make Bas-Relief Casting Art
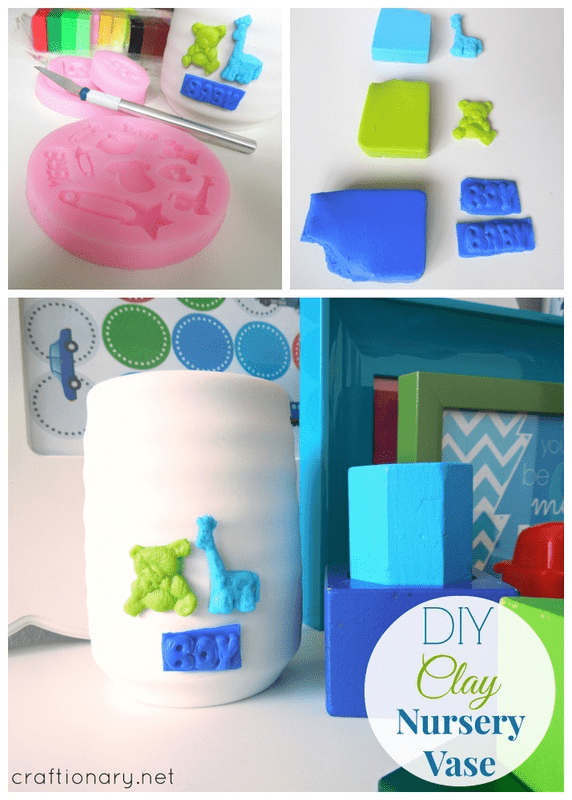
I made these cute clay embellishments using molds and polymer clay. You can also make lots of great things with clay without molds too. Polymer clay remains workable until you heat it.
DIY Clay Vase Tutorial
Materials
- Polymer clay (air dry clay or playdoh)
- Molds (or cutters)
- Cutting knives (for shaping)
- Oven (for heating)
- Hot glue gun (for gluing clay to the vase)
Step by step instructions:
Take a sufficient amount of clay enough to fit in your mold. Now knead it a little to soften it and place on your mold. Press the clay into the mold. Simply like kids make playdoh shapes.
Remove from the mold. Use cutting knife to remove the excess of clay and shape the clay till you are satisfied with the look of your clay art.
Place them in the oven for 10 minutes at 250 °F. This temperature and time is what I used to make mine that are very tiny and only 1.4 inches thick.
Let them cool down for 30 minutes. Then hot glue them onto the vase. That’s about it all!
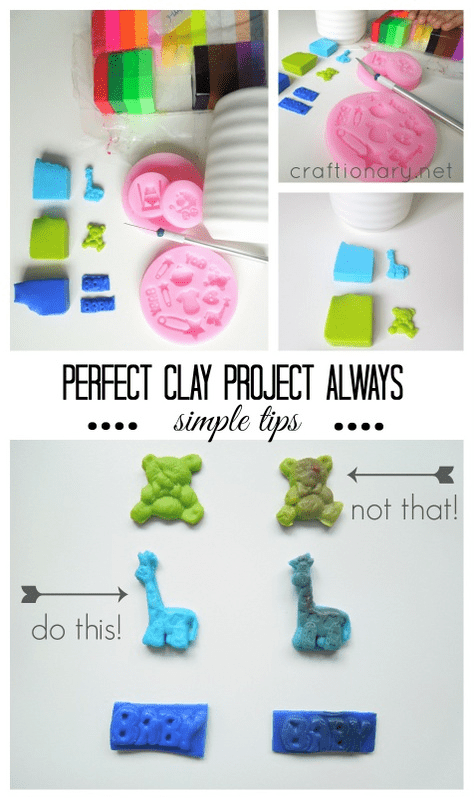
Simple Polymer Clay Tips
Perfect Polymer Clay Project Always:
- Check your clay art every 5 minutes to make sure it is heating properly.
- Most of the polymer clay instructions say heat them in oven for 15 minutes. But depending on your oven it can be done in 10 minutes also.
- Place your clay on a piece of foil inside the oven.
- Make sure you put it on bake. And mistakenly don’t broil it.
Baking Tips for Polymer Clay:
Polymer clay remains workable until cured generally from:
Between 265 °F (129 °C) to 275 °F (135 °C) for 15 minutes per 1/4 inch (6.4 mm) of thickness. For best results check the label on your clay package!
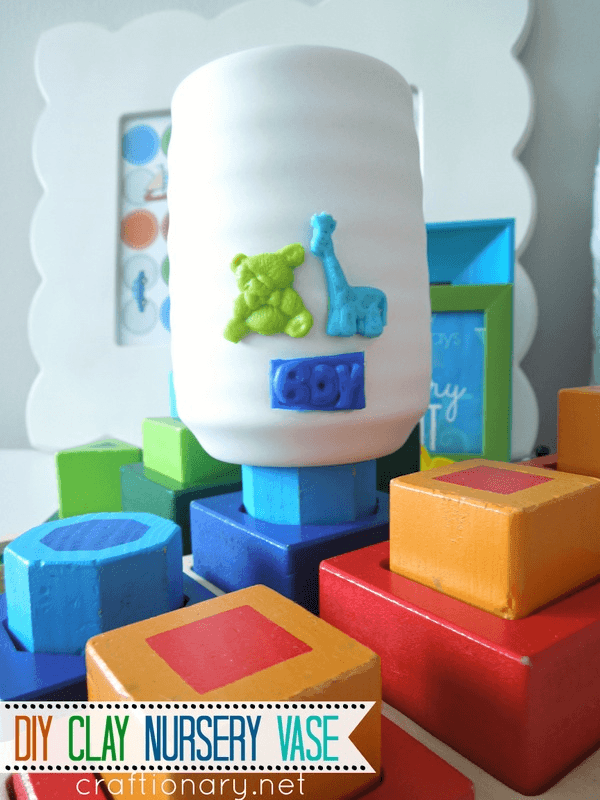
Hope you enjoyed DIY clay vase tutorial. I can’t wait to share the bedroom/ nursery reveal with you.
You will also like:
Polymer Clay Beads Necklace tutorial
Looking for more great ideas?
Check out the category DIY KIDS.


How Fun!