This post may contain affiliate links. Please see our full Disclosure Policy for details.
Teaching kids about colors doesn’t have to be limited to crayons and coloring pages. With a simple DIY color wheel for kids, you can combine hands-on creativity, learning, and fine motor skill development all in one engaging activity. This project uses a foam circle painted with acrylic paints and matching clothespins, making it the perfect blend of art, learning, and play.
Learn how to make your own color wheel for preschool, why it’s effective for learning, and how to use it to support early childhood development. I made it for my two year old preschooler and these are tried-and-proven results of our experience together.
Why Use a Color Wheel for Kids?
A color wheel is a visual representation of primary and secondary colors. For children, it offers more than just a lesson in art—it’s a playful way to:
- Recognize and name colors with confidence.
- Develop fine motor skills by clipping clothespins onto the correct section.
- Practice letter recognition with uppercase color names on the wheel and lowercase on the clothespins.
- Strengthen hand-eye coordination through matching and sorting.
- Encourage independent play and problem-solving in a creative setting.
This activity is perfect for preschoolers, kindergarten-aged children, and even older kids who love hands-on learning.
Materials You’ll Need
To make your own DIY color wheel for kids, gather these simple supplies:
- Foam board cutout – A foam circle (or cardboard circle as an alternative)
- Acrylic paints in rainbow colors (red, orange, yellow, green, blue, purple)
- Paintbrushes
- Wooden clothespins
- Permanent marker or paint pens
- Clear sealant (optional, for durability)
Related: Best Sealer: How to Waterproof Acrylic Paint on any surface
Step-by-Step Instructions to Make a DIY Kids Color Wheel
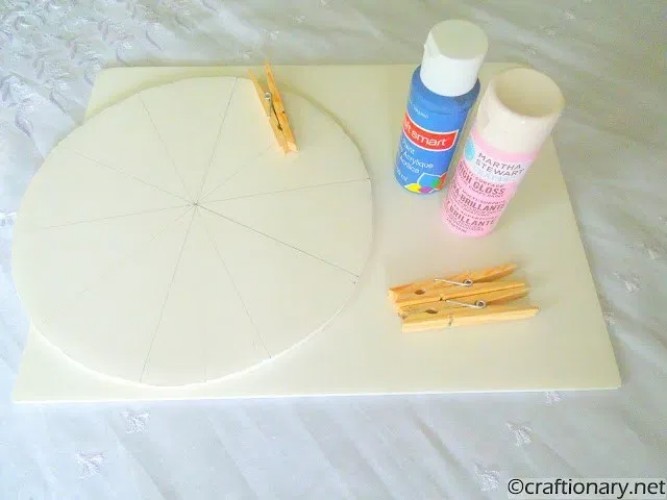
Prepare the Foam Circle
Cut out a large circle from foam board (or cardboard). Divide it into equal sections, like slices of a pizza—six sections works well for the basic color wheel. But ten sections is worthwhile.
To divide the circle into 10 equal parts. Start by marking the vertical and horizontal lines from the center point. Then divide each quarter into two equal parts while adjusting for one to have 10 parts naturally.
Paint the Sections
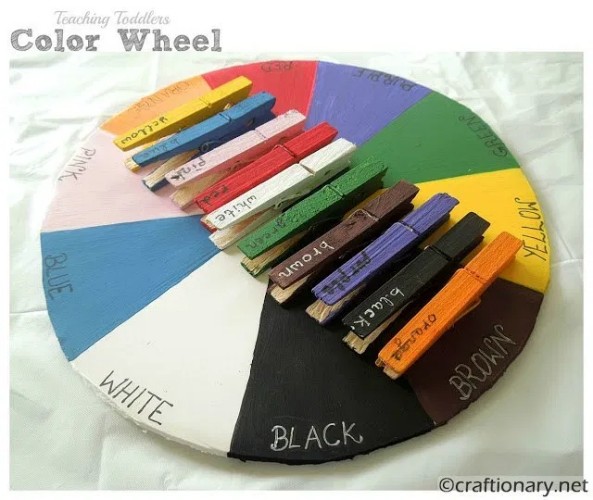
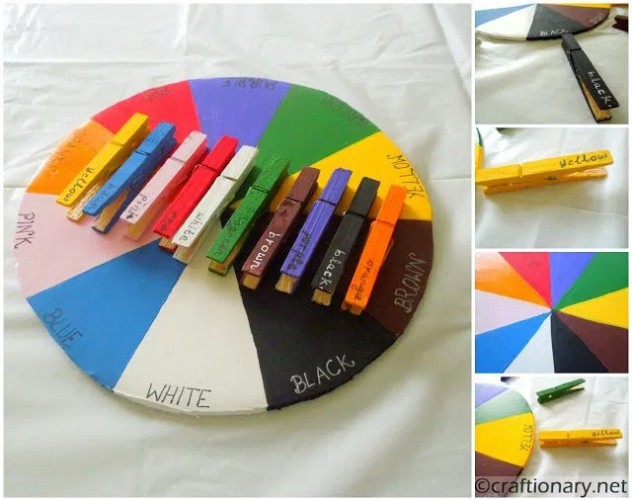
Using acrylic paints, color each section with one of the main colors: red, orange, pink, blue, white, black, brown, yellow, green, and purple.
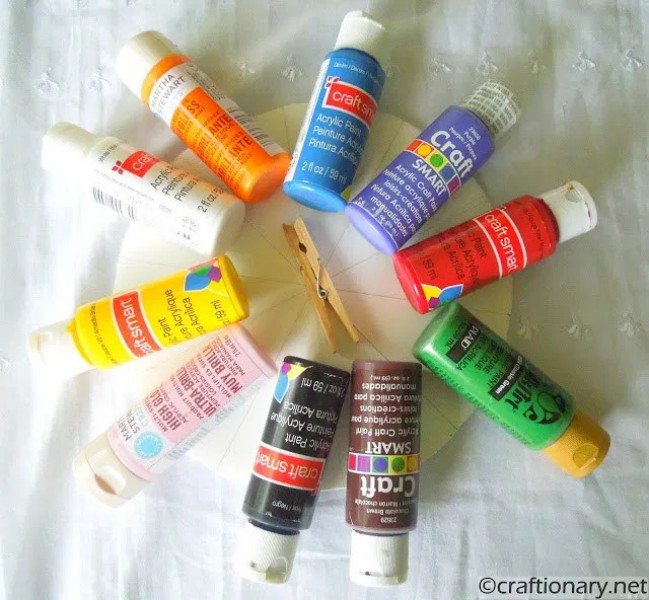
Let each section dry before moving on to prevent smudging.
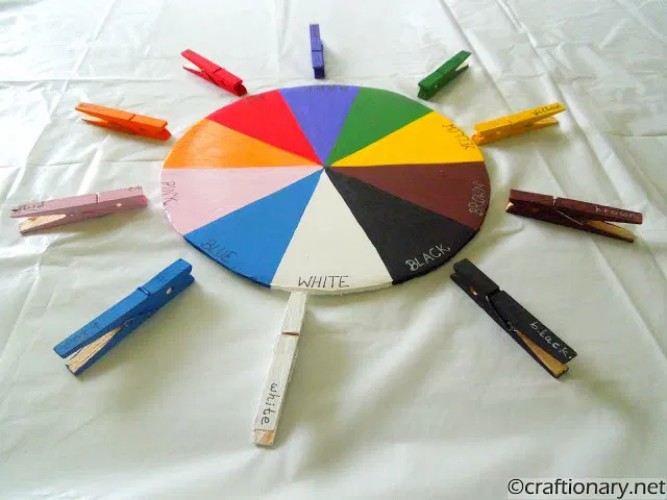
Label the Colors in Uppercase Letters
Once the paint is dry, write the name of each color in uppercase letters directly on its section of the wheel. This helps children visually associate color names with their shades.
Prepare the Clothespins
Paint or color the top of each clothespin to match the colors on the wheel. Once dry, write the color name in lowercase letters on each clothespin.
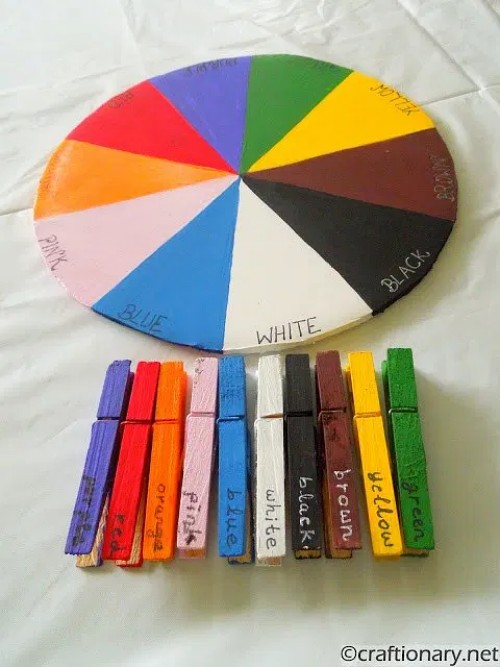
Color wheel for kids
Match and Play!
Give the child the painted clothespins and have them clip each one onto the corresponding color section of the wheel. The uppercase-lowercase difference helps reinforce early literacy skills while building hand strength.

Learning Benefits of the Color Wheel Clothespin Activity
This project is more than just a craft—it’s a learning tool. Here’s what kids gain from using it:
- Color Recognition: Children can easily learn the six basic colors and their spellings.
- Letter Awareness: Matching uppercase and lowercase reinforces early reading readiness.
- Read Alphabets: Have kids spell the words out loud using the upper case and lower case letters. This dual learning at the same time is helpful.
- Fine Motor Development: Clipping clothespins strengthens finger muscles needed for handwriting.
- Focus and Concentration: The activity encourages patience, attention, and problem-solving.
- Creativity: Kids feel proud of their work when they create and use their own handmade learning tool.
Tips for Parents and Teachers
- Make it tactile: Add textures like glitter, felt, or stickers for sensory learners.
- Extend the lesson: Talk about mixing primary colors to form secondary colors.
- Involve kids in creation: Let children help paint the wheel for a stronger sense of ownership.
- Store it easily: Keep the wheel and clothespins in a zip-lock bag or small basket for repeated use.
Other Color Sorting Systems to Try
Collecting items and sorting by color
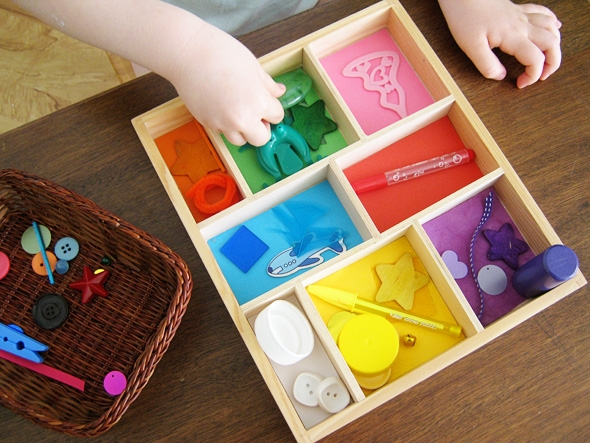
Other learning and Montessori
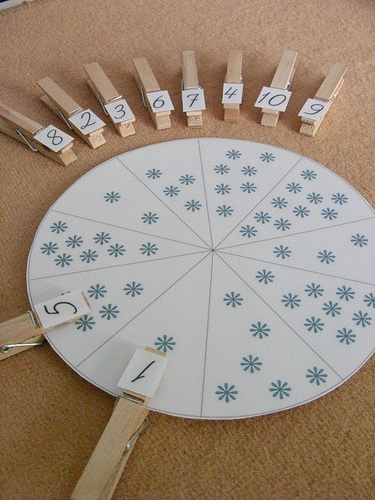
Number Circle
Frauliebe
This DIY color wheel for kids is a simple yet powerful way to combine art, literacy, and motor skills practice in one engaging activity. By matching clothespins to the correct colors, children practice color recognition, letter awareness, and hand coordination—all while having fun.
Whether you’re a parent looking for a weekend project, or a teacher seeking a classroom activity, this color wheel idea is an affordable, creative, and educational tool worth trying.
Try these matching games:
Seasons Free Printable – Matching Items Cut and Paste Activity
Winter Free Printable – Matching Cut and Paste Activity
Number Matching Cut and Paste Free Printable
Planets Free Printable – Solar System Cut and Paste Activity
You will also like:
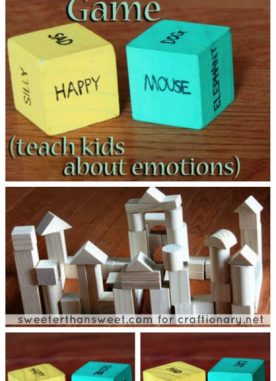
Emotional Animals Kids Creative Game
Floating boat kids science experiment (Stem Activity)
Puppet Theater: DIY Shadow Show with Story Planner
You will also enjoy the Kids fun & activities and DIY projects boards that are updated regularly.


Fantastic idea!! And it turned out beautifully too.
<3 Christina at I Gotta Create!
Wildly Original Linky party is open!
Very cute idea!
how great is this? I taught an art class before and I would have loved to have this in my class…thank you for taking the time to share…xo
I made a color wheel for my daughter, but it was a little over ambitious. She was only 13 months old. 🙂 Now that she's a little older I should pull it out again. I really like the color sorting box. Great ideas!
This is such a great idea!! I love how it can be adapted to other things we are learning too!
Great idea, thank you! I like hands-on learning. Pinned it!
My little guy knows his colors pretty well, but I like the idea of having the words on there so they can see those too. I love learning projects! Thanks for the great idea. 🙂
Oh so FUN!!! I have to try this! Emanuelle thinks everything is yellow!
Thanks so much for sharing this at The DIY Dreamer.. From Dream To Reality!
Brilliant, how fun! Thanks for sharing at The Fun In Functional!
Thanks for a great idea. I am going to use the wheel as an art project for school.
Very Cool! I wish I still had little ones so I could make these 🙂 I will pass this along to friends with babies 🙂 Thanks so much for linking up to Creative Thursday. Can’t wait to see what you share next week. Have a great weekend.
Michelle
This is a great idea, however, as an art teacher I would suggest actually putting it in correct color wheel order. For example Red, Orange, Yellow, Green, Blue, Violet 🙂
Thanks you for this great idea! I did the same project, with a wooden circle, I will soon try it with my son;)