This post may contain affiliate links. Please see our full Disclosure Policy for details.
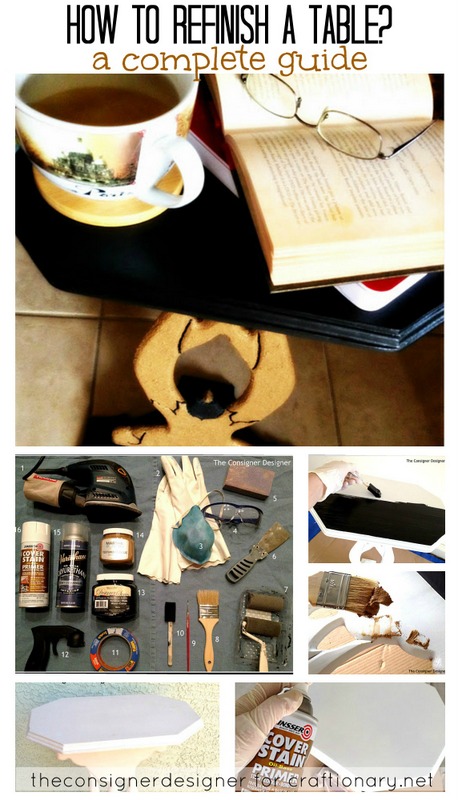
How to refinish a table? A DIY furniture makeover project. An old pink table gets new life with paint. Black and gold painted table makeover. A DIY sandy table with textured paint on the neck. Makes it totally stand out. Let’s get to the tutorial on:
How to refinish a table?
From simple in pink to spectacular sandy table.
(Pretty in Pink….Or so they say!)
Hello Fellow Craftionaryians, My Name is Jen Lossing from The Consigner Designer. I am so happy and honored to be here today! Today I am going to share with you how to refinish a table! You might be wondering why the title says pretty in pink…well this is why! Here she is…pink, but not so pretty!
One of the things I love about refinishing things. Is you really don’t know what you are in for until you start taking away the layers. And this old girl had lots of layers!
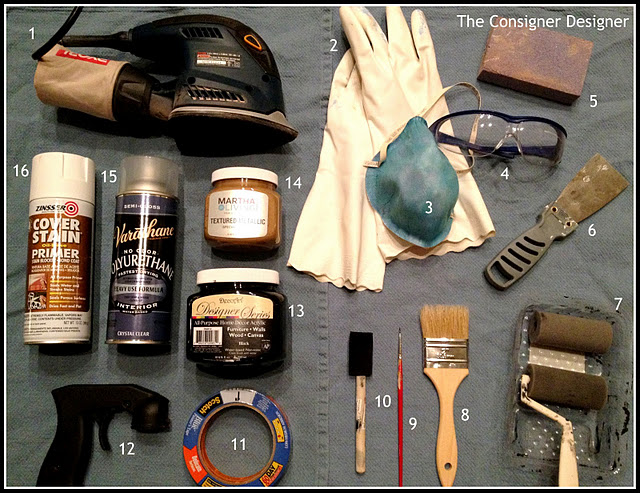
Materials for refinish table
- An Electric Sander
- Heavy Duty Gloves
- Heavy Mask
- Safety Glasses
- Sanding Sponge
- Putty Knife
- Rolling Brush
- Paint Brush
- Small Brush for Details
- A Foam Brush
- Painters Tape
- Spray Gun Adapter (Optional)
- Black Paint
- Martha Stewart Textured Paint
- Polyurethane
- Primer
- Paint Stripper (Not Pictured)
- Wood Filler (Not Pictured)
How to strip the paint?
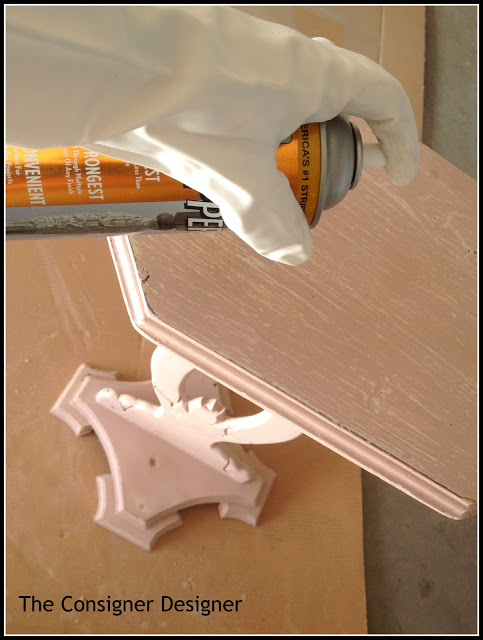
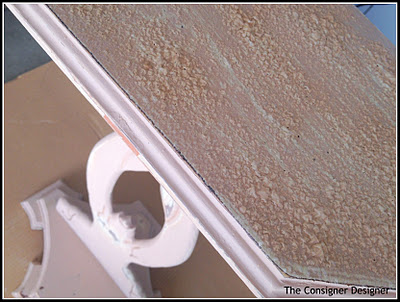
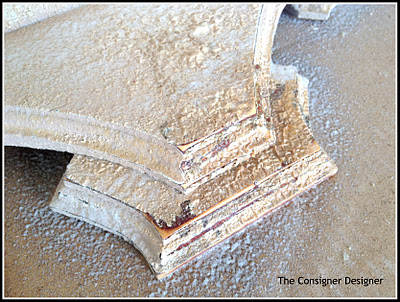
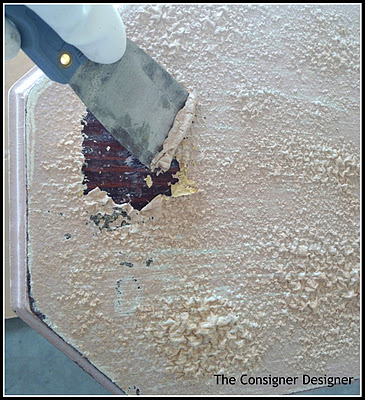
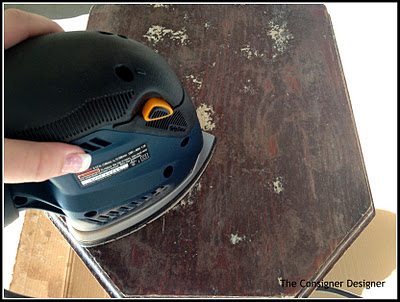
So I used my sander to get the remaining layers off.
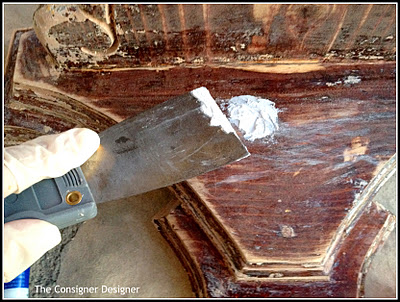
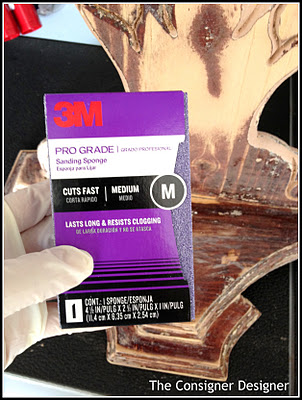
I then filled in the holes with wood filler. Once this was dry, (I used my sponge sander) I sanded those areas down level. The sponge sander was also great for getting into those tiny details!
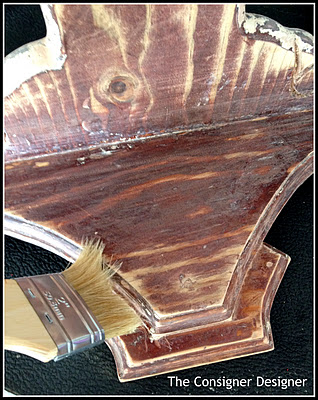
Once my piece was sanded. I wiped it down with a damp cloth. I then used my brush to get into any crevasses, I may have missed.
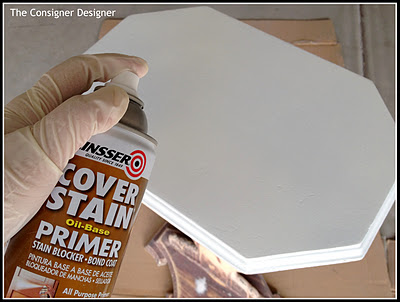
Now the real fun begins. I applied a layer of primer according to the directions and allowed it to dry.
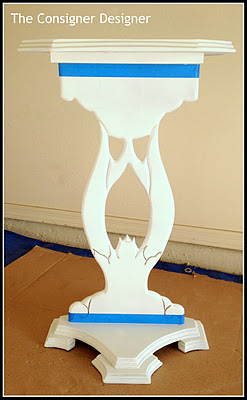
How to refinish a table?
Used my painters tape and tape off the base and top of the table. She looks better already!
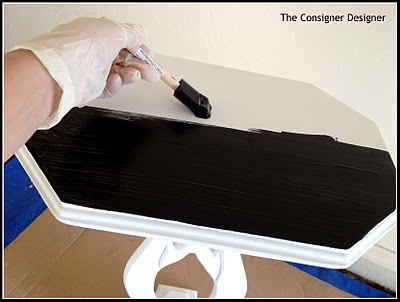
Then applied my black paint to the top and base of my table. I used an acrylic water based paint. I applied it with the sponge brush first. And then finished with the roller. I made sure there were no streaks.
For some interesting texture and contrast.
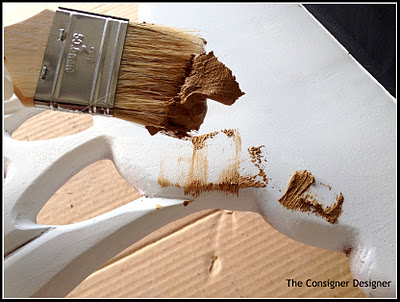
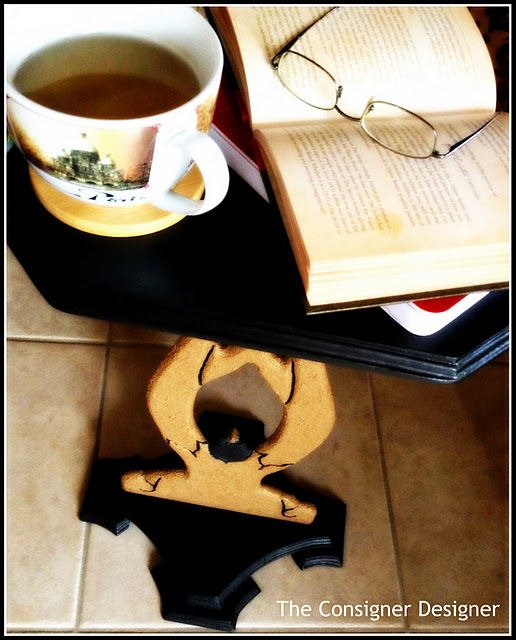
I decided to paint the neck of the table a different color. I used Martha Stewart gold textured paint.
This stuff is awesome!!
It looks like I applied a thick layer of gold leaf!
(Look at it….it looks like peanut butter!)
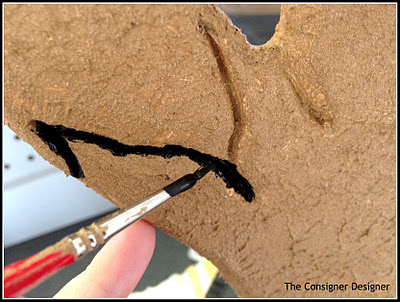
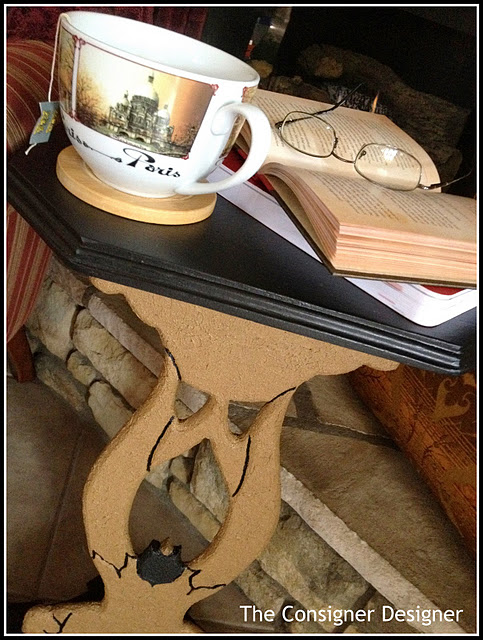
Once the gold paint was completely dry. I finished up by filling in the details with black paint.
This juxtapose against the gold paint.
I then went back in with the gold paint. This was to correct any mistakes I might have made.
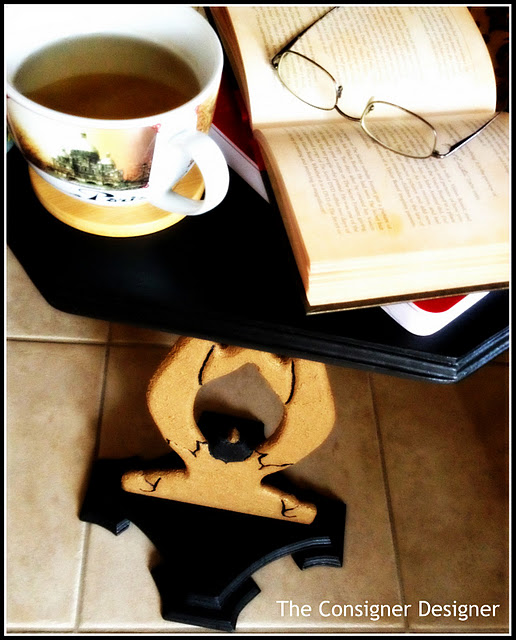
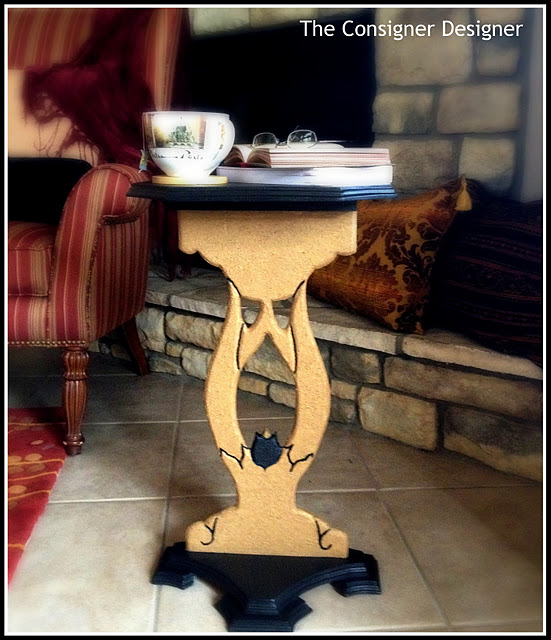
I let the table dry over night. And applied a layer of polyurethane according to the directions. And here she is….Miss America; I mean, the newly refinished table! I just love it!
Thanks Hani for having me on your blog. I hope everyone enjoyed this. And I hope it has inspired them to refinish something not so pretty! Thanks again for letting me share.
Be sure to check out Jennifer’s blog for ideas like:
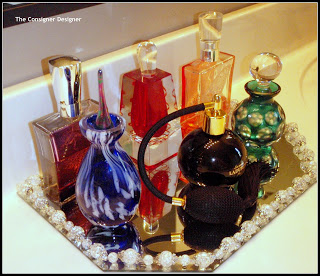
DIY perfume tray
You will also need:
What color to paint furniture?
Looking for more great ideas?
Check out tutorials in the category DIY PROJECTS.
Are you on pinterest?
You will also enjoy the DIY Techniques and DIY projects Boards.
These are updated regularly whenever I find unique ideas.







I was just trying to re finish a table myself and save it from the trashpile so this was really neat to read!I found your blog through TIOT. If you have time I'd love a follow back at:
it looks beautiful! stripping paint from those details is a lot of work!
Now THAT is a really helpful post! I've seen refinished furniture in other friend's houses and I've always wondered how to do it. I've been a little afraid to try, but step by step pictures make it a lot less intimidating.
Visiting from WLW, and glad I did. 🙂
Wow, I love this!! 🙂 I love your step-by-step process! Thanks so much for sharing at Oopsey Daisy!
Thanks everyone for all the wonderful compliments! And thanks again Hani for allowing me to post for your readers!
Great tutorial!! Thanks for sharing at my party!
Great tutorial. I'm sure it will come in handy for those who want to try their hand at furniture transformations.
Thanks for linking to Time Travel Thursday. Hope to see you again this week.
Blessings,
Liz @ The Brambleberry Cottage
Great tutorial! Thanks for sharing!