This post may contain affiliate links. Please see our full Disclosure Policy for details.
Looking to elevate your home decor without spending a fortune? A seasonal paper flower wreath is a beautiful, budget-friendly craft you can customize for any time of year. Whether you’re decorating your front door for spring or adding cozy vibes for fall, paper flower wreaths offer endless creative possibilities.
Learn how to make your own DIY seasonal paper flower wreath, with design ideas tailored to every season, a materials checklist, and expert tips to help your wreath last all year long.
Why Make a Seasonal Paper Flower Wreath?
Unlike fresh flowers, paper flowers don’t wilt. They’re reusable, customizable, and can match any color scheme or seasonal theme. Whether you’re into pastels for spring or rustic tones for autumn, this DIY project lets your creativity bloom.
- Budget-friendly: Made with scrapbook or recycled paper
- No-wilt design: Lasts season after season
- Fully customizable: Choose colors, flower types, and wreath shapes
- Easy to store: Lightweight and durable
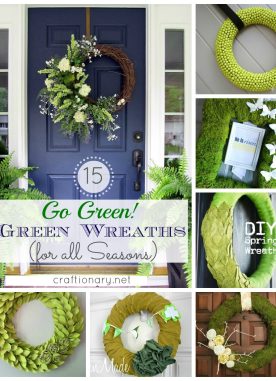
Seasonal Paper Flower Wreath
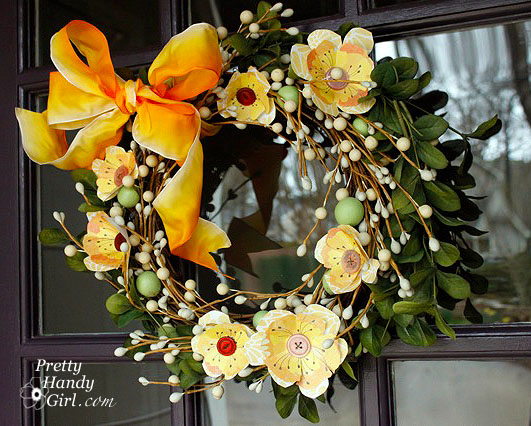
You can use one single wreath through every season for a year by simply transforming it with seasonal touches. Now to greet the budding flowers and tree outside, in this tutorial we will decorate the wreath with pretty yellow and orange paper flowers.
Materials and Supplies:
Before you begin your seasonal paper flower wreath, gather the following:
- Scrapbook paper or cardstock (choose seasonal colors)
- Buttons
- Floral wire
- Scissors or craft knife
- Plier
- Wreath base (foam, grapevine, or wire)
- Pencil or flower templates (if using plain paper)
- Green paper or faux greenery (optional for leaves)
- Ruler or cutting mat
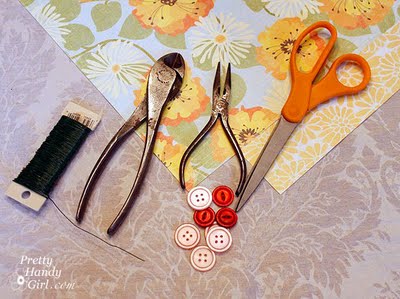
Material for making paper flowers
DIY Paper Flower Wreath Instructions:
Choose a Seasonal Theme
Pick a color palette and flower style that matches the season, here’s some choices for inspiration:
| SEASONS | COLORS | FLOWERS |
| Spring | Pastel pink, lavender, mint green, yellow, ivory, and baby blue | daisies, cherry blossoms, pansies |
| Summer | Bright red, coral, lemon yellow, orange, turquoise, and bold green | sunflowers, hibiscus, hydrangeas |
| Fall | Burnt oranges, burgundy, brown, forest green, mustard | chrysanthemums, marigolds, dahlias |
| Winter | Whites, silvers, navy, icy blue, deep green, gold | poinsettias, Christmas roses |
Create Paper Flowers
Use flower templates or freehand your designs. Cut petals, layer them for volume, and curl edges with a pencil for realism. wire them together to hang on the wreath.
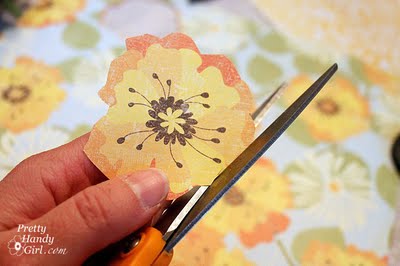
Start by cutting flower shapes
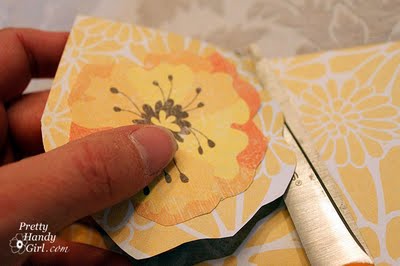
Using the flower paper as the guide
Cut out the flower shape on coordinating paper slightly larger than the flower

Cut slits in the flower keeping both the papers together
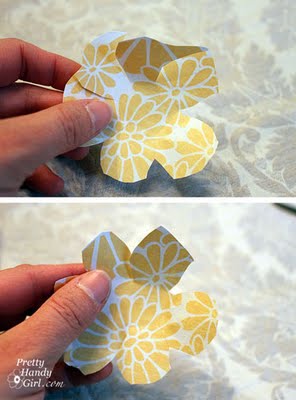
Trim the edges of the flower to give it round shape
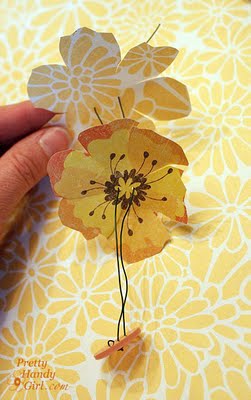
Use floral wire to thread the button and flowers together
Tips to Assemble Your Wreath
Arrange your paper flowers around the wreath base. Start with larger flowers, then fill in gaps with smaller ones and leaves. Once satisfied with the layout secure the flowers by twisting the wire on the back of the wreath.
- Curl petals using a pencil or wooden skewer for a natural look.
- Layer flowers from largest to smallest for 3D effect.
- Mix different sizes and shapes of flowers for a natural arrangement.
- Hang using a ribbon loop or attach to a hook.
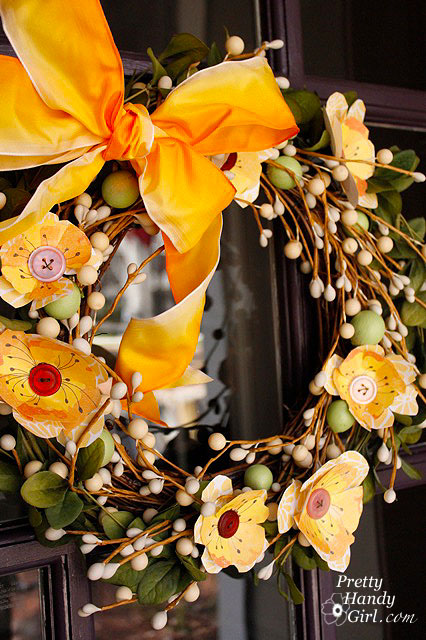
Beautiful Spring Paper Flowers Wreath
Add Seasonal Embellishments
To make your seasonal paper flower wreath stand out, add elements like:
| SEASON | EXTRA DECORATIONS |
| Spring | Faux moss, baby’s breath, butterflies, Easter Eggs, Bunnies, bows |
| Summer | Palm leaves, faux lemons, flamingos, seashells, peacock feathers |
| Fall | Acorns, faux pumpkins, pine cones, plaid ribbons, dried flowers |
| Winter | Snowflakes, berries, pine branches, bells |
Tips for a Long-Lasting Paper Flower Wreath
- Seal the paper: Use a clear acrylic spray to protect from moisture.
- Hang indoors or in a sheltered spot: Avoid direct rain or sun.
- Store flat in a box: To preserve shape for next year.
A seasonal paper flower wreath is more than just a DIY project it’s a year-round celebration of creativity, color, and personal style. Whether you’re crafting one for your own front door or as a thoughtful handmade gift, this wreath will bring joy in every season. With just a few supplies and your imagination, your home can bloom 365 days a year.
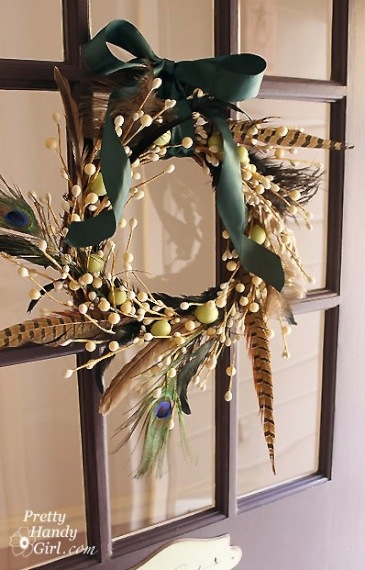
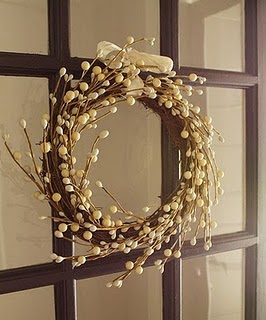
Summer Flower Wreath

Winter Berry Bunches Wreath
DIY Fall Wreath
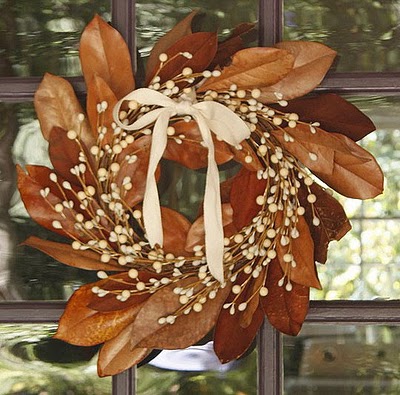
DIY Fall Leaves Wreath

Beautiful Spring Paper Flowers Wreath Close Up
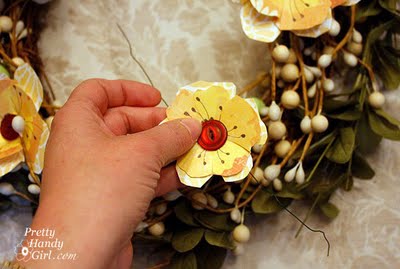
Sticking Paper Flowers on Wreath
You will also like:
How to Make a Handkerchief Wreath


Wow! Each wreath is so different, so pretty and just perfect for each season!
Ohh..another smart guest..nice to meet her 🙂 she has very nice projects with lots of creativity..
Wow, those wreaths look absolutely stunning. I wish I had the scissor skills to cut out those flowers like that…Oh well, maybe in the next life. Thanks!