This post may contain affiliate links. Please see our full Disclosure Policy for details.
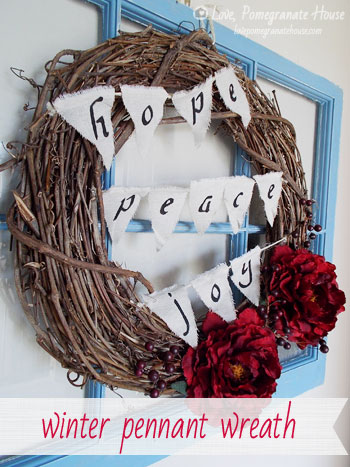
DIY Winter wreath (Christmas wreath tutorial). Please welcome our Guest Talitha. She is sharing a simple and beautiful winter wreath tutorial with us today. This wreath is great for Christmas decoration as well. Decorate your front door or mantle by hanging this easy DIY wreath.
DIY Winter Wreath

Pennant banners!
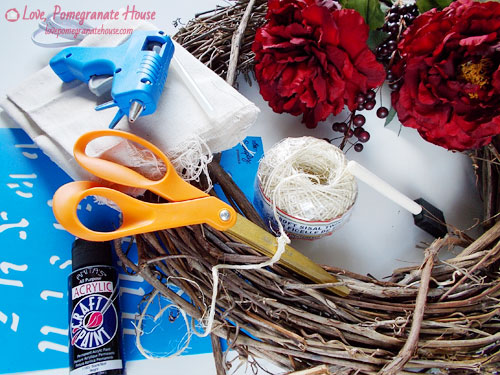
Make DIY Winter Wreath:
- Grapevine wreath (You can find these at a craft store and they cost about $5 only)
- Flowers/ berries/ greens or whatever your heart desires to make your wreath your own!
- Twine or ribbon
- Muslin fabric
- Scissors
- Letters stencil
- Acrylic paint
- Sponge Brush
- Hot glue gun

Begin by cutting off the stems of your flowers. Then, hot glue them on to your wreath. Be careful! I know *ahem* someone *ahem* who has a tendency of hot gluing things to her fingers.
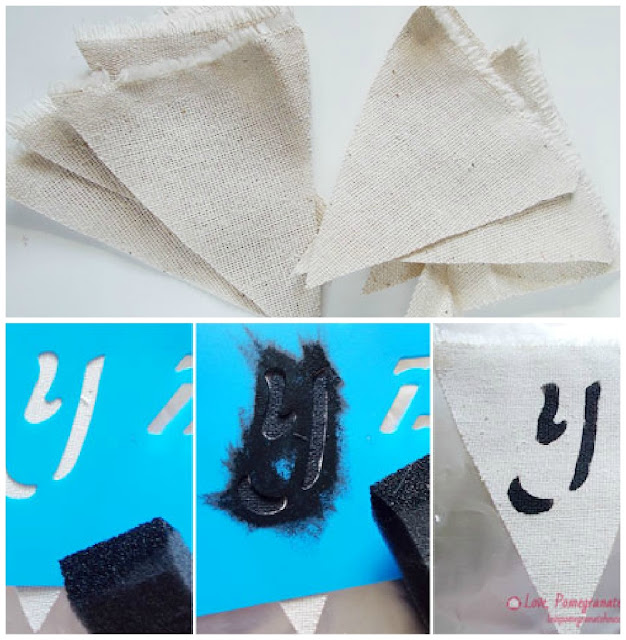
Put your muslin triangle on a piece of tin foil or any medium you prefer to avoid mess as the paint will leak through it. Then, dab the paint on your stencil in the center of the muslin triangle you just cut, using a brush.
Note: You can also use a paint pen for lettering!
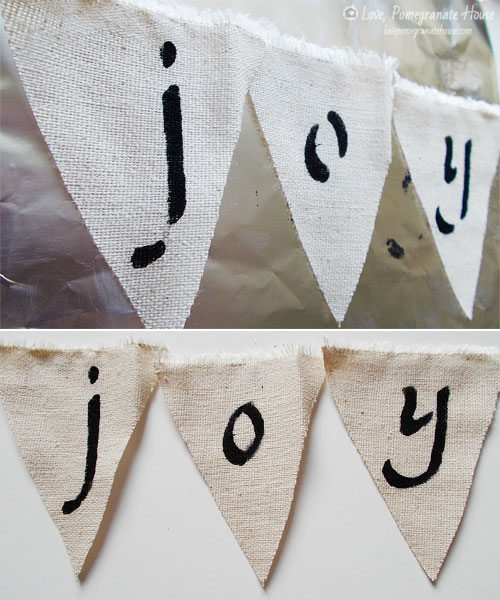
My letters were missing space from the stencil So, I just took a tiny paint brush and filled in the spaces as I didn’t like the way it looked. Not a necessary step, but definitely an option!
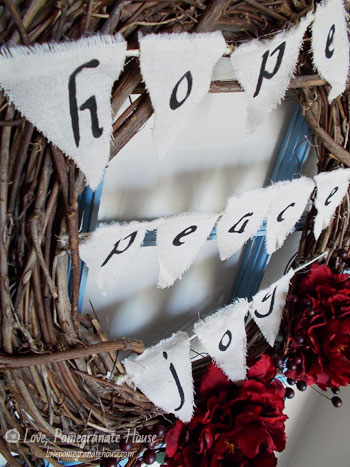
Then, all you need to do is to hot glue the pennant letters onto some twine, followed by hot gluing the twine onto the wreath!

Now you are done! Hang that beauty up on your wall, on your door, above your mantel! While this pennant wreath is easy to make for winter, you can also easily change it’s look for spring, summer or fall! So go ahead! Adapt away DIY winter wreath!
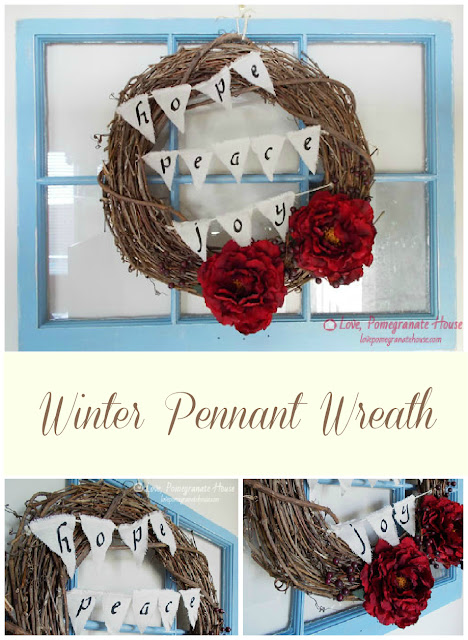
Thanks so much for this wonderful seasonal wreath idea Talitha. I love how easy it is to make and can be helpful for busy people who love to decorate there home, last minute.
You will also like:
Looking for more ideas to DIY wreaths. Check out all the ideas on the page.


