This post may contain affiliate links. Please see our full Disclosure Policy for details.
Hi, my name is Chrissy and I blog at Hoot Designs. I’m a creator by nature and love so many things and to make so many things, so much so that I’m all over the place crafting, so I started my blog to share my adventures in crafting.
I also have a photography blog called Hoot Photography. I’ve met so many fun ladies online that I would have never had the opportunity to meet had I not started my blog.
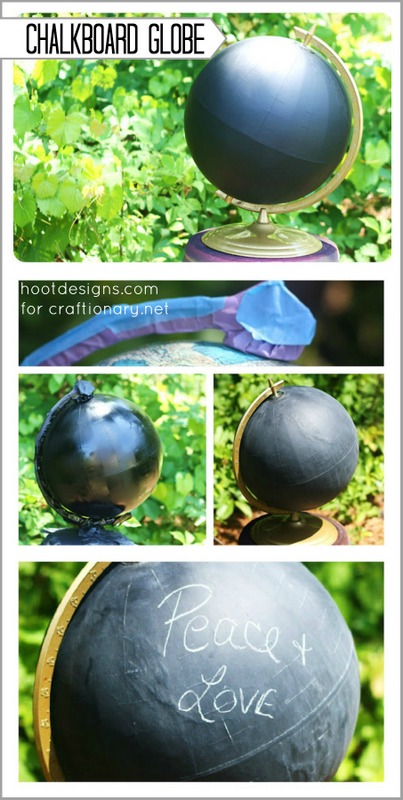
I wanted to share a super fun project with you that I believe by far, is the most exciting project I have ever made. I found my globe on Ebay for a reasonable price. Maybe your’re lucky enough to have one at home already. Below is the step by step tutorial. What’s really great is you can make your own chalkpaint.
And your globe does not have to have the standard issue black or green. You can find many chalkboard paint recipes online.
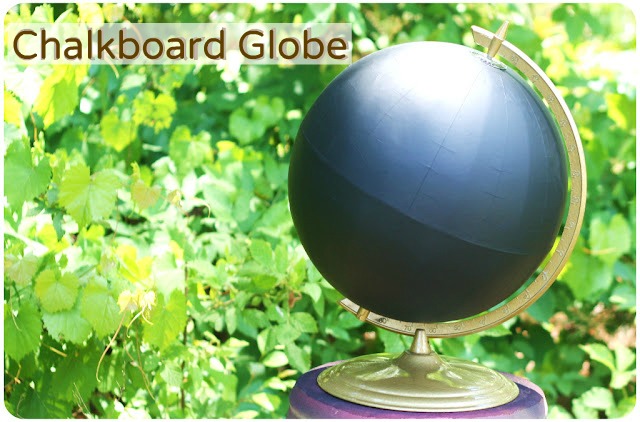
Happy Globe- ready for it’s transformation.
DIY Chalkboard Globe
I taped up the metal parts so I could spin the globe. And spray with the paint. The metal AM PM disk at the top was also taped up as well as the disk at the bottom. Now spray, spray, spray until the whole globe is covered.
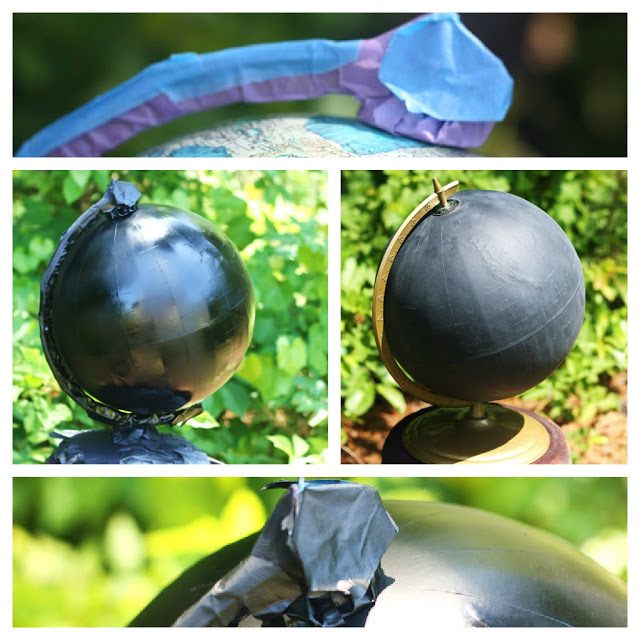
Globes are made out of paper so they can bend easily into the round shape along the score lines. And you can see those lines here.
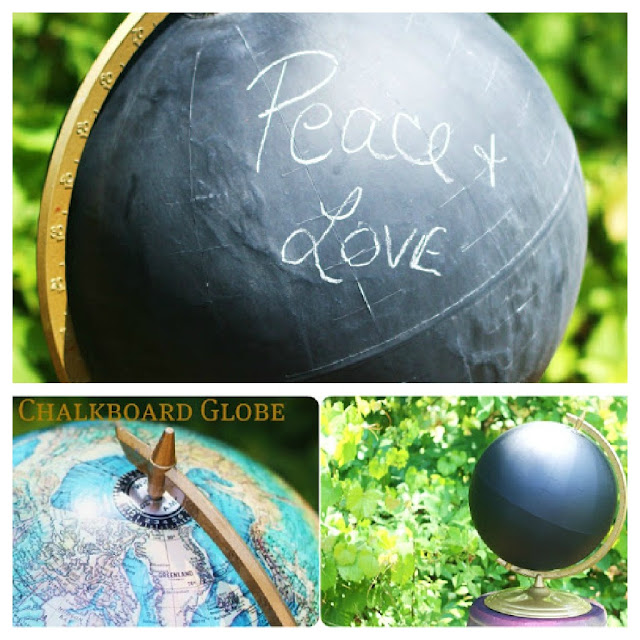
And here we are all painted and untapped. Time to season the globe. After it’s completely dry, I left mine overnight. You can rub the whole surface with the side of a piece of chalk.
If you like this idea. Share it!
Thanks for guest posting Chrissy. I love chalkboard paint.
