This post may contain affiliate links. Please see our full Disclosure Policy for details.
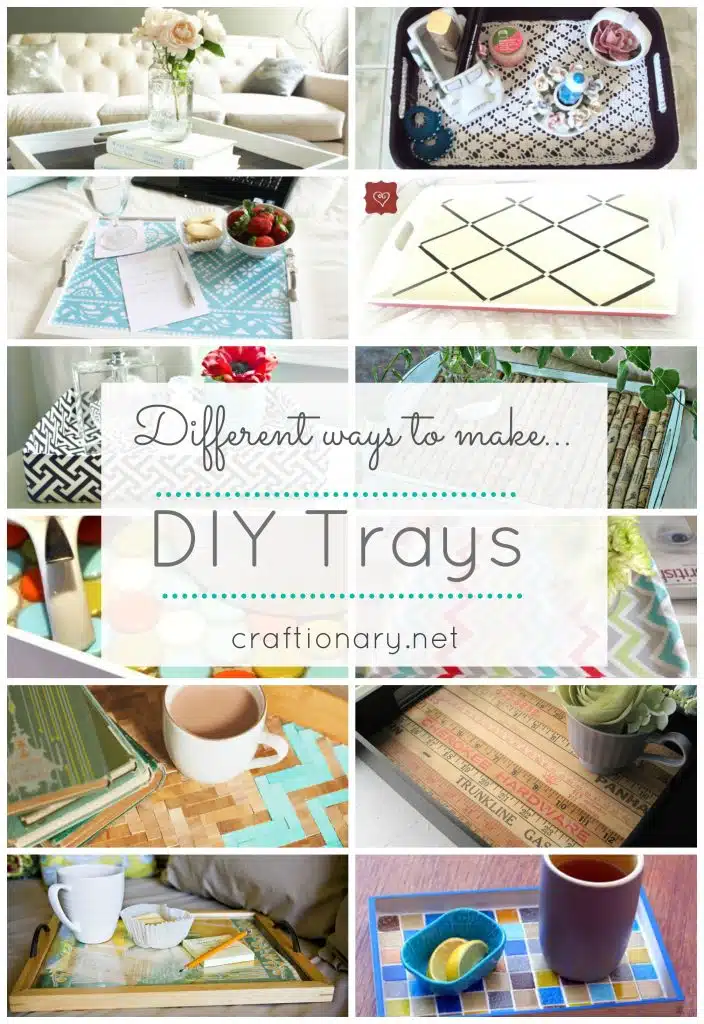
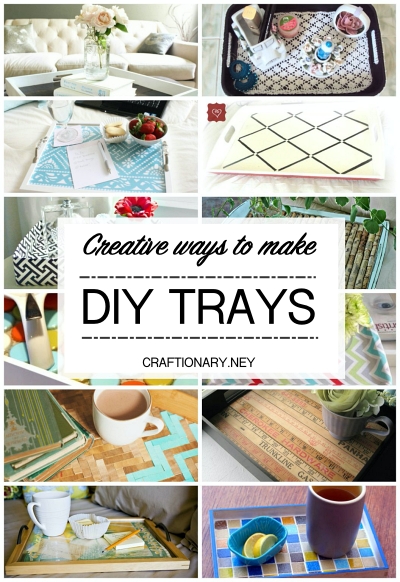
DIY trays are one of the most versatile craft projects you can make for your home. Not only are they functional for serving drinks, snacks, or breakfast in bed, but they also double as beautiful decorative pieces for coffee tables, vanities, and dining areas. With a little creativity and some basic supplies, you can design trays that reflect your personal style—whether that’s rustic farmhouse, boho chic, or modern minimalism.
Decorative trays provide a designated space to corral clutter, showcase cherished objects, or serve guests with style. Create a one-of-a-kind piece that perfectly reflects your personal taste. These 20 easy and creative DIY decorative tray tutorials for every skill level, from no-tools-required projects to simple woodworking will inspire your next project.
Let’s have a look at:
20 DIY Decorative Tray Tutorials:
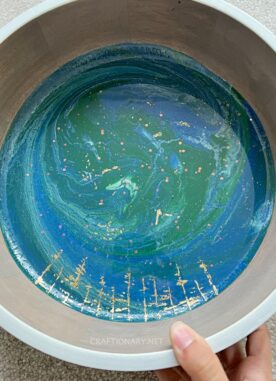
1. Resin Art Tray
Make a stunning resin art tray with simple mix and pour technique. You can embed dried flowers, seashells, or glitter for a stunning effect.
2. DIY Tile Tray
Use backsplash tiles to turn an ordinary wooden tray to tiled accent tray.
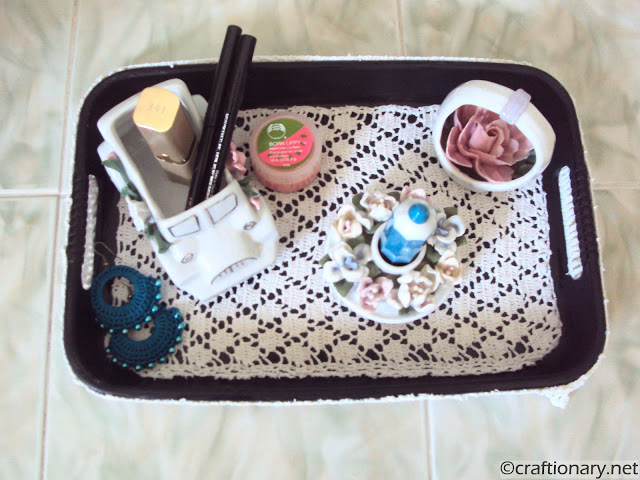
3. Crochet DIY Tray
Use doilies or crochet mats to refashion an old tray.
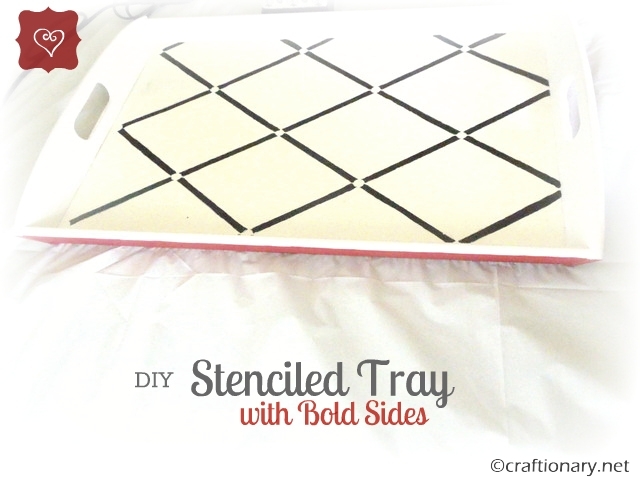
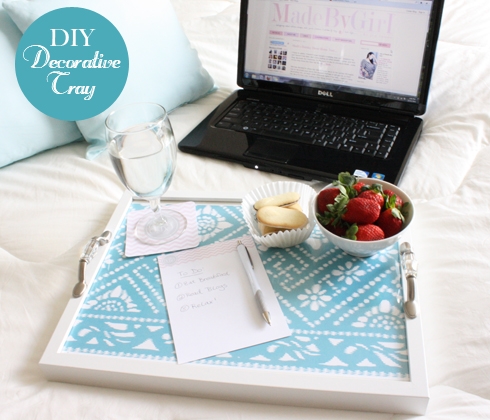
4. Stenciled Decorative Tray
A simple wooden tray can be transformed with acrylic paints. Add stripes, florals, or abstract patterns for a custom look. Use stencil to paint intricate designs. Learn how to stencil a decorative tray without bleeding.
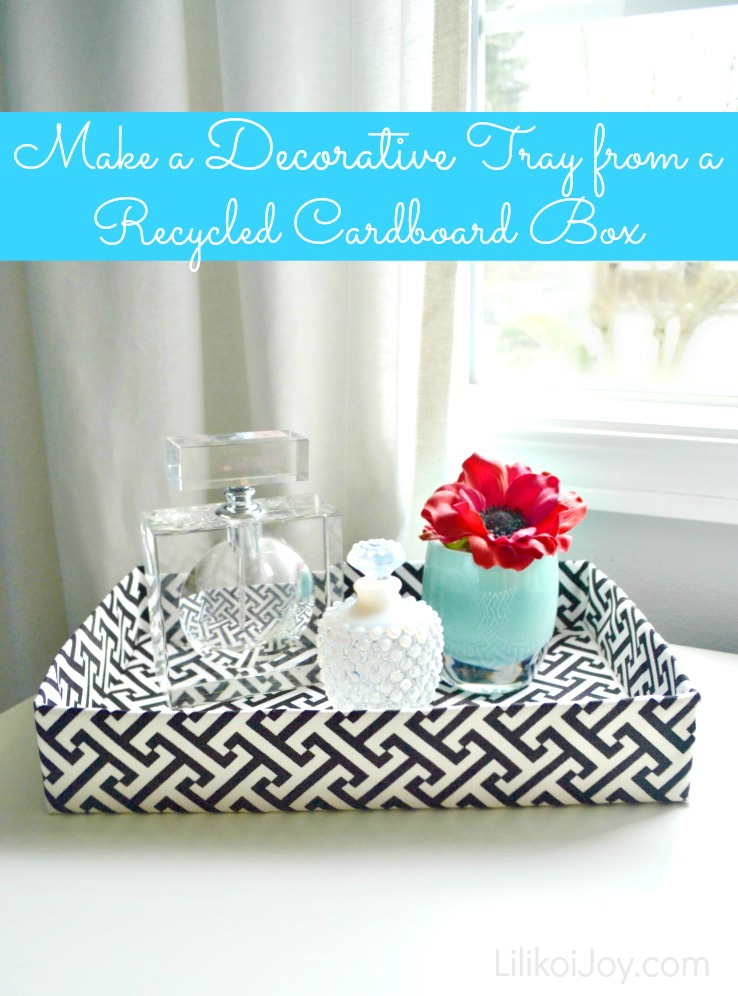
5. Cardboard Tray
Turn cardboard into a decorative tray with fabric. Love this thrifty idea!
6. DIY Yardstick Tray
Use rulers to decorate the base of a tray.
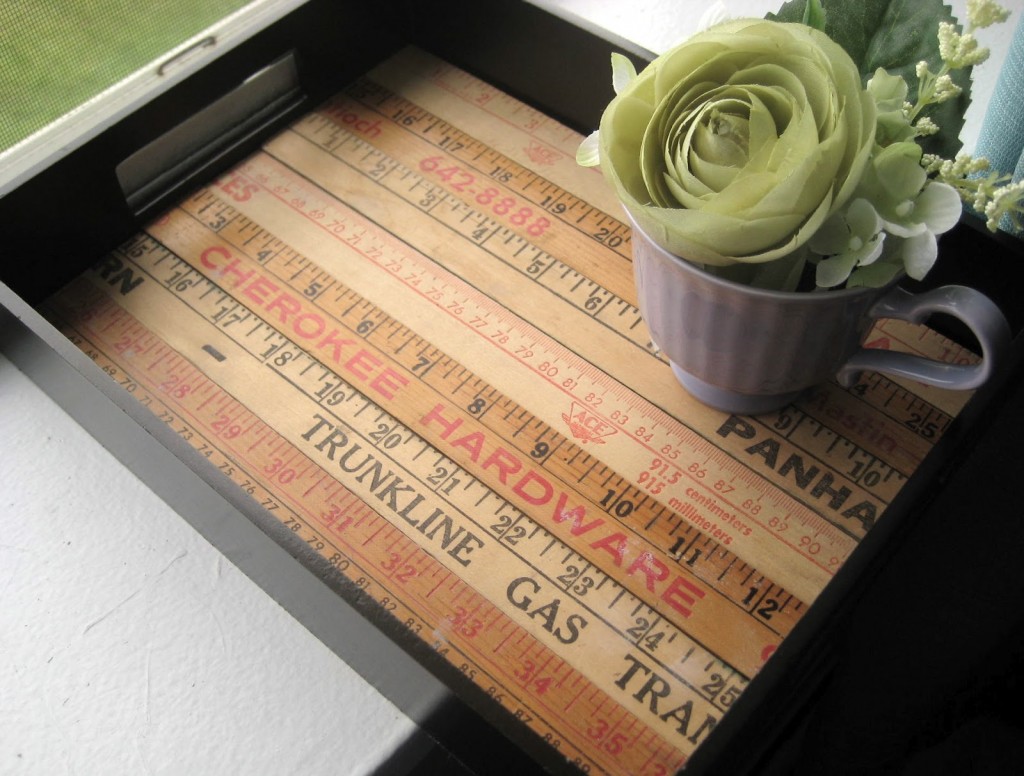
Related: DIY Creative Ways to Repurpose Ruler and Yardsticks
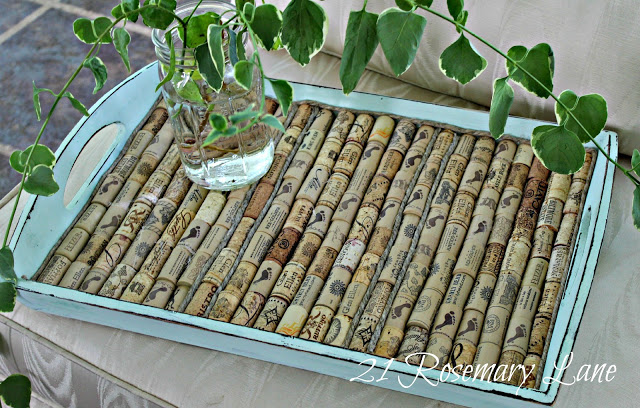
7. Make Wine Cork Tray
Use wine corks to decorate the base of a tray. I love the distressed painted frame.
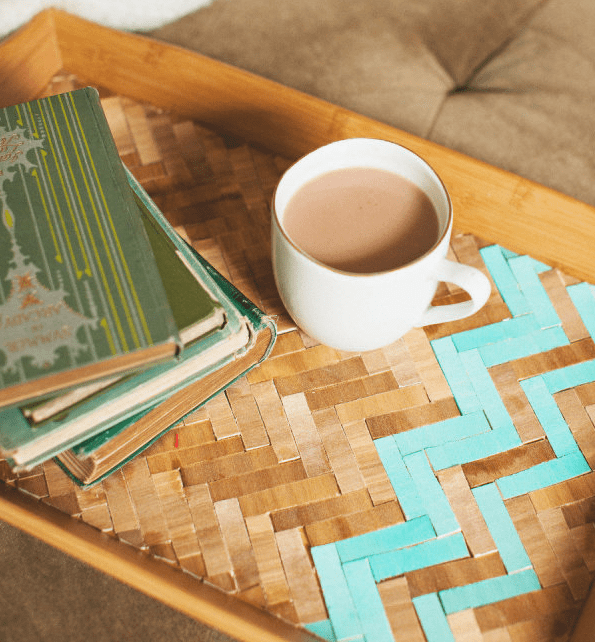
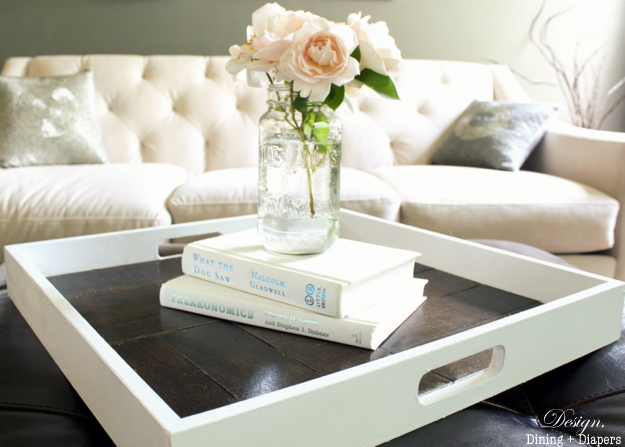
8. Herringbone Wooden Tray Tutorial
This one needs patience and time. Cut pieces of plywood and glue them onto the tray. The painted chevron lines give a fun effect.
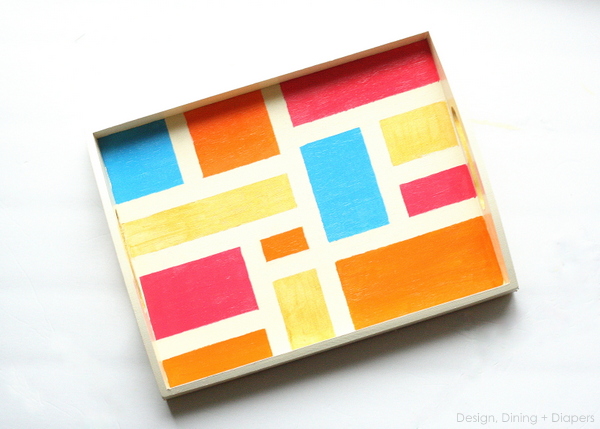
9. DIY Color Block Painted Tray
Think of a design and cover the tray with painter’s tape. Go wild with colors. Remove the tape and you have a color blocked tray.
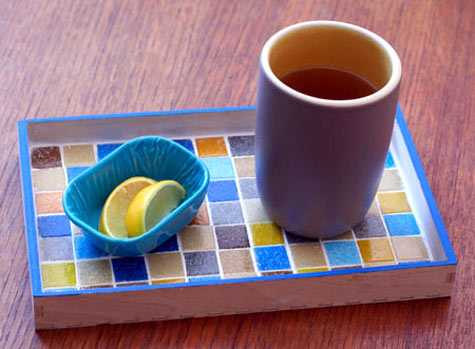
10. Handmade Mosaic Tray
Use broken ceramic tiles or glass pieces to design a colorful mosaic pattern. Seal with grout for a long-lasting finish. Learn more about mosaic technique.
11. DIY Photo Collage Serving Tray
Insert family photos or travel memories under a glass top or seal them with resin for a personal touch. Even better turn a picture frame into a tray. You may use scrapbook paper or fabric as your choice of base. Drill and screw in dresser handles for lifting.
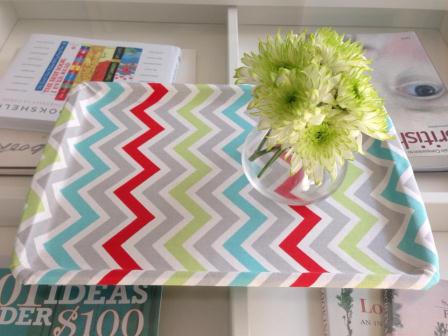
12. DIY Fabric Tray
Cover an old baking tray with your favorite fabric or fun pattern using spray adhesive or fabric mod podge. Add a layer of polycrylic over top for protection. Choose bold prints or calming neutrals depending on your decor.
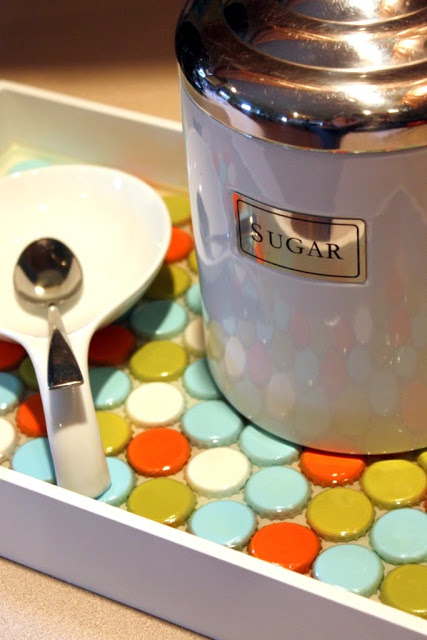
13. Bottle Cap Tray
Spray paint bottle caps and stick them to the base of your tray. What a fun idea!
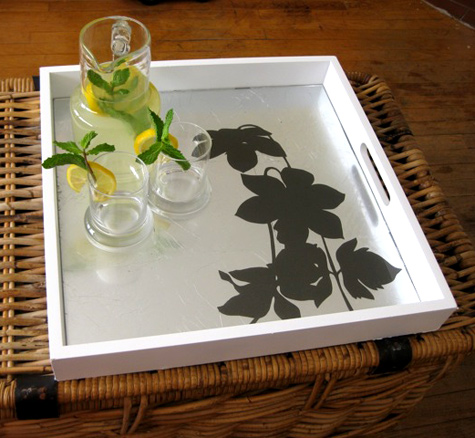
14. Gold Leaf Accent Tray
Apply gold leaf sheets (or silver leaf sheets) to highlight the edges or corners of a tray, giving it a luxurious and elegant look. The cut-out paper botanical motive looks so pretty. Learn more about Gilding glass with gold leaf sheets.
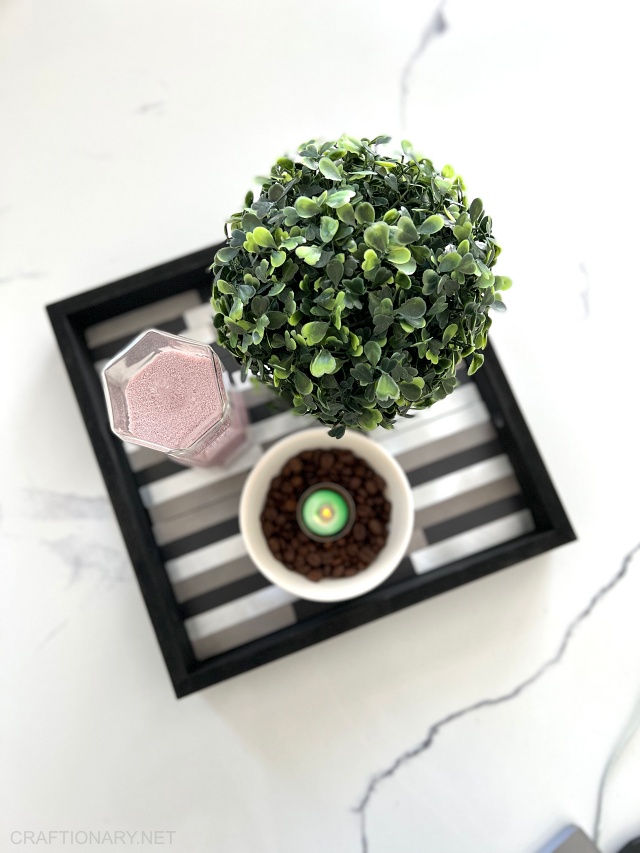
15. Make Wooden Tray
Glue plywood to make this beautiful rustic unfinished farmhouse style-tray.
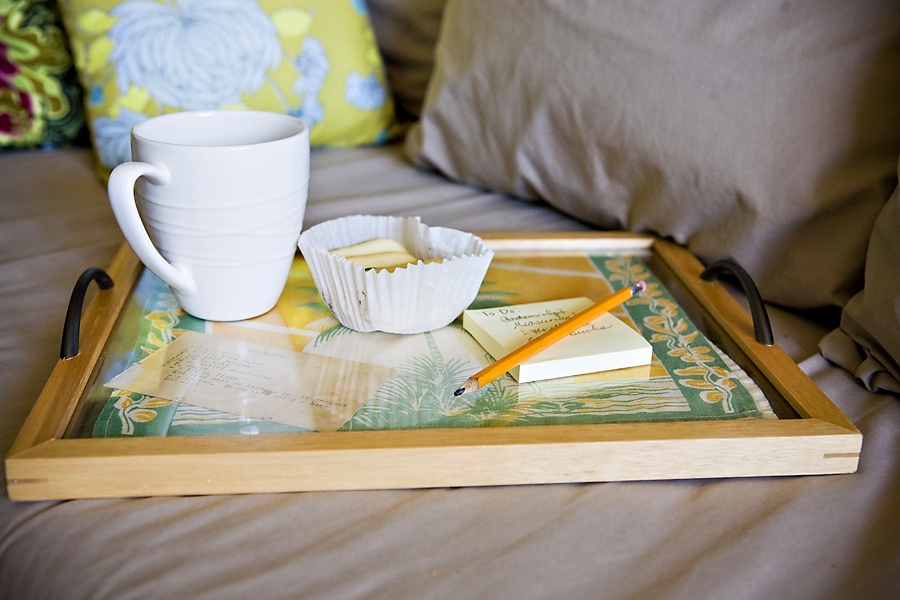
16. Make Breakfast Tray
Another picture frame turned into a tray using fabric. It gave me an idea to use stencil to write on tray fabric. Kind of a custom tray for breakfast in bed.
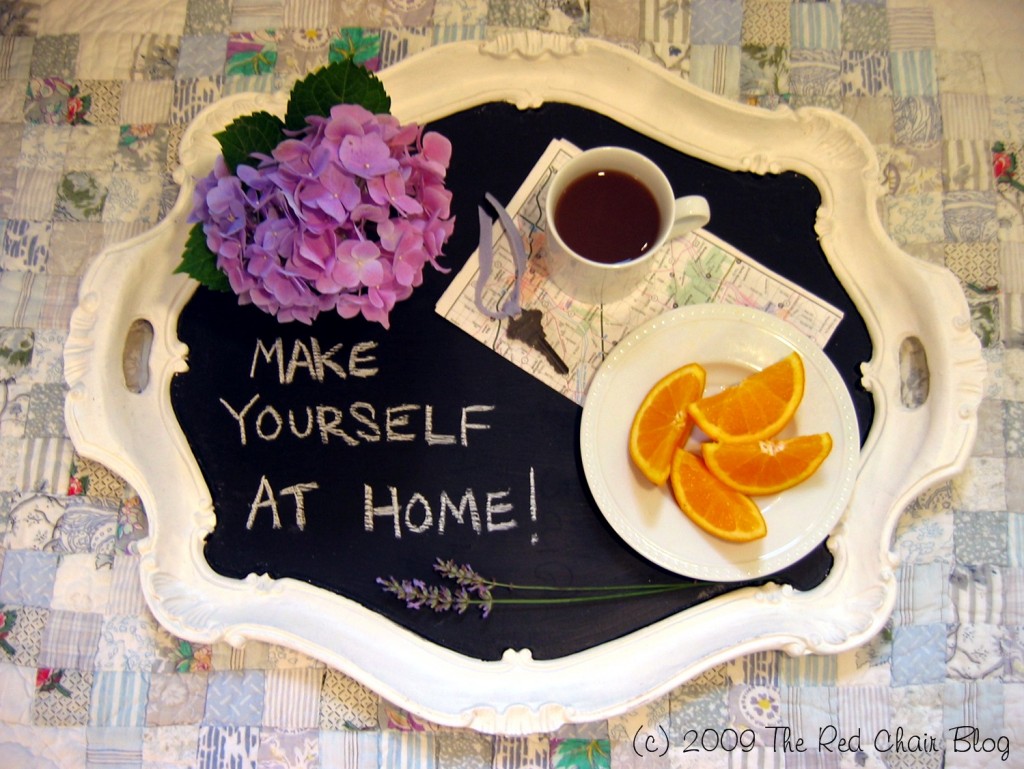
17. Vintage Bed Tray
Paint the base of a tray with chalkboard paint. Perfect for labeling snacks or writing messages during gatherings.
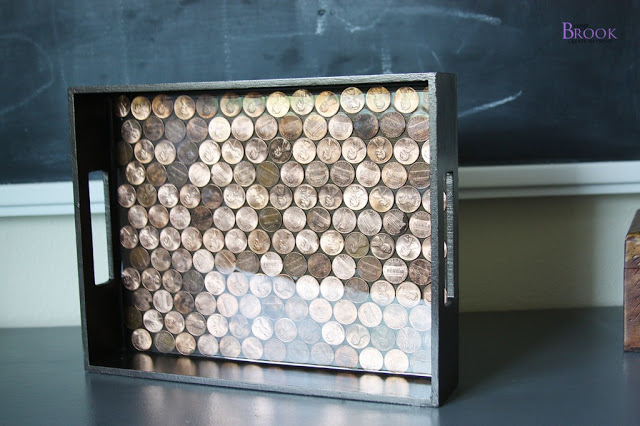
18. DIY Penny Tray
Cover the base of a tray with coins by gluing or dipping in a thin layer of epoxy and let it set. Then pour epoxy resin on top to create this spectacular piece of art.
19. Decoupage Tray with Napkins
Transform a plain wooden or metal tray with intricate patterns. Cut out images from napkins, magazines, or specialized scrapbook paper and adhere them to the tray using Mod Podge for a seamless, artistic look.
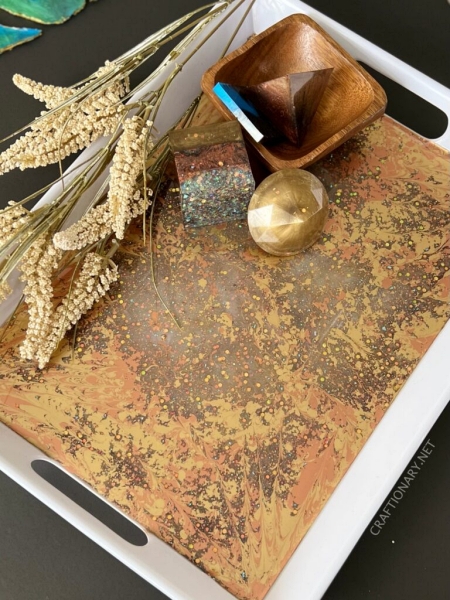
20. Marble Effect Tray
Create a faux marble design with spray paint or marbling paint techniques on plain wooden or metal tray.
21. Serving Tray with Handles from Drawer Pulls
Attach decorative drawer pulls or cabinet handles to the sides of a wooden base for a stylish serving tray.
22. Acrylic Tray with Printed Inserts
Purchase a clear acrylic tray and design seasonal or themed inserts (holiday prints, botanical art, quotes). Switch them out easily.
23. Beaded Edge Tray
Glue wooden beads or pearl beads around the edge of your tray, then paint or stain for a textured detail.
24. Nature-Inspired Wooden Slice Tray
Use a large, polished wood slice as the tray base. Add small handles for a rustic, earthy look. You can decorate it with dried flowers.
Related: Vintage PRESSED FLOWERS in frame of gold in seconds
25. The Dollar Store Mirror Tray:
Create a glamorous, high-end look on a budget. Use a round or rectangular mirror from a dollar store as the base, add a decorative edge with mosaic tiles or beads, and attach small feet or decorative knobs. Perfect for vanities and candle displays.
26. The Cutting Board Tray:
Give an old cutting board a new life. Sand it down, apply a fresh coat of paint or a food-safe stain, and add two stylish handles for a rustic farmhouse look.
Tips for Making Decorative DIY Trays
- Choose durable materials if you plan to serve food or drinks.
- Seal your project with clear varnish, polyurethane, or resin for easy cleaning.
- Match your tray style to your home decor (farmhouse, boho, minimalist, glam).
- Experiment with handles (metal, rope, leather, or reclaimed hardware).
Common Questions About DIY Decorative Trays
1. What materials can you use to make a DIY tray?
You can use wood, metal, acrylic, resin, or even upcycled items like picture frames and old cabinet doors. Pine and plywood are excellent choices for beginners because they are inexpensive and easy to work with. For a more durable and high-end look, consider oak, walnut, or maple.
2. What kind of paint should I use on a wooden tray?
- Chalk Paint: Perfect for a distressed, farmhouse look. It adheres well to almost any surface without a lot of prep.
- Acrylic Paint: A versatile and inexpensive option available in a huge range of colors.
- Spray Paint: Ideal for a fast, even finish on metal or wood trays.
3. How do you waterproof a DIY tray?
Use a waterproof sealant such as polyurethane, epoxy resin, or outdoor-grade varnish to protect against spills.
Related: Best Sealer: How to Waterproof Acrylic Paint on any surface
4. Can you make a tray without power tools?
Yes! You can repurpose ready-made bases like photo frames, cutting boards, or old trays. Just decorate and add handles.
5. Are DIY trays safe for serving food?
Yes, as long as the tray surface is sealed with food-safe resin, varnish, or covered with a removable liner like glass. If you plan to use the tray for serving food directly on the surface (like a charcuterie board), you must use a food-safe finish. Mineral oil, beeswax, or special “butcher block oil” are all great, non-toxic options that will protect the wood. Avoid standard polyurethane or varnish, which are not considered food-safe.
6. Can you use Mod Podge for a serving tray?
Yes! Mod Podge is perfect for sealing fabric, paper, or napkin designs on trays. For heavy use, add a waterproof top coat.
7. How do you make a tray sturdy?
Use strong base materials (thick wood or acrylic) and secure handles firmly with screws or heavy-duty adhesive.
8. How do you clean a DIY decorative tray?
Wipe with a damp cloth. Avoid soaking unless it’s sealed with waterproof resin.
9. Where can you find materials for these projects?
You can find most materials at a local home improvement store like The Home Depot or a craft store like Michaels. Look for pre-cut wood pieces, drawer pulls, and a variety of paints and sealants. Don’t forget to check thrift stores and salvage yards for unique bases like old picture frames or wooden crates.
10. How do you attach handles to a tray?
The most secure way is to use screws from the underside of the tray. If you can’t use screws, a strong adhesive like E6000 or a two-part epoxy will work well for lighter trays. Always follow the manufacturer’s instructions and allow for proper curing time.
Making a DIY decorative tray is a fun, affordable way to personalize your home decor while creating something practical. From rustic farmhouse rope-handle trays to chic mirrored vanity trays, the possibilities are endless. With the 15 tutorials above, you can mix techniques and experiment with designs to craft trays that truly reflect your style.
Whether you’re a beginner or an experienced DIYer, these projects will inspire you to turn ordinary trays into extraordinary statement pieces.
You will also like:
25 Easy Decorative Pillow Tutorials (Make Throw Pillows)


What great trays! Thanks for including mine. Now I’ve got to figure out where to put more trays, I want to try several of these! Hope you’re having a good week Hani! xoxo, Sharon
Thanks for featuring two of my trays!
You have a wonderful blog. I love all these DIY tray ideas! Stopping in from #UBP13.
Loved these tray ideas, especially the mosaic one!
Awesome post.