This post may contain affiliate links. Please see our full Disclosure Policy for details.
Learn how to make paper from fabric using cornstarch with this beginner-friendly tutorial. It includes step-by-step printing tips and creative fabric paper project ideas!
The instructions include making a beautiful journal fabric sheet cover. It shows you how to print using inkjet printer and color on the fabric paper using any material you can use on a regular paper. You can use fabric paper like any paper for painting art, journaling, crafts, and even botanical wall decor.

Turn Fabric into Paper with Starch:
Making fabric paper using cornstarch is a natural, affordable, and sustainable alternative to glue-based methods. Cornstarch acts as a stiffening agent and binder, giving paper and fabric a slightly crisp, textured feel while keeping the surface flexible and sewable.
This DIY technique turns scrap fabric into a paper-like sheet that’s flexible, printable, and ideal for everything from journaling to sewing.
- How to make fabric paper with cornstarch?
- How to print on fabric paper with an inkjet printer?
- Easy and creative project ideas to use your fabric paper?
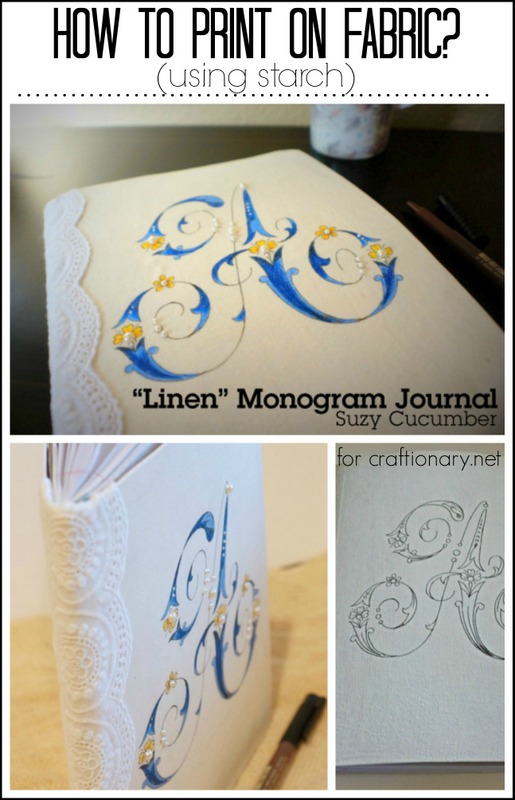
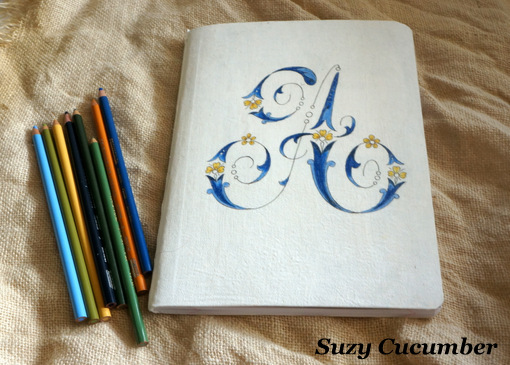
The starched fabric is like paper and paper can be run through an inkjet printer. I did not draw that fabulous A onto the journal. I printed it on fabric using an inkjet printer and colored it with colored pencils.
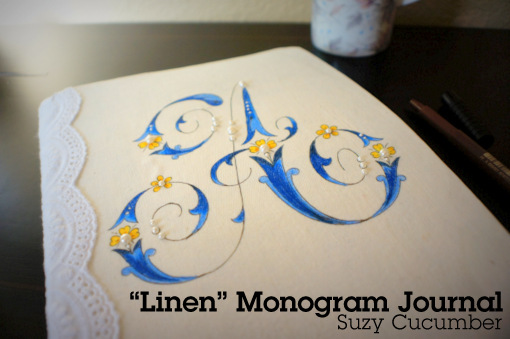
Fabric Paper Journal
DIY Fabric Paper Using Cornstarch
Why Cornstarch?
Cornstarch acts as a gentle adhesive and stiffener. It gives the fabric a papery texture while letting you use natural materials with no harsh chemicals—perfect for eco-conscious or child-safe projects.
Materials:
To make starch-based fabric paper, you’ll need:
- Corn starch
- Water
- Saucepan and whisk
- Paintbrush or sponge
- Matte finish spray or other fixative
- Gesso
- Mod Podge (white or blue gel glue, or tacky glue)
- Composition journal
- Design source – Treasury of Floral Designs and Initials
- Light cotton fabric (muslin or old t-shirts work great)
- Tools: ruler, scissors, flat paint brush, pencil, colored pencils
- Optional: Embellishments (adhesive pearls, wide lace)
- Iron
- Inkjet printer (for printing on the finished fabric paper)
- Optional: Acrylic paint, food coloring, natural dye, or essential oils
- Paper towel or parchment paper (for drying surface)
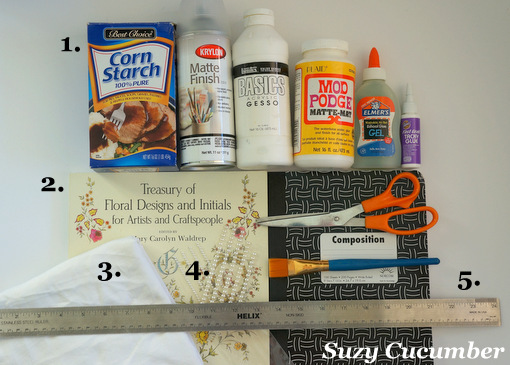
Materials to stiffen fabric like paper
How to Make Fabric Paper?
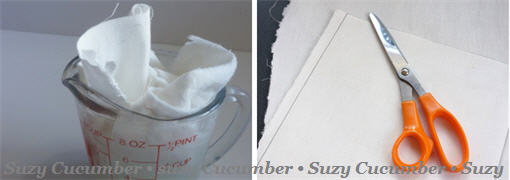
Cut two 10×12 inches chunks of white fabric before making the paste.
Step 1: Make Cornstarch Paste to Stiffen Fabric
Stiffened the fabric with a glue/starch mixture.
Here’s the recipe:
- Add 2 tsp cornstarch to 2 tsp water and stir until smooth (no lumps).
- In a saucepan, bring 1 cup of water to a gentle boil (or microwave it in a measuring glass cup)
- Slowly add the starch mixture to the hot water while stirring continuously until it thickens to a paste. It should thicken immediately.
- Then mix in 2 tsp mod podge or gel glue.
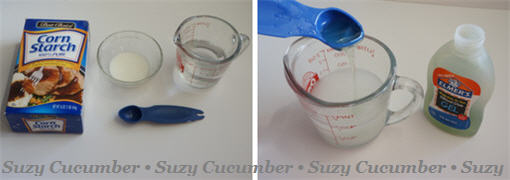
Stiffen fabric as paper
Step 2: Prepare and Coat the Fabric
- Saturate the fabric sheets in the starch mixture by submerging it in the pan.
- You can also lay your fabric flat on a plastic sheet or parchment paper.
- Apply the cornstarch paste with a sponge or brush, covering the entire surface.
Optional: Add a layer of tissue paper, old book pages, or decorative napkins for a collage effect, sealing them in with more paste on top.
Step 3: Dry and Flatten
Method 1: When the sheets are partially dry, press the slightly damp fabric between two paper towels with a hot, dry iron. The starched fabric acts and feels like paper.
Method 2: Let the fabric paper dry completely—usually 12–24 hours. Once dry, place parchment paper over your piece and iron on medium heat for a smoother, more paper-like texture.
You can speed up drying with a fan or sun (avoid hair dryers—they may cause wrinkles).
Your fabric paper is now ready to use or print on!
Make Fabric Paper
How to Print on Fabric Paper?
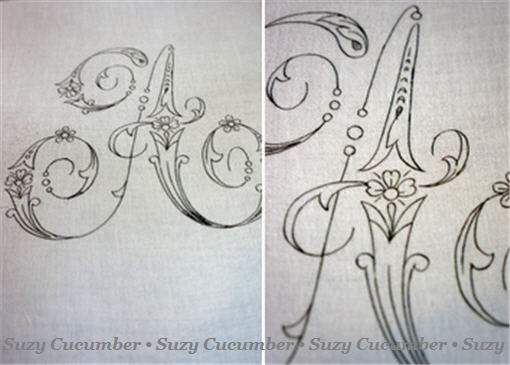
I scanned the floral A from Treasury of Floral Designs and Initials and printed it on the fabric using inkjet printer. The fabric fits into the printer as if it were paper. I printed both a front design and a back design on the sheets of stiffened fabric.
Printing on starch-stiffened fabric is simple when done right. Follow these guidelines:
Step 1: Prepare for Printing:
- Let it cool slightly before using.
- Trim your piece to standard printer size (8.5”x11”) to fit the printer tray.
- Make sure edges are clean and not frayed to prevent printer jams.
- Optional: Attach it to freezer paper or cardstock using iron or temporary spray adhesive to help it feed smoothly
Step 2: Test Your Printer Feed
- Make a test run with plain paper in the same setup.
- Note if your printer prints face-up or face-down, so you load the fabric correctly.
Step 3: Use an Inkjet Printer:
- Do not use laser printers—toner may not bond to fabric
- Load the sheet through your printer’s manual feed tray if possible
- Use high quality, plain paper settings
- After printing let the ink dry thoroughly
- Heat-set by ironing under parchment paper (medium heat, no steam)
Now you’ve got a beautifully printed sheet ready for any creative project.
Printing on fabric paper made with starch is absolutely possible, but it requires a bit of care to avoid jamming your printer or damaging the fabric.
Print on fabric
Tips for best results:
- Use pigment-based ink if possible—it’s more waterproof than dye-based ink.
- Avoid printing photos with heavy blacks or full coverage; stick to text, line art, or light designs.
- Always test first to avoid ruining your printer or fabric.
Cover a journal with fabric
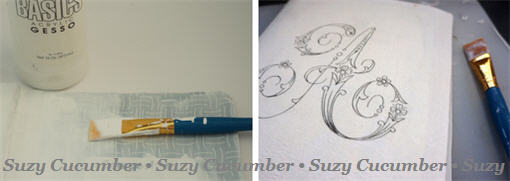
After painting several coats of gesso onto a plain composition book to hide the design, Mod Podged printed fabric sheets to both the front and back of the journal.
I did not seal the top with Mod Podge as I wanted the fabric texture to remain. The result is a faux linen journal.
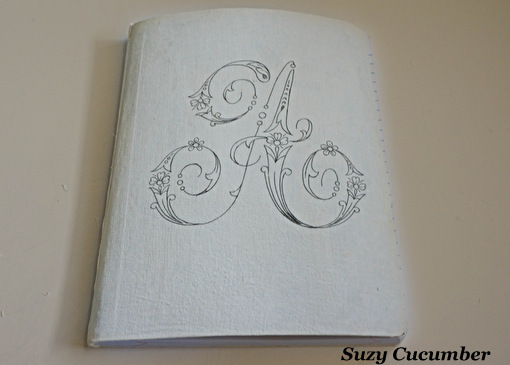
Faux Linen Journal
How to color on Fabric Paper?
I used Prismacolor colored pencils to color in the front and back monograms once the Mod Podge was dry. You can use acrylic paints, gouache, markers, and any paints just test run to ensure they don’t bleed.
The starched paper accepts the colored pencil with no drag. A layer of Krylon Matte Finish should help protect the fabric from dirt.
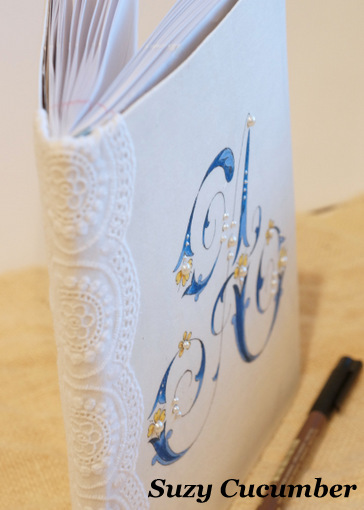
The final step is to glue a strip of wide lace down the spine, place a few adhesive pearls on the circles in the original design. Glue in a strip of matching ribbon as a bookmark.
Color in fabric
Optional Enhancements:
- Add natural dyes (beet juice, turmeric, coffee) to the cornstarch mix for tinted paper.
- Use pressed flowers or leaves between layers for botanical designs.
- Add glitter, threads, or fabric scraps for texture.
Here’s the finished linen journal:
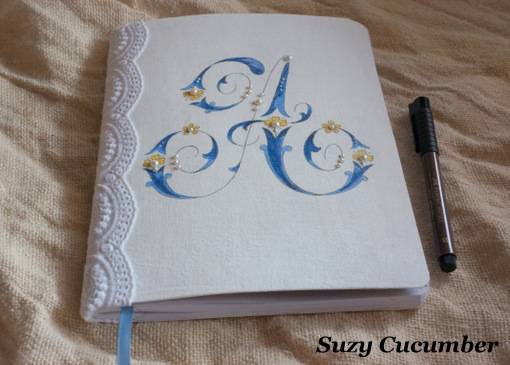
DIY Linen Journal
Beautiful linen journal
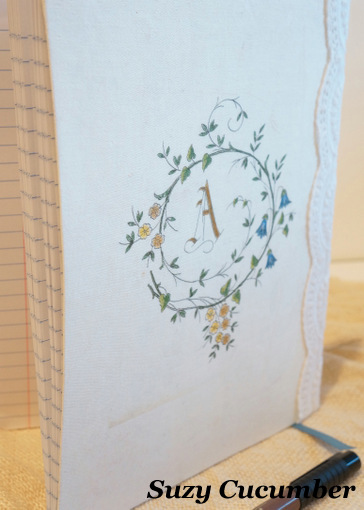
Here’s the back design
Use these free printable templates inspired by vintage florals for your journal pages. You can print them for personal use only. Print them all here

Journal page
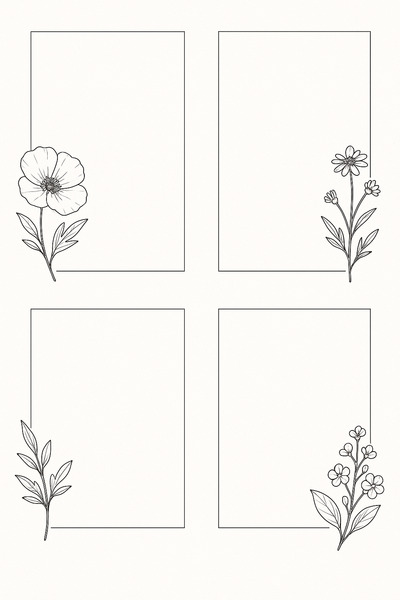
Journal Boxes
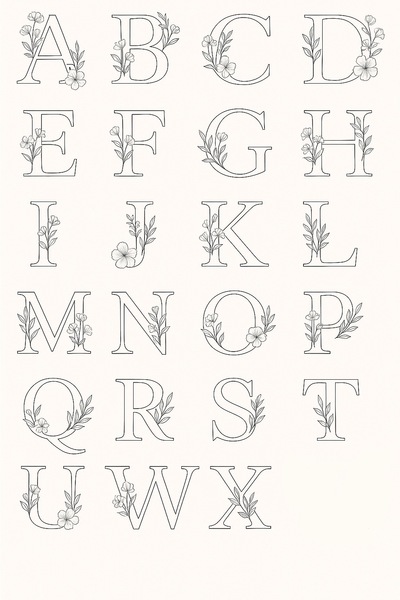
Floral Alphabets for inspiration

Floral A
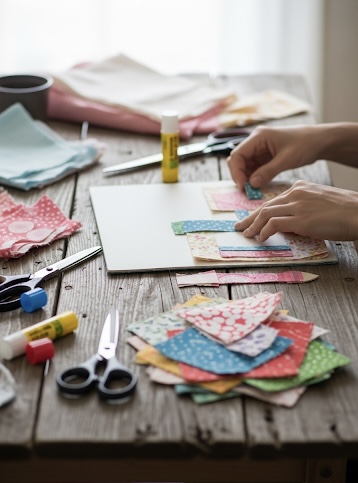
Creative Projects with Fabric Paper
Here are some inspiring ideas to put your custom fabric sheet to use:
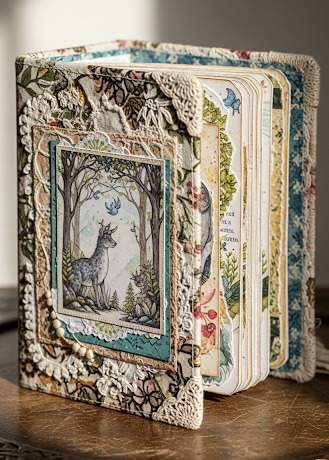
1. Handmade Journals:
Use fabric paper for soft journal covers or inner pages. Stitch or glue onto cardstock for durability.
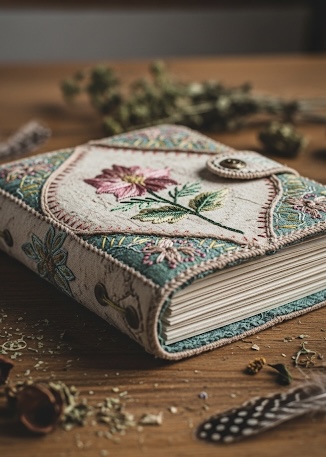
Intricate embroidered fabric journal
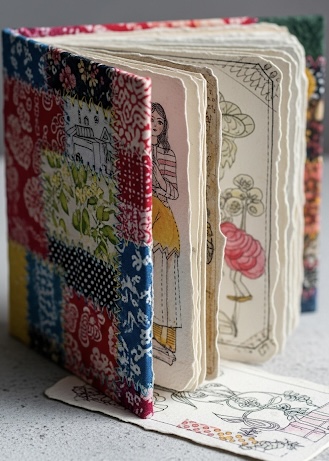
Mod podge scraps of fabric journal
Sewing fabric journal
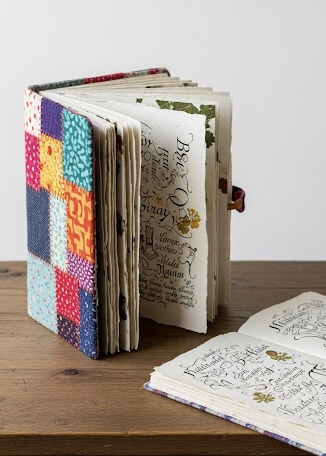
Sewing fabric scraps journal
2. Tags and Labels:
Cut into custom-shaped gift tags or product labels. Print names, messages, or logos right on the paper!

Fabric tags
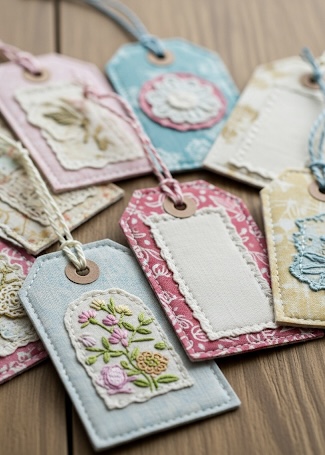
Fabric embroidered tags
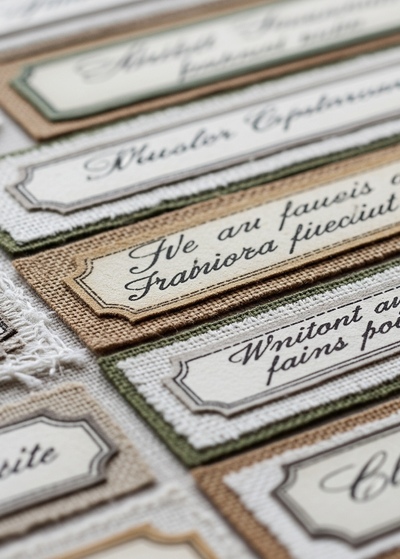
Fabric labels
3. Mixed Media Art:
Use fabric paper in collage, scrapbooking, or canvas projects—it holds paint, ink, and stitching beautifully.
Scrapbooking
Acrylic Painting
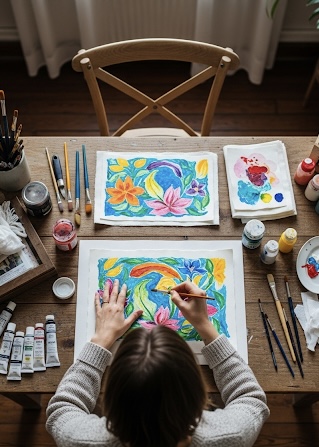
Kids friendly art paper
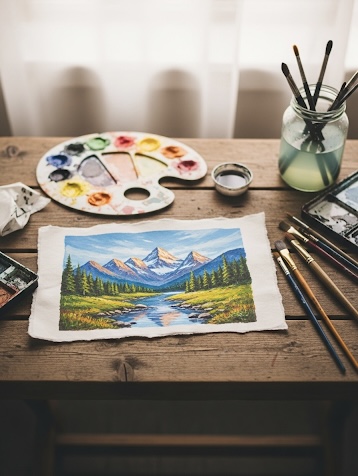
Stunning pieces of art
4. Stitchable Art Panels:
Sew on your fabric paper just like cloth! Embroider quotes or simple motifs for display.
Embroidered artwork
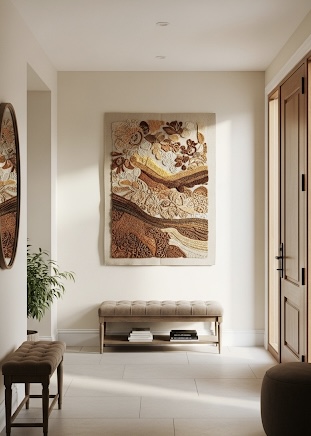
Large Fabric Panel
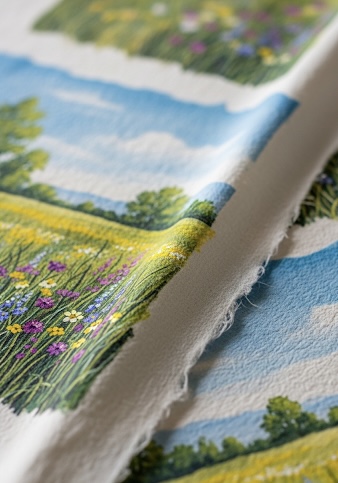
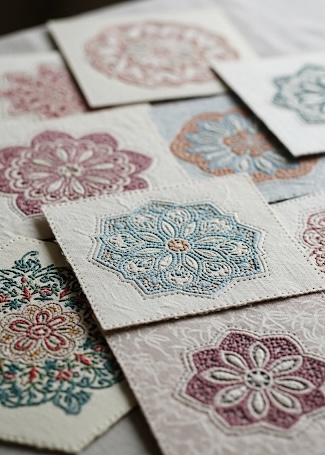
5. Botanical Print Keepsakes:
Press flowers into your fabric or print vintage floral designs for timeless nature-inspired crafts.

Colored printing on fabric sheet
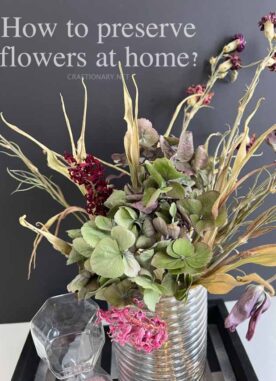
6. Botanical Art:
Creating botanical designs with pressed flowers is a beautiful way to celebrate nature in your crafts. Whether you’re making cards, fabric sheet, journals, or framed art, pressed flowers add delicate color, texture, and organic charm.
Related: 40 Unseen Pressed Flower Crafts
7. DIY seed paper or cards:
Use them as biodegradable seed packets that can be sowed directly into soil.
Related: Presentable Seed Packet Ideas
Tips for longevity:
- Store unused fabric sheet flat in a dry place
- Use light-colored or white fabric for better printing results
- Avoid over-saturating with paste to prevent stiffness
And if you’re thinking you can print full color designs that are ready to frame, yes, you can.
You will also like:
Fabric Printing using Freezer Sheet
Beginner’s Guide: Embroidery Journaling Your Threaded Story
Please note some images are AI generated to help you visualize the idea.


What a terrific tutorial. I love the journal – it looks like it would go for quite a few bucks in a boutique!
Thanks, Hani! You are awesome.
Aimee
This is such an amazing process and tutorial. I absolutely love it!
all i can say is WOWWW!!! thank you for sharing this amazing project as well as breaking down all the steps!!
the notebook is so beautiful!