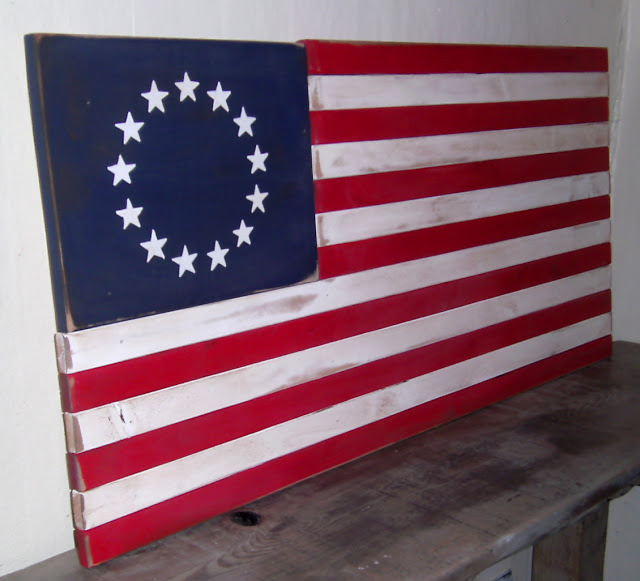
Complete step by step instructions to make painted wooden American flag from scratch. You will need plywood boards and 1×2 wood boards.
Hi Everyone! My name is Holly and I blog over at Full Circle Creations. I am so excited to be here today. When Hani asked me to guest post I was so honored. At Full Circle Creations I make and upcycle items into home decor pieces. With Memorial Day and Independence Day coming up, I decided to show you how to make a wooden American Flag.
Painted wooden American flag
Prepare the wood
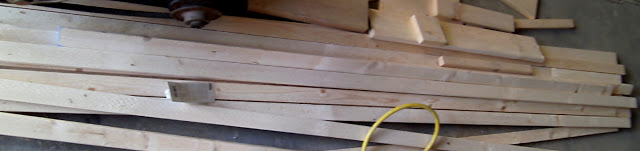
Start out by picking out pieces of 1×2″ boards which are called furring strips from my stock pile of boards. I used these because they are pretty inexpensive and that way I didn’t need to cut boards down to the right width. I cut 7 of them down to 26″ and 6 of them down to 39″.
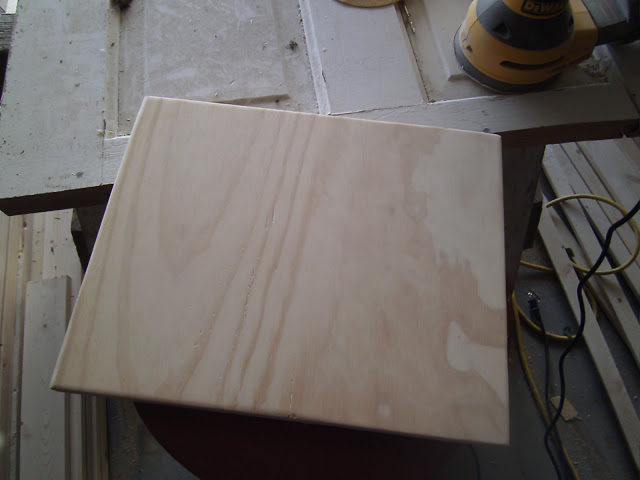
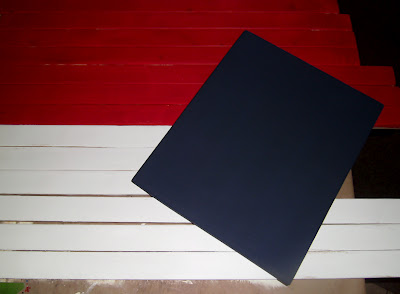
This is cut from a scrap of plywood. I cut it 13×10 1/2″.
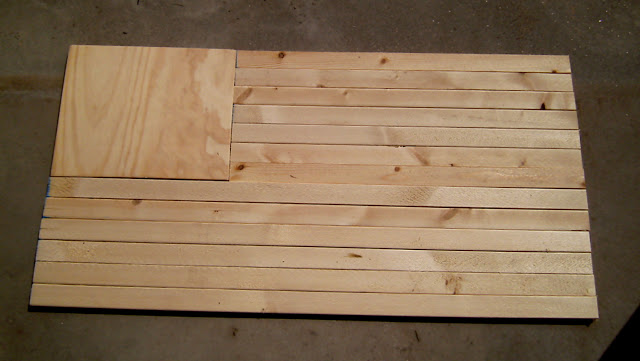
Here’s what it looks like when I laid it out for a dry fit.
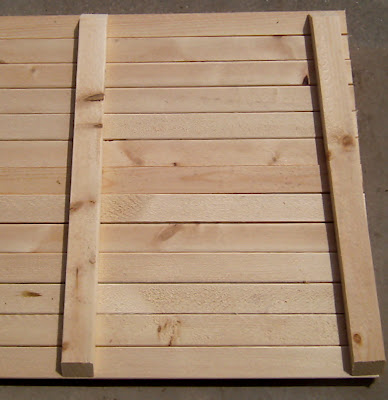
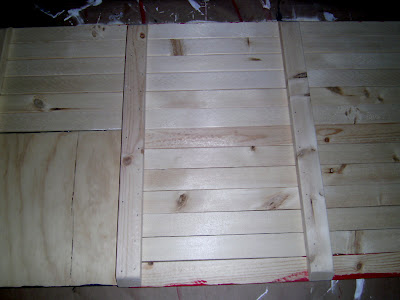
Also cut four of theses rails. This is what will hold all of these smaller boards in place. Once everything is cut, sand each piece smooth. The sanding is what took the longest. Furring strips are a bit furry because they haven’t really been planed and pre-sanded. Since they are made to not be seen.
Paint the wood
First Paint everything before you put them together. Consider to paint 7 red boards and 6 white ones.
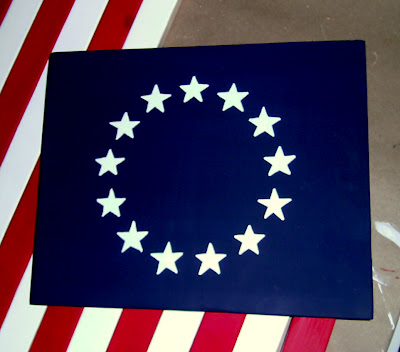
And I hand painted the stars on. You can use a star stencil or print stars to outline with a pencil first. I decided to make the Revolutionary War flag because I was going to age it and thought that would look better. Plus I really didn’t want to paint on 50 stars. If you don’t want to hand paint them, you could always use a stencil or vinyl to make the stars. I decided I wanted the hand painted look. White over this color of blue took about four coats of white to get really good coverage.
Assemble the wooden American flag together
Here it is before I turned it over and added the rails. I dry fit it together before flipping so I could move boards around for a better fit.
Flip it over and add the rails. Glue and nail them together and then add screws to key boards like the ends and the blue piece.
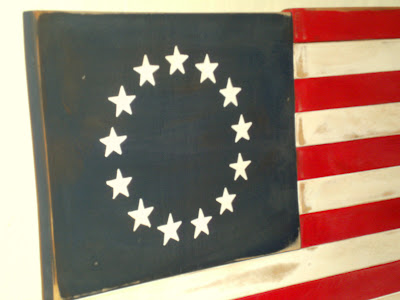
Then I flipped it over and sanded it. I hit the edges and any high points. I then added an antique medium to it to give it an aged look.
You can see the sanded and antiqued areas. I really like the way that turned out. It gives it the right amount of age. Once I was happy with it, I added a clear coat to it so it can be used outside. The only thing I have left to do is add the hooks to it so it can hang. So there you have it. Now you can make your own wooden flag. Thanks Hani for having me here today.
You will also like:
Chalkboard from foam boards
Fourth of July Centerpiece
50 Fourth of July Free Printables
Looking for more great ideas?
Are you on pinterest?
You will also enjoy Projects I love and Fourth of July Boards.
These are updated regularly whenever I find unique ideas.


LOVE the flag!
Thanks so much for asking me to guest post. I had a great time!
Holly
Holly always has such great ideas, and this flag is another cute example. Thanks for sharing the hot too Holly.
~Bliss~
This is a great flag.
Love the way Holly made this flag. I'll have to try one of these myself. Nice tutorial Holly!
love your flag holly! great post.
gail
Holly,
You are auch a wonderfully talented artist…I love your work.. Beautiful, just beautiful.
Carri
simplydonewright.blogspot.com