Hi everyone! Hani so sweetly asked me to do a tutorial for you today! I’m Jamie from Scissors and Steam. I almost always start out not knowing how to do the things on my blog, so if I can do them, you can too! Besides the tutorials, I also blog about crochet, crafts, my canine children, the nutty family, and whatever weirdness I’m getting up to. And trust me, there’s a lotof weirdness. Make sure to stop by; I just had my 3 month anniversary so an awesome giveaway is going up today!
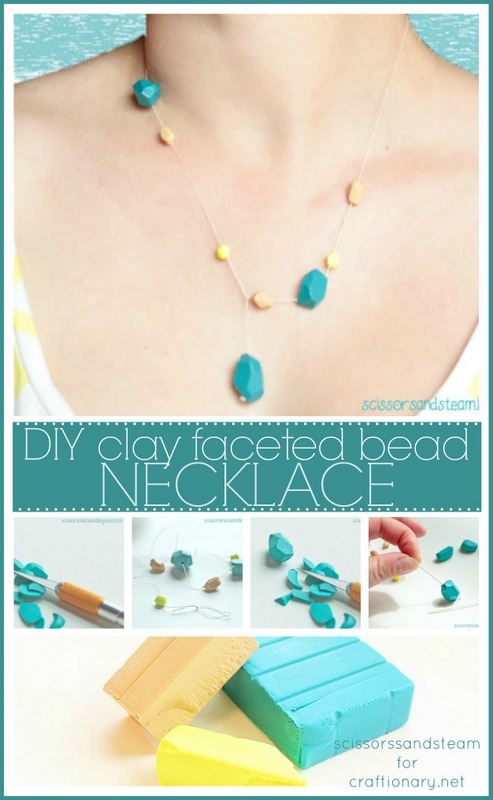
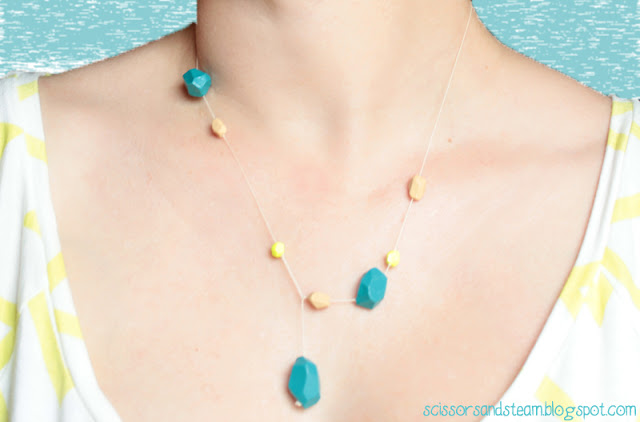
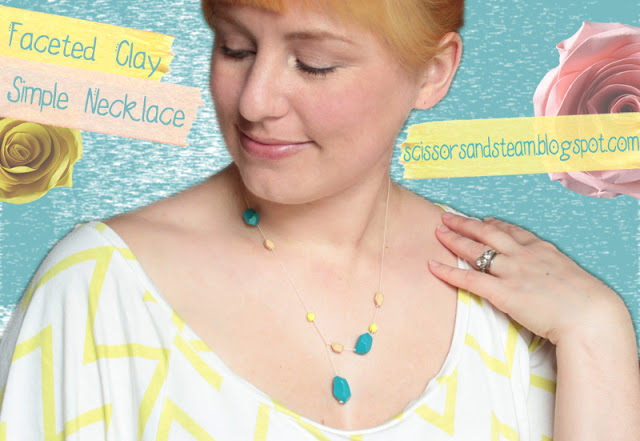
I’m going to show you how to make this Faceted Clay Beads Necklace. I’ve seen some similar beads around the internet, so here’s my take on them! I really love this because it’s simplicity, asymmetry and interesting colors make the necklace modern and unusual. Plus, bonus, it’s super easy to make!
You will need:
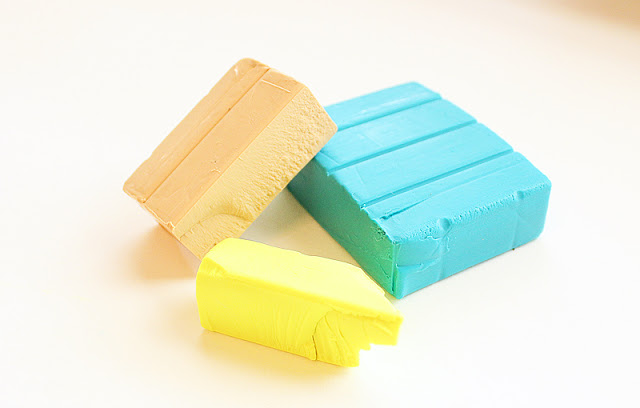
- Oven-hardening clay in whichever colors you like. I used Premo Sculpey in Fluorescent Yellow, Turquoise, and Ecru. And, I guess an oven.
- Very sharp knife. I used a craft scalpel. (also bandaids and the hospital on speed dial, if you’re as clumsy as I am)
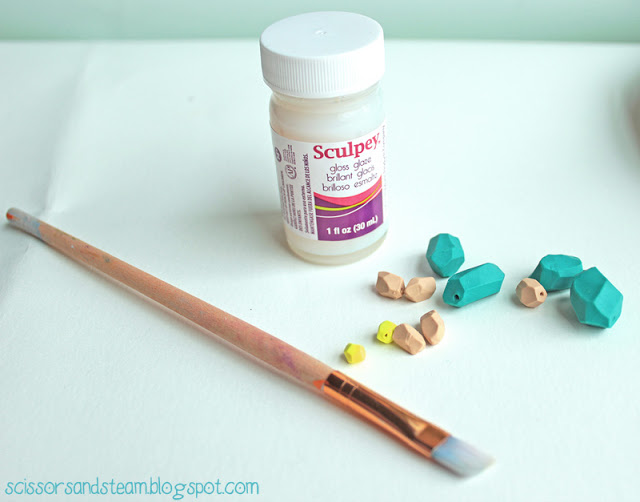
- Sculpey Gloss Glaze
- A brush to apply the glaze
- Needle or other skinny thing to pierce the beads
- A strong fine thread. I used DMC tatting thread in Ecru.
I used Sculpey clay in Fluorescent Yellow, Turquoise, and Ecru. I like the combination of the two brights with the light neutral.
How to make clay beads?
First you need to condition the clay.
- Break off a piece, and start working it in your hands.
- Bend it, smoosh it, twist it.
- The idea is to warm it up so it’s nice and pliable.
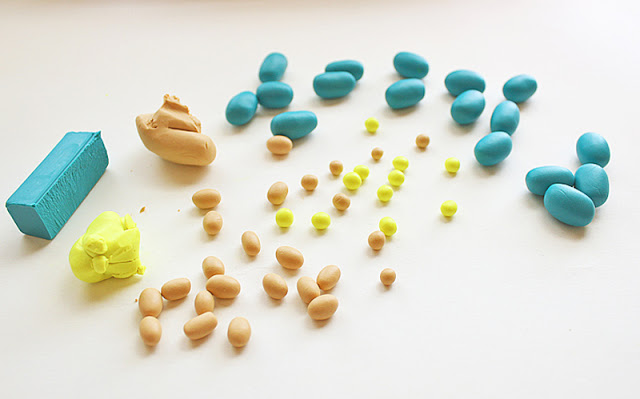
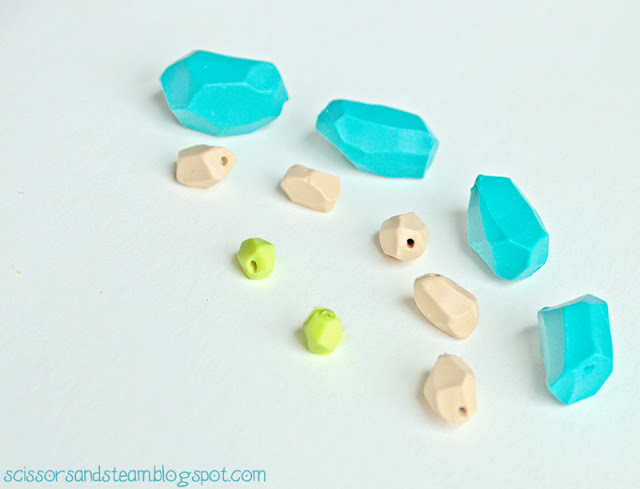
Once it’s soft, start rolling out oval beads. I used 3 turquoise, 3 ecru, and 2 fluorescent yellow beads for the finished necklace.
But, I suggest making more than you need. Because these pretty little beasts will roll away, probably under the oven or into a drain. Or possibly into the black hole you didn’t know was hiding under your craft table.
Hint: Once you make the beads, stick them in the fridge for an hour or two. If they’re cold, they’ll be much easier to cut! Now get out your sharp scary knife (those of you who have hung around my blog know that I’m seriously accident-prone) andCarefully start slicing off bits, Of The Beads. Not your fingers.
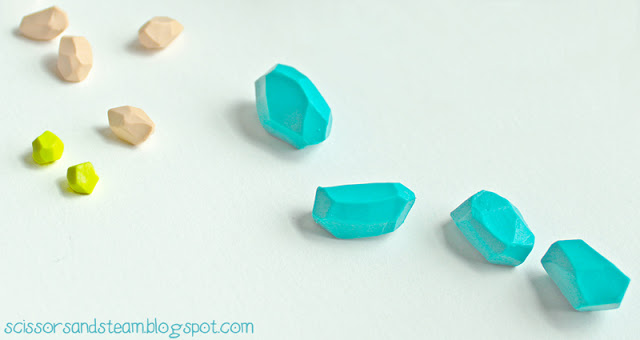
I like making random cuts so the facets end up asymmetrical, but you can cut them however you like. If you accidentally cut too much, just stick the clay back together and try again! Super easy.
After you make all the facets, tap the edges down very gently to get rid of any flecks of extra clay.
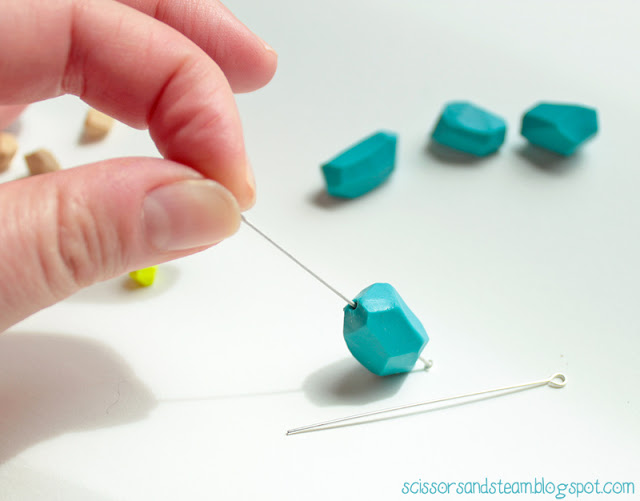
Now get your skinny metal thingy to pierce the beads. I used jewelry findings, but you could just as easily use a long needle. I pierced mine at angles to emphasize the asymmetry. Jam it all the way through, but be careful not to mush your facets. Make sure the hole is big enough to pass a needle through.
Now cook the beads according to the directions on the clay package. Mine said 30 minutes per 1/4″ thickness at 275 degrees. I took the tiny yellow beads out after 20 minutes, and cooked the rest for about 35. If you overcook them they’ll turn brown and gross. Not that I know, or anything. Okay maybe I do.
Once the beads have cooled, get your glaze and the brush. Don’t shake the bottle too much! You’ll get bubbles that will make you absolutely crazy trying to get rid of. Not that I did that. Okay maybe I did. Are you seeing the pattern here? I make the mistakes so you don’t have to.
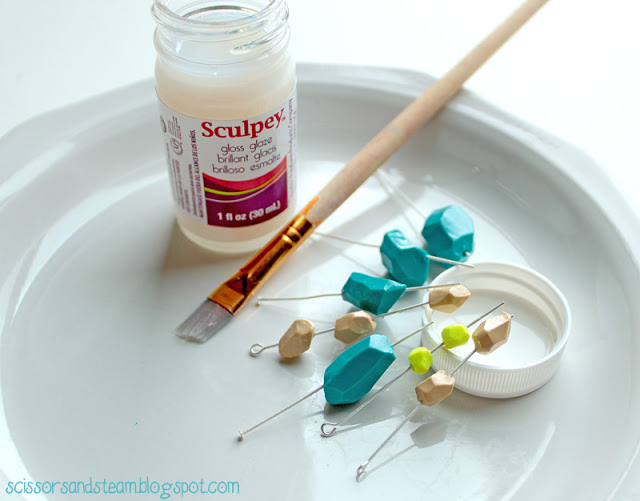
I put the beads on the findings to do the glazing, but you don’t really have to. It was just easier to keep the wet edges from smudging. Paint the glaze on fairly thin. Once it’s dry (about 10 minutes for me) paint another coat. Let them sit for a while to dry completely.
How to make clay bead necklace?
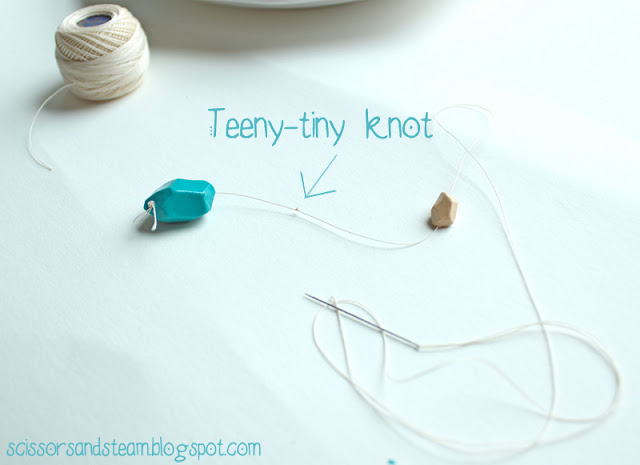
Now get out your thread. I used DMC tatting thread in ecru. It’s tougher and finer than regular thread. Cut a longish piece, maybe 2 or 3 feet. Better to cut longer than too short! Now tie a heavy knot in one end. I used triple overhand knots for this; that seemed to be enough to keep them from slipping through the beads. Now slide one of your heavier beads onto the thread and make sure it doesn’t slip off. This will be the dangly end, and also the part that holds the necklace on.
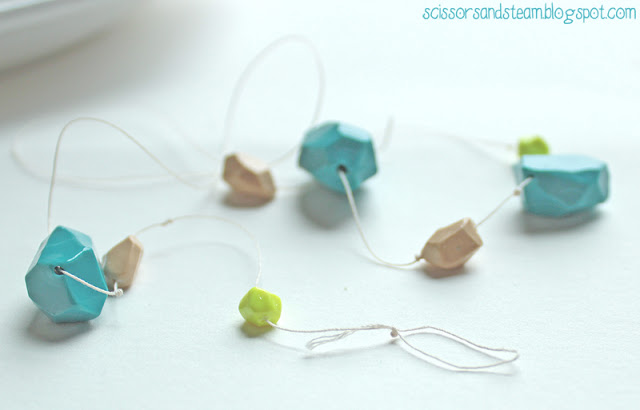
Now, for the rest of the beads, it’s up to you where you put them. I wanted mine uneven, so I spaced them somewhat randomly. Put a triple knot (or whatever you need for your beads) wherever you want a bead to rest. You don’t need to put a knot on both sides of the beads.
Since this necklace clasps in the front, you’ll have to do the opposite with the knots and beads for the other side. Just make sure you check the length as you go.
For the clasp, tie a large looped knot. You’ll loop it over the large first bead in order to wear the necklace. It’s so cool; there’s no fumbling with clasps behind your neck! If you are worried about the knots slipping, you can dab a bit of super glue on them. That’s it! So easy, and so pretty, don’t you think?
Thanks Hani for inviting me to meet your readers! I’d love you guys to stop by Scissors and Steam for a visit. I have lots more where this came from!
Thanks for sharing this simple clay beads necklace Jamie.
Check out her wonderful blog for more amazing ideas like:
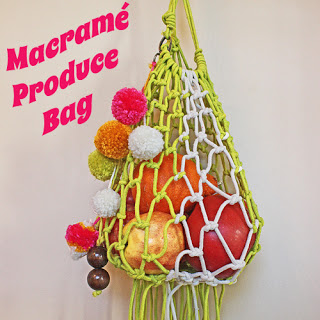
Macrame Produce Bag
Vintage Glass Planters
You will also like:
20 Handmade jewelry gift ideas
Handmade jewelry gifts
DIY beaded pearl necklace
Pearl necklace
DIY Duct tape jewelry
Duct tape jewelry
Looking for more great ideas?
Check out tutorials in the category
JEWELRY.
Are you on pinterest?
These are updated regularly whenever I find unique ideas.




Gorgeous necklace, love the colour combo.
molto bello grazie mille
ciao Paola
Great tutorial! I had to pin this
Wow !!! Thanks for the tutorial!!!