This post may contain affiliate links. Please see our full Disclosure Policy for details.
Forget the store-bought cards that end up in the recycling bin. The trend for Valentine’s Day is intentional, personalized gifting. One of the most heartwarming projects you can create is a DIY Conversation Hearts Tree.
This project combines the nostalgia of candy hearts with a beautiful, framed piece of home decor. It’s perfect for a 14 Days of Love countdown or as a centerpiece gift for a partner, parent, or child.
What is a Valentine’s Conversation Heart Tree?
A Conversation Heart Tree is a piece of framed interactive art. It features a naked winter tree printable that you bloom by pinning paper hearts to the branches. Each heart contains a personalized message—reasons why you love the recipient, shared memories, or inside jokes—mimicking the classic conversation hearts candy.
A few years back I made nylon roses, it was so much fun.
DIY Valentine conversation hearts
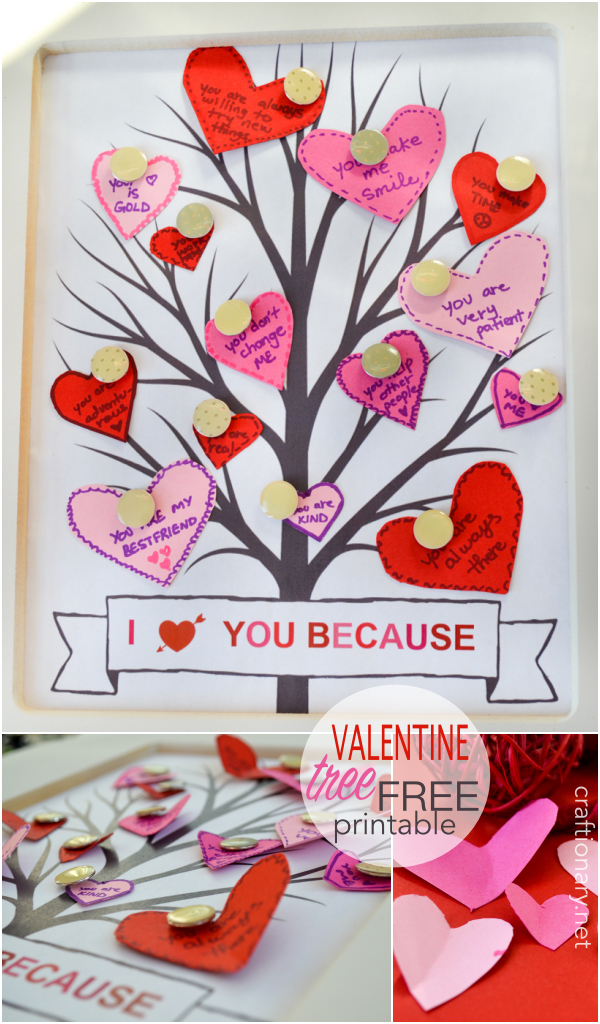
Tutorial: How to Make Your Framed Heart Tree
Materials Needed:
- A Picture Frame: An 8×10 or 11×14 inches frame works best.
- Cork Sheet or Foam Board: Cut to fit inside your frame.
- The Tree Printable: A tree-free or minimalist branch silhouette (see below).
- Colorful Cardstock: In pastel pink, yellow, mint, and lilac (the classic candy colors).
- Thumbtacks or Push Pins: Small, decorative gold or white pins.
- A Heart Punch or Scissors.
- Glue Stick.
Step-by-Step Instructions
1. Prepare the Base
Remove the glass from your frame (you won’t need it for this 3D project). Cut your cork or foam board to the size of the frame’s backing and glue it down. This provides the grip for your thumbtacks.
2. Apply the Tree Printable
Print out the tree silhouette from below. Apply a thin layer of glue to the back of the printable and smooth it onto the cork board. ?
3. Punch Your Conversation Hearts
Using your colored cardstock, punch out dozens of small hearts (1 to 1.5 inches wide). If you don’t have a punch, fold the paper in half and cut half-hearts for perfect symmetry.
4. Write Your Conversations
This is the most important part! On each heart, write a short message.
Examples: Best Cook, I Love Your Smile, Always Kind, A memorable trip note.
5. Assemble and Pin
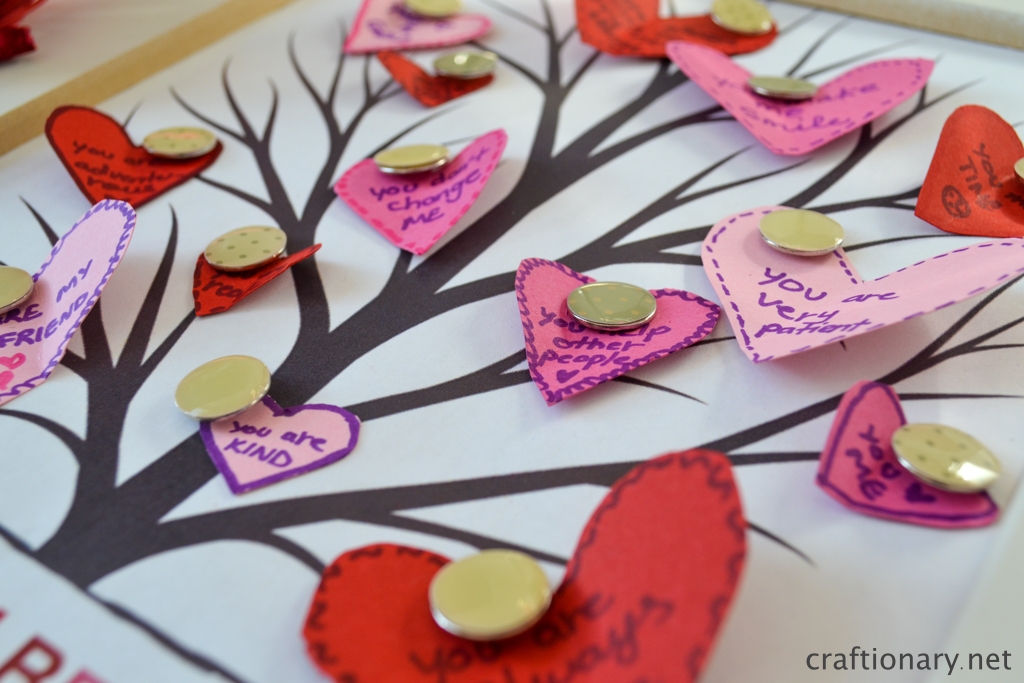
Use the thumbtacks to pin the hearts onto the branches of the tree. You can start with a few and add one every day leading up to February 14th, or present the tree fully bloomed as a surprise gift.
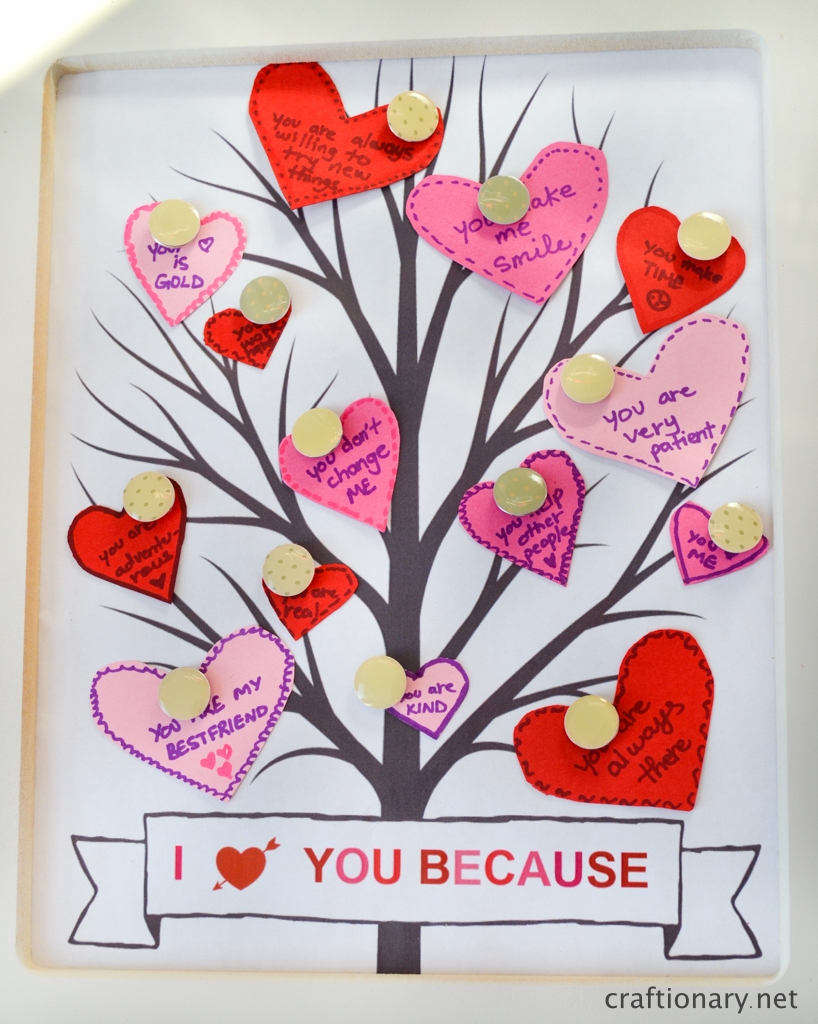
This would make a heart-warming activity for every age-group. From kids to families everyone can enjoy reading surprise messages from the heart.
I love you because…
Some messages we wrote on our love tree:
- You are very patient
- Make me smile
- Are always willing to try new things
- Have a heart of gold
- Are hardworking
- Don’t change me
- Help other people
- Make time
- Are always there
- Adventurous
- My bestfriend (for boyfriend or husband)
- Are kind
- Love me
- Thrill seeker
- Supportive
- Motivational
Valentines tree free printable
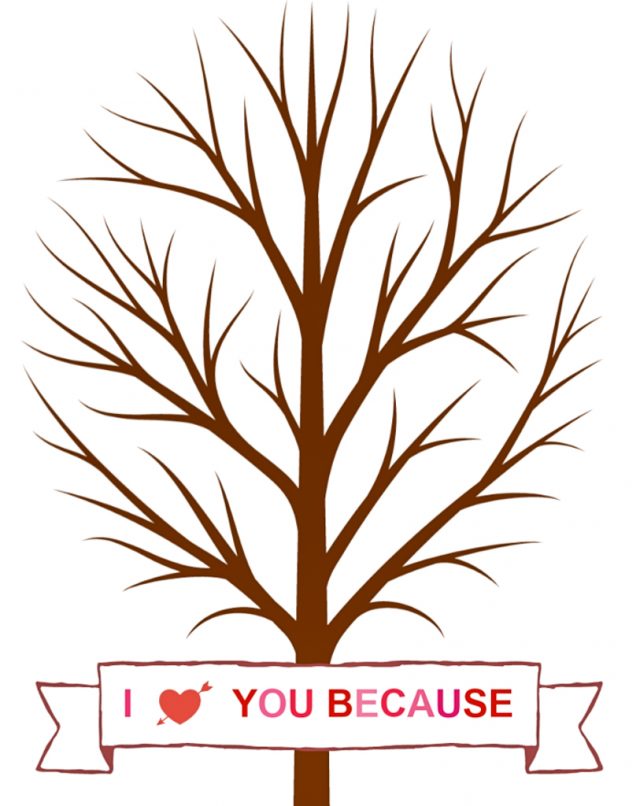
You can print the valentine tree in 8×11 size in four colors.
Please note: Personal use only
How to print the conversation hearts tree?
- Choose the color and click on the link above to the file.
- Open and save the file on your computer.
- Send it to print and choose portrait mode with A4 size paper.
- You can print larger size by changing the settings as well.
This would be an exciting activity for 14 days of Valentines Day, where you express a “I love you because” reason till 14th February arrives and enjoy the feeling of expression. This may be an opportunity for starting conversations to learn more about each other.
You can decorate your space with paper medallions and have this adorable Valentine tree in the center.
Why Use a Tree-Free Printable?
Using a tree-free or digital printable is a sustainable way to craft. Instead of buying pre-made kits that come with excess plastic packaging, you can use recycled cardstock and a simple digital file. This allows you to customize the size and style of the tree to fit any frame you already have at home.
Creative Insights for an Extraordinary Tree
- The 3D Flutter: Instead of pinning the hearts flat, fold them slightly down the center. Pin only the V of the heart so the wings pop out, creating a 3D butterfly effect on the tree.
- The Scented Heart: Lightly spritz your cardstock with a favorite perfume or essential oil before writing your messages for a sensory experience.
- The Color Code: Use different colors for different types of messages (e.g., Pink for Reasons I Love You, Yellow for Favorite Memories).
Frequently Asked Questions
1. What if you don’t have a cork board?
You can use a thick piece of corrugated cardboard or a sheet of styrofoam. As long as the material is deep enough to hold a thumbtack without it falling out, it will work perfectly behind your printable.
2. Can you make this with kids?
Absolutely! This is a fantastic gratitude exercise for families. Kids can write what they love about their siblings or parents and pin them to the tree in the kitchen.
3. How do you stop the paper from curling?
If you are using thin paper, it may curl over time. Using a heavier 65lb or 80lb cardstock ensures the hearts stay crisp and professional-looking.
Expert Guide: A Heart Tree is a living document of your relationship. Which message are you most excited to pin to your tree this year?
Check out our category VALENTINES DAY IDEAS.






thanks for linking up at the Happiness is Homemade Link Party. I hope you’ll come back next week.
Lots of great ideas here and the conversation hearts are cute! I pinned this! Thanks so much for linking up with me at my #AThemedLinkup 10 for All Things Love and Valentine’s Day, open until February 10.
Cute idea, glad to share. Happy Valentine’s Day!
What a lovely, thoughtful idea, and such a wonderful way to celebrate Valentine’s Day. Thank you for sharing them with the party, and thank you for being a part of the Hearth and Soul community. Have a wonderful week.
Lovely ideas! i fall in love with this post. Thanks a lot for sharing your amazing valentine’s gift ideas. You made our valentine’s very special. Apreciable!