This post may contain affiliate links. Please see our full Disclosure Policy for details.
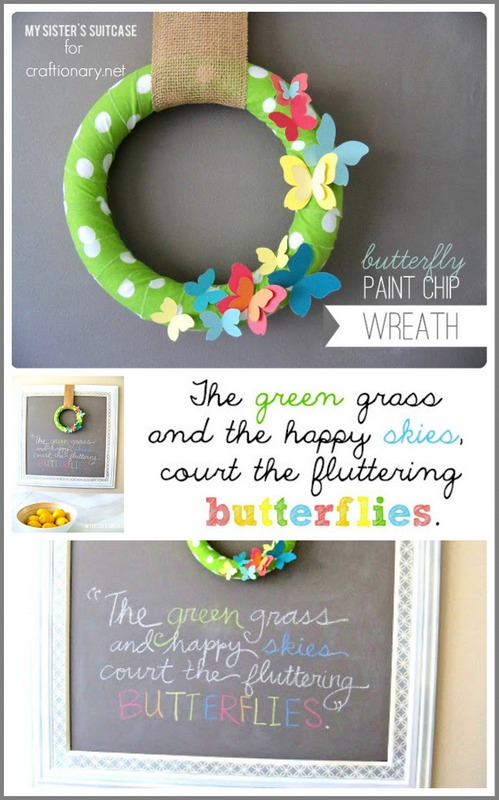
Spring is the season of renewal—and what better way to welcome it than by crafting a beautiful handmade wreath for your front door or mantel? This easy DIY spring wreath project features upcycled paint chip butterflies, making it budget-friendly, eco-conscious, and absolutely charming.
In this step-by-step tutorial, I’ll walk you through exactly how to make this cheerful wreath, share expert tips for success, and answer the most common questions crafters ask.
Why You’ll Love This DIY Wreath Project
- Beginner-friendly: No special tools or skills needed
- Eco-friendly: Uses leftover paint chips or swatches
- Customizable: Change colors to match your spring decor
- Budget-conscious: Made with inexpensive, accessible materials
- Eye-catching: Adds instant curb appeal to your home
Paint Chip Butterfly Wreath
Materials
Here’s everything you’ll need to make your own spring wreath with paint chip butterflies:
- 12” grapevine wreath base, foam wreath (or any wreath form)
- Paint chip cards in spring colors (pinks, yellows, mint, lavender, sky blue)
- 1/4 yard of fabric or more depending on your wreath size
- Butterfly template (download or draw your own) or paper punch
- Scissors or craft knife
- Pencil
- Hot glue gun + glue sticks
- Faux greenery or spring florals (optional)
- Ribbon or twine for hanging
- Bone folder or back of a spoon (optional—for folding wings)
- Glitter, rhinestones, or pearl stickers (for butterfly embellishment)
- Cardstock (if paint chips are too thin)
- Mod Podge (to seal and add a slight sheen)

Step-by-Step Instructions
1. Prepare Your Wreath
You can use a grapevine wreath or foam wreath for this project. If you are using a foam wreath, tear approx. 2″ wide strips of fabric and wrap strips around your wreath form, securing with hot glue or pins.
Here’s how a grapevine wreath will look:

Grapevine Spring Wreath
Download Free Butterfly Template
2. Prepare Your Butterflies
Download or sketch a simple butterfly shape in a few sizes (2–4 inches wide works well). Trace onto the back of your paint chips and cut them out.
Expert Tip: Use an X-Acto knife and cutting mat for cleaner lines, especially around delicate antennae.
3. Add Dimension
- Gently fold each butterfly in half vertically along the body. This gives your butterflies a 3D look when mounted on the wreath.
- You can curl the wings slightly by wrapping them around a pencil for a more fluttery effect.
4. Arrange Your Layout
- Before gluing, lay out your butterflies around the wreath. Cluster a few for a “fluttering” look or spread them out evenly.
- If using faux greenery or florals, arrange those first so the butterflies can perch on top naturally.
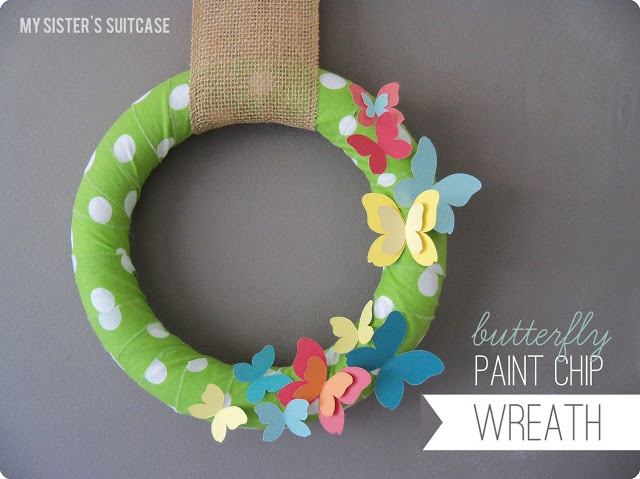
5. Glue in Place
- Use a hot glue gun to secure your butterflies, applying glue only along the body so the wings can remain lifted.
- Mix and match colors for a cheerful spring vibe.
- Layer them to your desired effect. You want it to look like they just landed on your wreath!
6. Add Ribbon or Twine
Loop ribbon or twine around the top of your wreath and tie a bow or knot for hanging. Choose soft pastels or neutrals to match your butterflies.
7. Optional Touches
Add glitter accents, faux pearls, or decorative paper for extra sparkle. Seal with Mod Podge if desired.

Easy Spring Butterfly Wreath
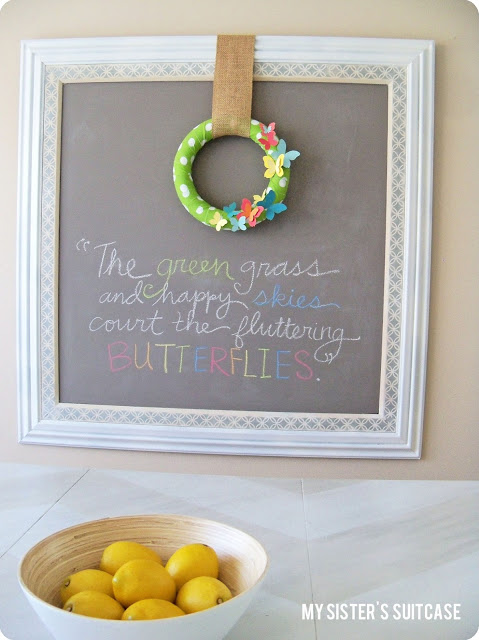
I decided to display my new wreath on the huge magnetic chalkboard upcycled from an old painting in my dining room.

I love how it adds a pop of color and whimsy to the space! Hang your finished wreath on your front door, interior wall, or above your fireplace. It also makes a lovely seasonal gift!
I found the perfect quote by Terri Guillemets:
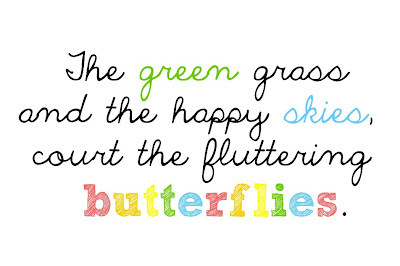
It looks cute with my new wreath.
FAQ: Easy DIY Spring Wreath with Paint Chip Butterflies
Can you use something other than paint chips?
Yes! Try scrapbook paper, cardstock, or even old magazines. Paint chips are just durable and free at most hardware stores.
What’s the best adhesive for this project?
A hot glue gun works best. For kids, use tacky glue or glue dots (but drying time will be longer).
Can you use a different wreath base?
Absolutely! Foam, wire, or embroidery hoops also work—just adapt your glue method and layering style.
As a long-time DIY crafter and craft blogger with over 10 years of experience, I’ve made many wreaths for home, events, and seasonal decor. This project was personally tested and created in my studio with widely accessible materials. I always test my tutorials for:
- Safety (especially for kids or beginners)
- Budget-conscious crafting
- Step-by-step clarity
- Long-lasting display durability
This easy DIY spring wreath with paint chip butterflies is a fun, affordable way to bring color and creativity into your home. It’s also a wonderful eco-friendly craft that turns something simple—like old paint chips—into something truly beautiful.
So gather your supplies, get snipping, and let your creativity take flight!
You will also like:
Tree Of Life Wreath – A Burlap DIY Project
DIY Wreaths: Great Ideas for Crafting and Selling Unique Creations


Thanks for having us Hani!
I am actually in the market for a cute butterfly punch. Do you mind sharing what brand butterfly punch you used for the project? Thanks!