This post may contain affiliate links. Please see our full Disclosure Policy for details.
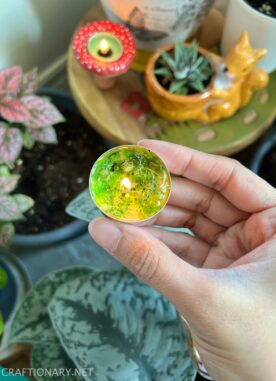
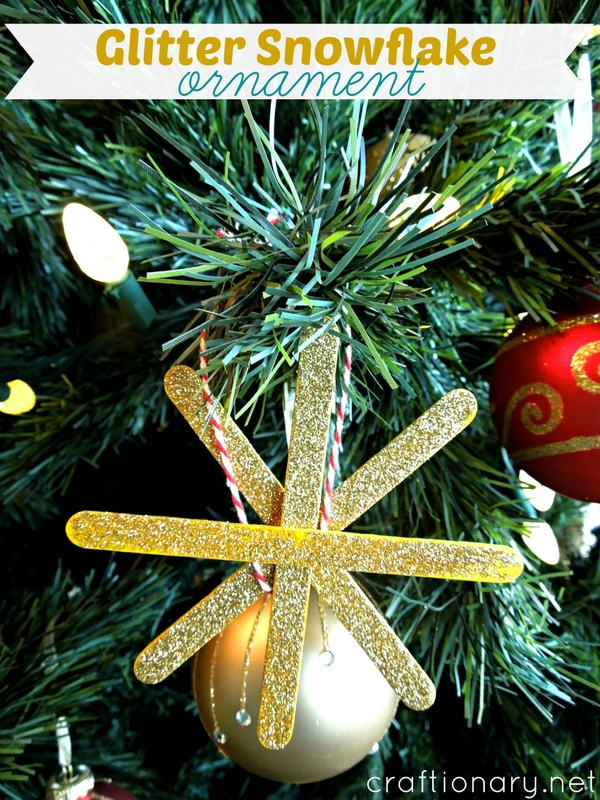
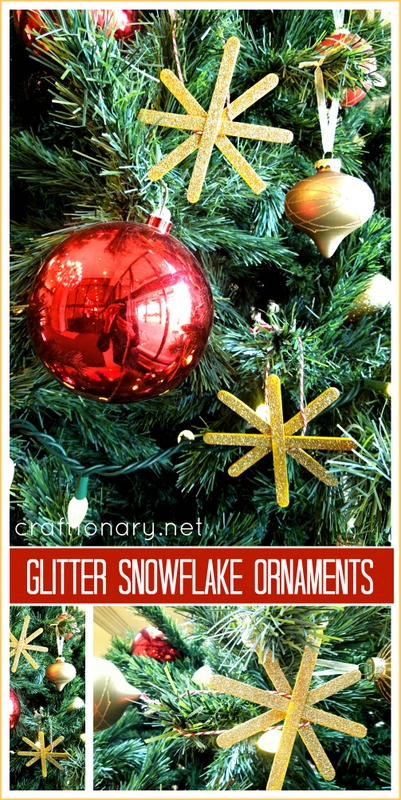
Get ready for a fun, festive crafting session! These stunning glitter snowflake ornaments, made simply from popsicle sticks (or craft sticks), are the perfect handmade addition to your Christmas tree or winter décor. This classic, budget-friendly craft is perfect for all ages, offering a great activity for kids and a charming, rustic-yet-sparkly result for adults.
We’ll guide you through a simple, step-by-step tutorial, cover all the materials you’ll need, and answer the most common questions to ensure your snowflake crafting is a huge success with minimal glitter shedding!
Materials You’ll Need
- Popsicle sticks
- Glitter
- Mod podge
- Paint brush or foam brush (which ever you prefer)
- Twine or thread (for hanging)
- Paper plate or parchment paper

How to Make a Popsicle Stick Glitter Snowflake
This project is divided into two main parts: building the snowflake base and adding the glittery decoration.
1. Glittering Popsicle Sticks
Prep the Area:
Place your popsicle sticks on a paper plate, baking sheet, or piece of parchment paper to catch the excess glitter (this makes cleanup easy!). You will need 4 popsicle sticks to make one glitter snowflake.
Optional: Paint the Base:
If you want a non-wood color, now is the time to paint your sticks. Use white, silver, or blue paint and let it dry completely.
Apply the Glitter Adhesive:
Using a foam brush or paintbrush, apply a thin, even layer of your glitter adhesive (liquid glue or Mod Podge) over the entire front surface of the popsicle stick. Ensure good coverage, especially on the edges and in the center.
Go for the Glitter! While the glue is still wet, liberally sprinkle the craft glitter over the entire surface of the popsicle stick. The more the better! Gently tap the sides of the stick to encourage the glitter to settle into the glue.
Remove Excess:
Carefully lift the stick and gently shake off the loose, excess glitter onto your prepared paper plate. You can fold the paper plate to funnel the excess glitter back into its container for reuse.
Let it Dry:
Set the sticks aside to dry completely. This can take several hours, especially if you used a lot of glue. Patience is key for a non-shedding sparkle!
Seal (Optional but Recommended):
To minimize glitter shedding, once the first layer is dry, apply a final top coat of Mod Podge or a clear-drying sealant spray over the glitter. Let this sealant dry completely.
Related: Best Sealer: How to Waterproof Acrylic Paint on Rocks, Wood, Glass Crafts
Attach the Hanger:
Cut a piece of ribbon, string, or twine (about 6-8 inches long). Form a loop and use a dot of hot glue or strong craft glue to attach the ends to the back center of your finished snowflake.
2. Building the Popsicle Stick Snowflake Ornament
Gather Your Sticks:
You will need four popsicle sticks for a classic, symmetrical snowflake shape in a crisscross pattern.
Create the ‘Cross’ (+):
Lay two popsicle sticks together to form a plus sign (+) shape. Apply a generous dot of your structural glue (hot glue or strong craft glue) where they intersect. Press and hold firmly. If using hot glue, this step is instant; if using craft glue, let it dry completely before moving on.
Add the ‘X’ (Second Layer):
Take the remaining two popsicle sticks and arrange them into an ‘X’ shape.
Place this ‘X’ directly on top of your dried ‘Cross’ shape, rotating it slightly so the sticks are spaced evenly, forming an eight-pointed star (which looks like a snowflake!).
Secure the Center:
Apply a dot of glue to the center where all four sticks cross. Press and hold firmly until the structure is solid.
Expert Tip:
For a sturdier snowflake, use six sticks total, gluing two pairs into ‘X’ shapes and then crossing those three pieces at the center.
Creative Variations
- Two-Tone Glitter: Use one glitter color on the tips and another on the center.
- Rustic Farmhouse Look: Skip glitter, paint sticks white, and distress with sandpaper.
- Kids’ Personalized Ornaments: Let children paint their sticks in bright colors before adding glitter.
- Mini Snowflakes: Use smaller craft sticks for delicate ornaments.
FAQs for Glitter Snowflakes
1. What is the best glue to use for the glitter?
Mod Podge (Matte or Glossy finish) is often recommended as it acts as both a glue and a sealant. Standard white liquid glue (like Elmer’s) also works great but may require a sealant step afterward to prevent shedding.
2. How do you stop the glitter from falling off (shedding)?
Use a top coat sealant. Once the glitter has dried onto the glue, apply a thin layer of Mod Podge or a clear acrylic spray sealer over the entire surface. This locks the glitter in place.
3. What is the fastest glue to use for building the stick structure?
A Hot Glue Gun is the fastest, providing an instant bond. However, an adult should always handle the hot glue gun.
4. Can kids do this craft?
Yes! This is a fantastic Christmas craft for kids (toddlers, preschoolers, and older). Adults should handle the hot glue or pre-glue the bases. Children can safely apply the white glue/Mod Podge and sprinkle the glitter.
5. How many popsicle sticks do you need per snowflake?
Most standard designs use four sticks to create a simple, eight-point snowflake. You can use six for a more complex, twelve-point design.
6. Do you need to paint the popsicle sticks first?
No, but painting them white or a shimmery color (like silver or pale blue) before adding the glitter can help enhance the sparkle and make the wood less visible, giving it a more polished, snowy look.
I hope you enjoyed this quick tutorial for making snowflakes tree ornaments.
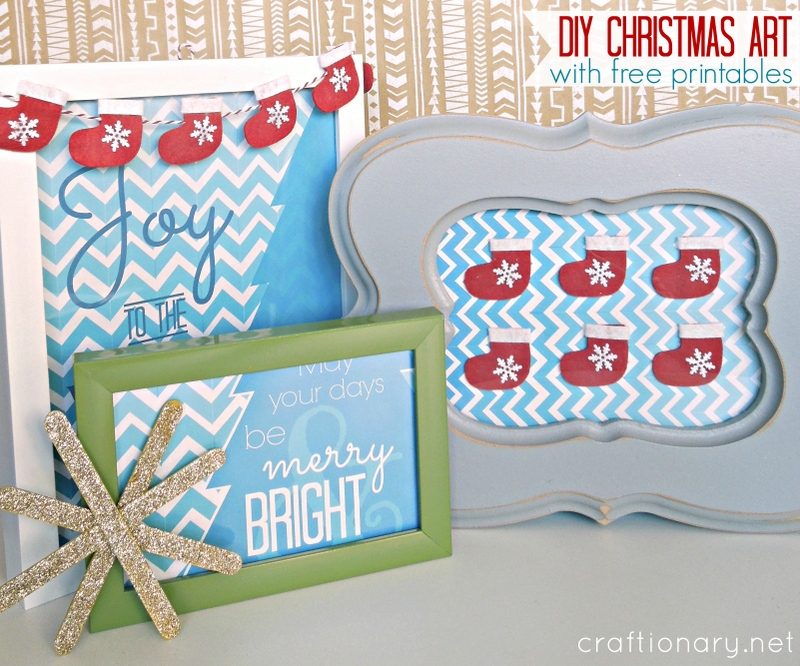
Find a simple idea to make Specimen Art using felt stockings. You can also print the chevron Christmas printables for FREE with it.