This post may contain affiliate links. Please see our full Disclosure Policy for details.
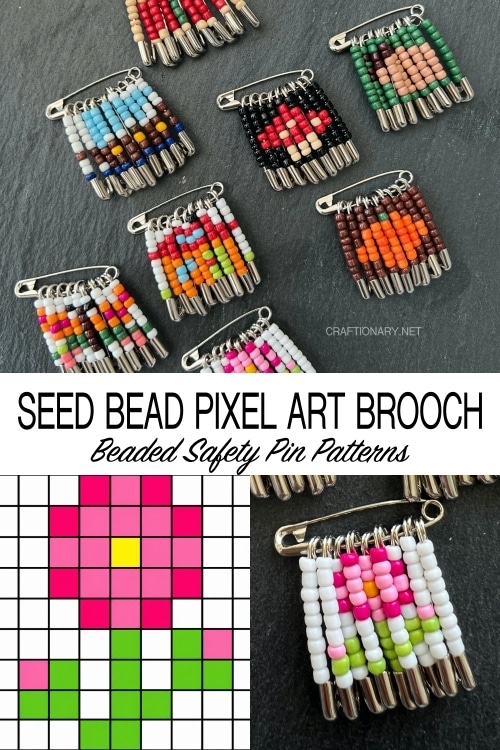
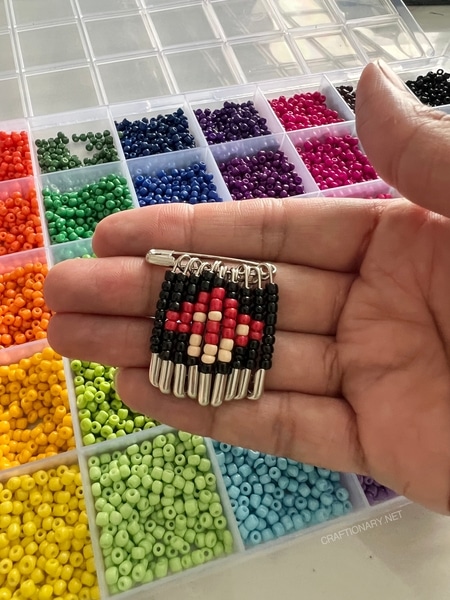
Safety pin bead craft turns a few cents’ worth of pins and a pinch of seed beads into wearable pixel art. I make mine as a 9×9 grid: nine small safety pins, each holding nine beads, hang side by side from one horizontal pin. Hold it up and the beads line up into a picture: a butterfly, a pumpkin, a tiny house.
I’ve made ten designs, one or more for every season. The charts are below, along with the materials, the step-by-step method, and the mistakes I’d skip if I were starting over.
What Is Safety Pin Bead Craft?
You thread seed beads onto safety pins, then link the pins together. Because each pin is a column of beads, a group of them works like a pixel grid, and a bead is a pixel.
You may know this craft as friendship pins, beaded safety pins, or safety pin brooches. It’s a good project because:
- It costs very little.
- It’s tactile and very portable.
- It teaches pixel-art thinking without a screen.
- The finished piece is wearable, giftable, and sellable.
Find more: Safety Pin Crafts that are Stylish and Surprisingly Fun Ideas
What I Used (and Why It Works)?
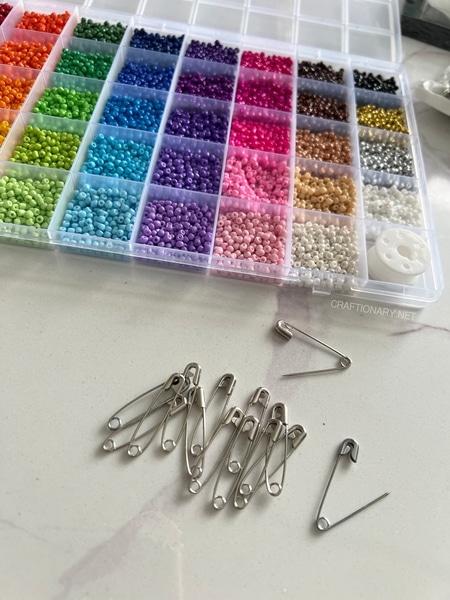
| Item | What I Used | Why |
| Safety pins | 32mm (about 1¼”) | Long enough for 9 beads, sturdy enough to hold the weight |
| Seed beads | 3mm (size 8/0)opaque or glass | Big enough to handle, small enough to make a detailed picture |
| Pins per brooch | 10 (9 hanging + 1 horizontal) | Gives you the 9×9 grid |
| Beads per brooch | 81 | 9 pins x 9 beads |
- Quick math: nine 3mm beads side by side measure about 27mm, which fits inside a 32mm pin. Nine pins hanging next to each other are also about 27mm wide. That’s why 9×9 works so well here, and the finished piece comes out roughly square, around 3cm across.
- Beads to test before buying in bulk: the hole has to pass over the pin wire easily. Japanese seed beads tend to have larger, more even holes than many cheaper craft beads, so they thread faster. Always test one bead on one pin before you buy a thousand.
- Other things worth having: a bead tray (a shallow lid works), a bowl for sorting colors, a lamp, and a small card to tape your chart onto.
How to Read a 9×9 Safety Pin Pattern?
This is where most beginners get tripped up, so here’s the rule I use:
- Each column is one pin, read left to right.
- Each row is one bead position, read from bottom to top. This is because you bead them in from pin’s open end but hang them upside down from pin’s closed end.
- Row 1 is the bead closest to the coil (the top of the hanging pin).
- Keep the same bead order on every pin. If you thread one top to bottom, the picture flips for that column. Best is to flip the diagram upside down and insert beads to avoid any confusion.
How to Make a Beaded Safety Pin Brooch (Step by Step)
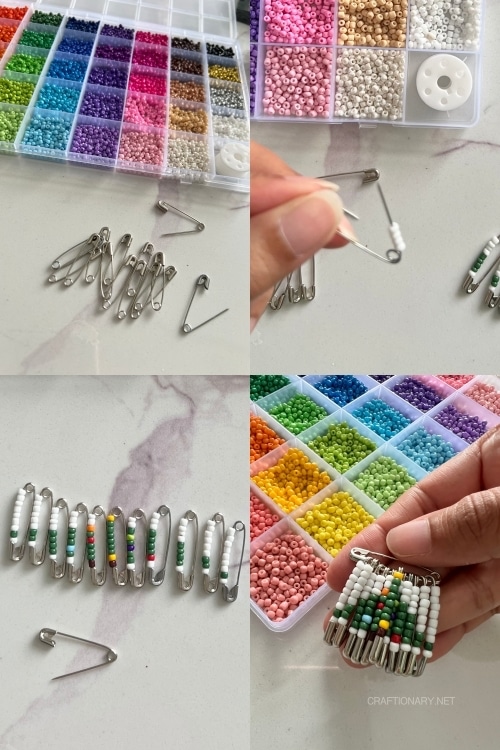
- Pick the pattern and sort your beads. Put the 9 or so colors you need into small piles. Beads with the same finish (all matte, or all glossy) look neater together.
- Open the first pin and thread nine beads following column 1 of your chart. Start with the row 1 (bottom row) bead, since it sits nearest the coil.
- Close the pin. Press the point into the clasp until it clicks. Keep all clasps facing the same direction so the pins hang flush.
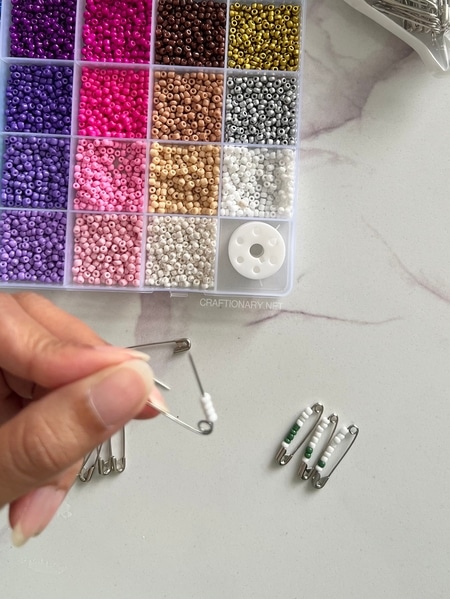
- Repeat for all 9 pins. I thread them in column order and lay them out in a row on my tray as I go, so I can see the picture forming and catch mistakes early.
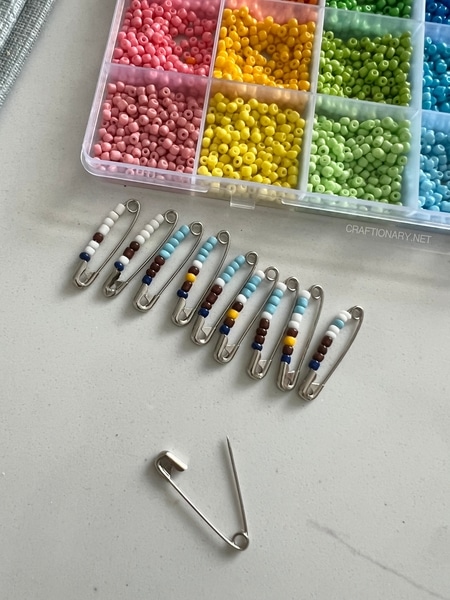
- Open the horizontal pin and slide the coil of each hanging pin onto it, left to right in order. Check the chart again before closing, since fixing it later means undoing everything.
- Close the horizontal pin. That’s your brooch. The beaded pins hang below it.
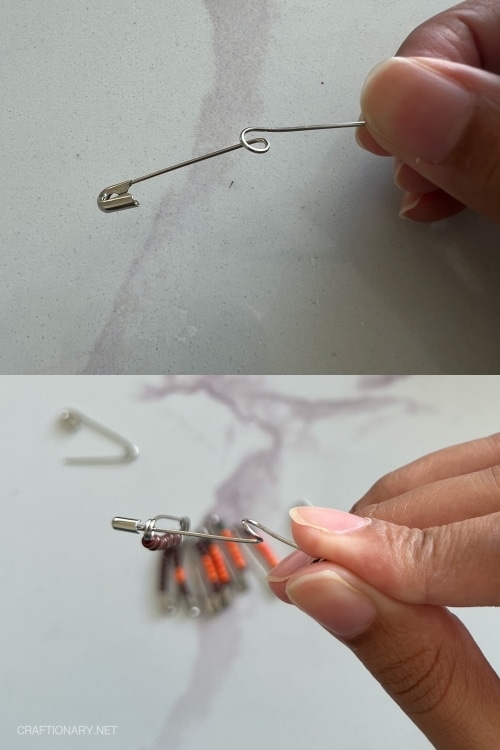
NOTE: To make the pin wearable you have to open the coil of the horizontal pin and slide the vertical ones on the other side of the horizontal pin. Once you have looped in all the pins, close the coil and revert to original position to use it.
The 22 Beaded Pixel Art Patterns:
Colors for each design are filled in the box in the chart for ease of use. Use any colors you like, but keep strong contrast between the picture and the background. Flip the image before starting to avoid getting confused.
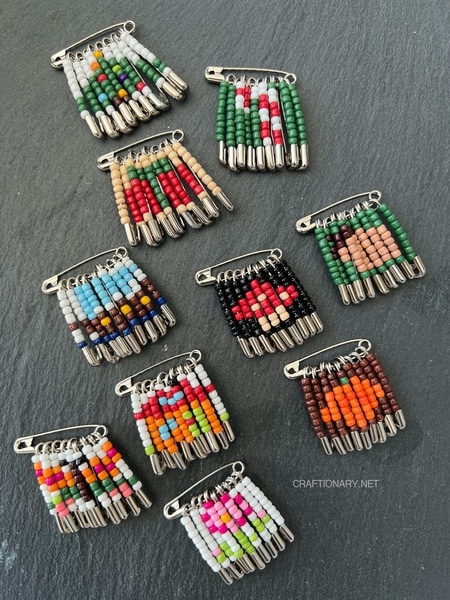
Print and download 22 patterns for personal use only.
Spring and Summer:
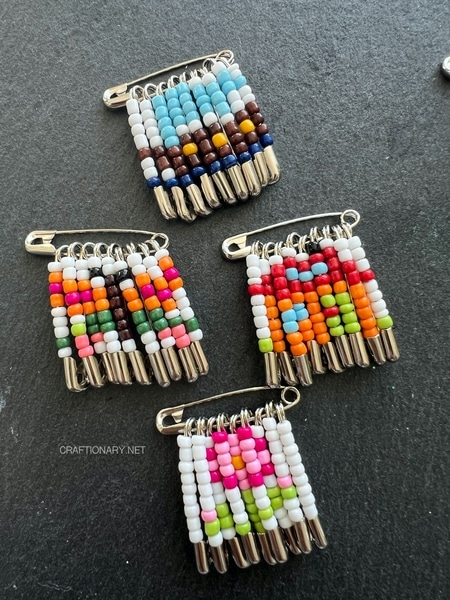
- Butterfly
- Tulip
- Ladybug
- Umbrella
- Ship (Travel)
- Pink Flower
- House (Housewarming Gifts)
- Watermelon
- Sun
- Ice cream
Winter and Holidays:
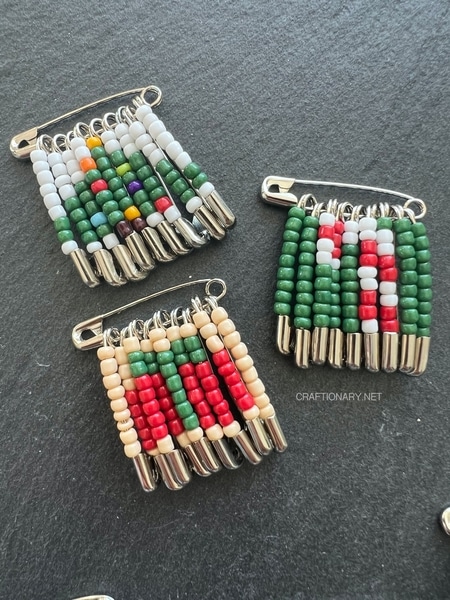
- Christmas Tree
- Candy Cane
- Gift Box (Birthdays)
- Snowman
- Gingerbread man
- Snowflake
Fall and Halloween:
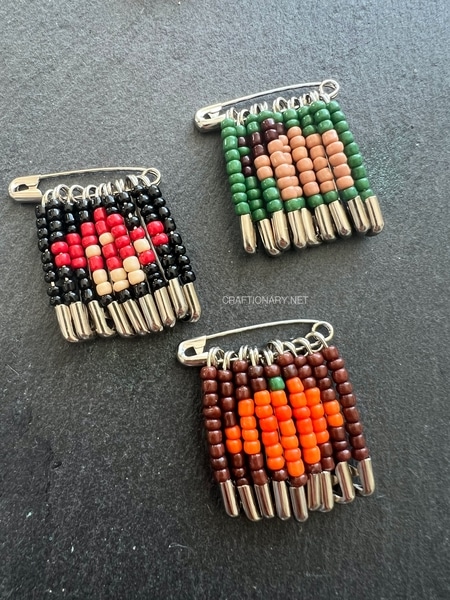
- Mushroom
- Acorn
- Pumpkin
- Maple leaf
- Owl
- Apple
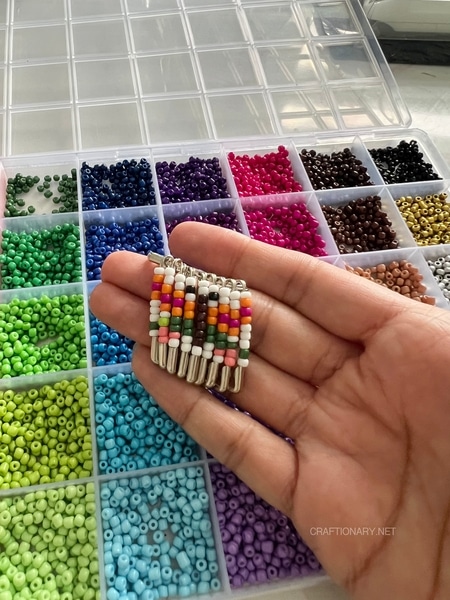
Cool Ideas to Try Next:
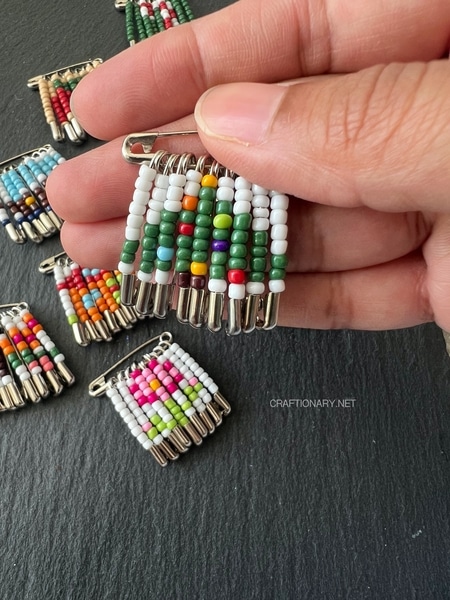
- Make a flag: Stripe flags are the easiest of all, because every one of the nine pins is identical. Thread one color order, repeat nine times, done.
- Pride flags and national flags with horizontal stripes work well. For flags with a different pattern, chart them like any other design.
- Make an ombre: Run one color from dark to light down each pin for a gradient effect.
- Do initials: Chart a letter in the 9×9 grid and make a monogram for a gift.
- Make a set: One brooch each of the autumn designs (acorn, mushroom, pumpkin) makes a lovely gift for a teacher or friend.
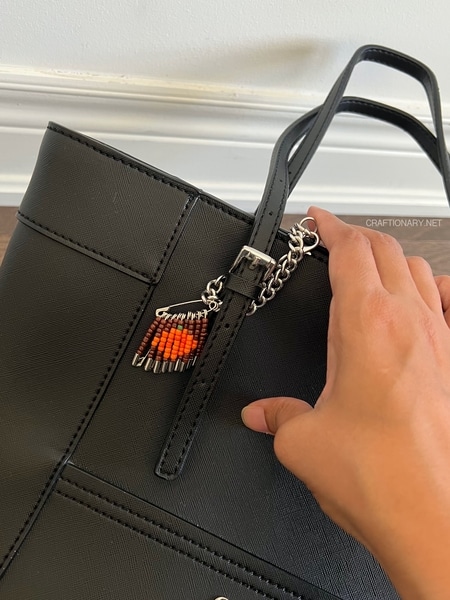
- Use it as a bag charm: Hang the brooch from a bag zipper or a keyring.
- Chart your own: A grid of graph paper (9 columns, 9 rows) and some colored pencils is all you need. Start with a heart or a star, then try your pet.
What Are Beaded Safety Pins Used For?
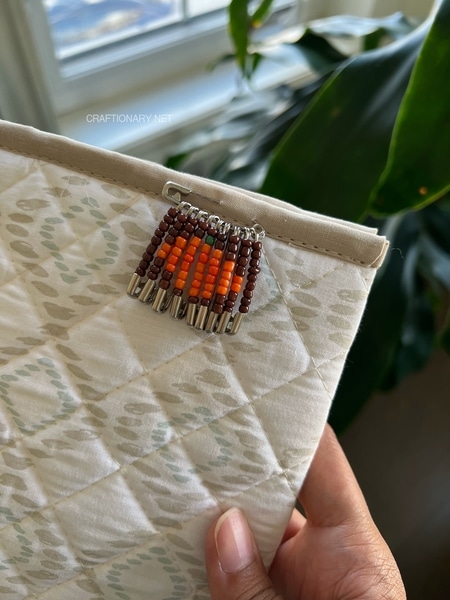
- Brooches: pin them to jackets, scarves and bags.
- Friendship pins: swap them with friends, a tradition for many people.
- Flags and solidarity pins: wear colors to show support for a cause or community.
- Badges: use them on backpacks, uniforms or scout sashes.
- Gifts and craft-fair stock: each takes only a short time to make and costs very little.
Troubleshooting Common Problems
- Beads won’t go onto the pin. The hole is too small. Switch to beads with larger holes, or test one bead before you commit.
- The pins hang crooked or twisted. Check that every coil is facing the same way when you slide them on, and that no pin has been closed backwards.
- The picture looks off. Count again. A single wrong bead is the usual culprit. Lay the pins out against the chart before you assemble.
- The brooch sags on thin fabric. Glass beads add weight. Pin it onto thicker material like denim, wool or felt, or add a backing piece.
- The pins look tarnished. Plated pins can tarnish if they get wet. Store them dry.
Safety and Care
Beaded safety pins have small parts and sharp points. They aren’t suitable for toddlers or for anyone likely to put them in their mouth, and young crafters should have an adult nearby. Keep finished pieces dry, store them flat, and check the clasps now and then to make sure they’re still closed.
Frequently Asked Questions
1. What size safety pins are best for bead crafts? ?I use 32mm pins. That length holds nine 3mm beads. For smaller designs, use shorter pins with smaller beads.
2. What size seed beads should I use?? 3mm (size 8/0). They’re easy to handle and large enough for a clear pixel picture.
3. How many beads fit on one safety pin?? It depends on the pin and bead size. With 32mm pins and 3mm beads, nine fit comfortably.
4. Are friendship pins and beaded safety pins the same thing?? Often, yes. Friendship pins is the name for beaded safety pins that are made to be given to or swapped with friends.
5. Can I wear a beaded safety pin brooch on any fabric? ?Thicker fabrics hold them best. On very thin or stretchy fabric, the weight can pull and leave a mark.
6. How long does one brooch take?? It varies by pattern and experience. A simple one like the candy cane goes fastest.
7. Can I sell what I make? ?Plain pixel designs you chart yourself are fine. Avoid copyrighted characters or logos.
8. Do I need a pattern?? No. Draw your own on a 9×9 grid and use the same method.
Safety pin bead craft is one of those projects that looks fiddly and turns out to be relaxing. Start with the candy cane, move on to the butterfly, and by the time you reach the pumpkin you’ll be charting your own. Once you’ve made your first, I’d love to hear which one you chose.
You will also like:
Safety Pin Crafts: 25 Stylish and Surprisingly Fun DIY Ideas
Making Bead Crafts for Adults: From Simple to Stunning Ideas