This post may contain affiliate links. Please see our full Disclosure Policy for details.
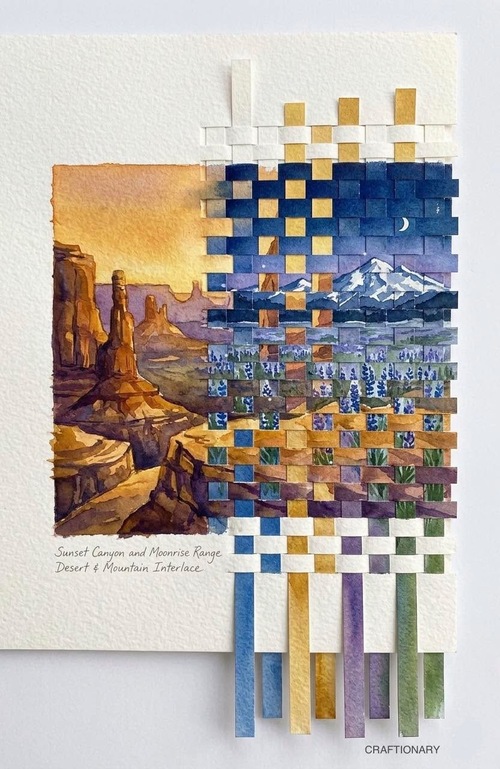
This style of art, often called Paper Weaving Interlace, is a beautiful way to blend two different moods, landscapes, or color palettes into a single tactile piece. The example shown, Sunset Canyon and Moonrise Range, uses watercolor paintings to create a seamless transition between day and night.
Here is how you can recreate this effect. If you are new to this art, you may try the simple paper woven art technique first to get familiar with it.
Materials You’ll Need
- Two pieces of heavy paper: Watercolor paper (300gsm) is best if you plan to paint.
- Art supplies: Watercolors, gouache, or high-quality markers.
- Tools: A sharp craft knife (X-Acto), a metal ruler, a self-healing cutting mat, and a glue stick.
- Backing: A larger piece of cardstock or foam board for mounting.
Related: 50 Landscape Watercolor Painting Ideas for beginners
How to Make Paper Weaving Art with Paper Strips?
1. Create Your Two Artworks
Paint or draw two distinct or similar scenes on separate sheets of paper. For the best interlace effect, use contrasting themes:
- Image A (The Base): This will be the warp (the vertical structure). In the example, this is the warm, golden Sunset Canyon.
- Image B (The Strips): This will be the weft (the horizontal threads). In the example, this is the cool, blue Moonrise Range.
Pro Tip: Ensure both paintings are exactly the same size so the horizons and details line up when woven.
2. Prepare the Base (Vertical Cuts)
- Take Image A and decide where you want the weaving to begin. In the photo, the weaving covers the right half of the image.
- Using your metal ruler and craft knife, cut vertical slits into the paper.
- Crucial: Do not cut all the way to the edges. Leave a 1-inch border at the top and bottom to keep the paper intact as a single frame.
- Space your slits evenly (e.g., every 1/2 inch).
3. Prepare the Strips (Horizontal Cuts)
- Take Image B and cut it into complete horizontal strips.
- Keep them in order! It helps to lightly number them on the back so you don’t scramble your landscape. Or just go a bit random to create a fun effect as above.
- Cut these strips to the same width as your vertical slits for a perfect square grid.
4. The Weaving Process
- Take the first horizontal strip from Image B and thread it through the vertical slits of Image A.
- Use a classic over-under pattern.
- For the second strip, reverse the pattern (under-over).
- Push each strip tightly against the one above it to eliminate gaps.
Finishing Touches
- Adjust the Tails: In the example, some vertical strips longer at the bottom and some horizontal strips longer on the right. This creates a deconstructed look.
- Secure: Once the weaving is tight and the images are aligned, put a tiny dot of glue under the ends of the strips on the back side to prevent them from sliding.
- Mount: Glue the entire piece onto your backing cardstock to give it stability and a clean border.
Design Secrets from the Image
- Color Transitions: Notice the painted extra strips of solid color (blue, gold, purple, green) that extend out the bottom. This adds a color palette key to the piece.
- The Half-and-Half Look: By only cutting slits into the right half of the base painting, you allow the left side to remain a pure image, which makes the woven transition look more intentional and magical.
Some more ideas are shared below for inspiration:
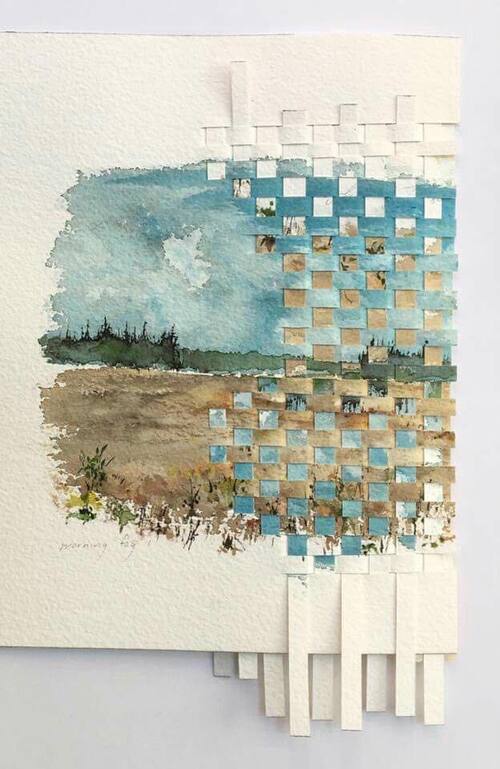
Watercolor paper weaving art is so cool shared by Cindy Latoski-Longstaff.
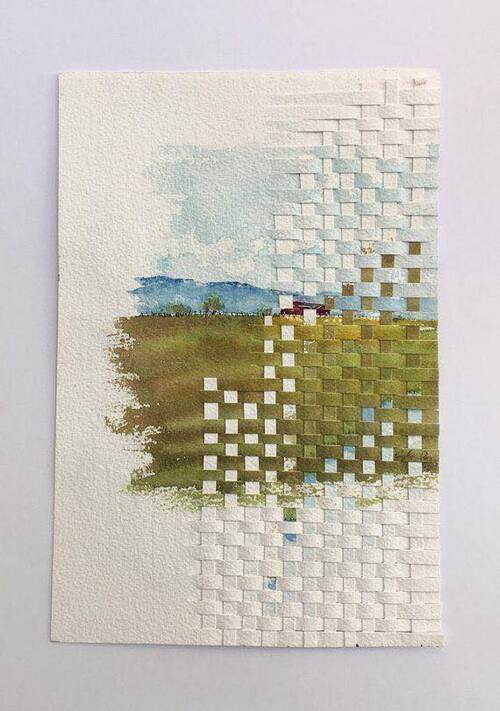
Another paper weaving art that is so cool from The Artist
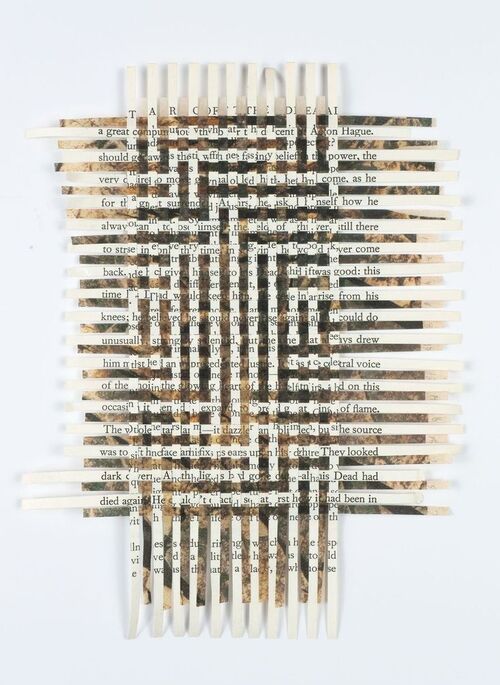
Geometric paper weaving artwork by Pauline Kerleroux
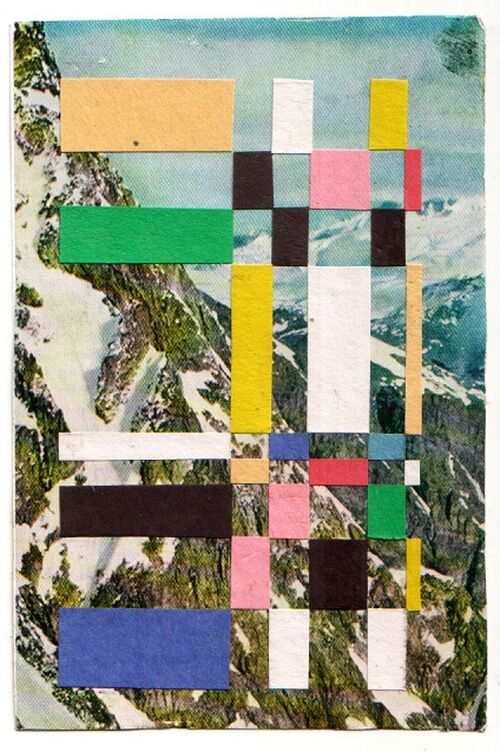
Photo and colorful paper strips by Arlene solum

Coastline Tide

Spring morning lake cottage

Evening marsh paper weaving art
You will also like:
Paper Woven Art: How to Create Strip Weaving from Two Artworks
Paper Quilling Art Ideas – Stunning Quilled Projects For Beginners
Inkjet Printing on Fabric using Freezer Paper (Easy Instructions)