This post may contain affiliate links. Please see our full Disclosure Policy for details.
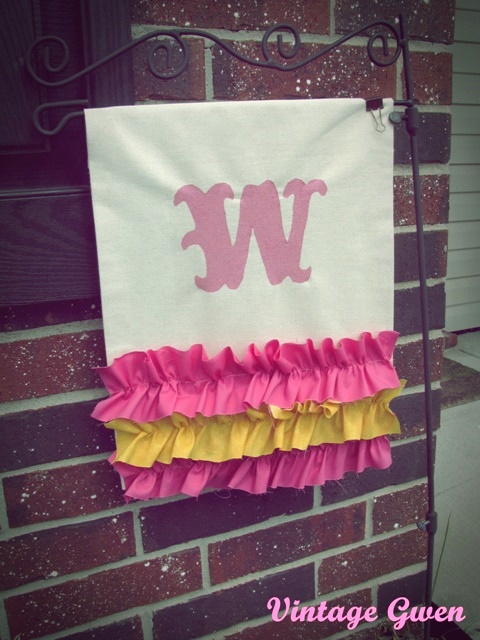
Now burlap is very popular and I have made 2 burlap flags already. So, I thought it time for a change and turned to muslin and ruffles.

DIY Summer Garden Flag
Materials
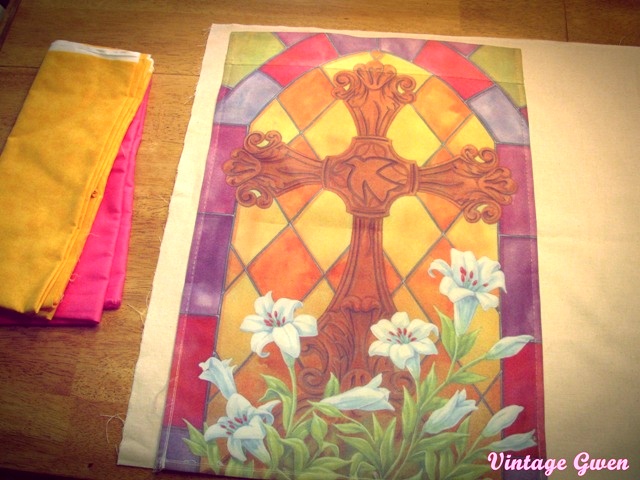
- 1/2 yard of Muslin
- Fabrics to make ruffles…scraps, if long enough, would be perfect
- Hot glue gun
- Freezer paper or stencil
- Paint-I used Folk Art Acrylic Paint in Metallic Rose
- Paint brush or sponge Acrylic sealer
Instructions:
Started by using a store bought flag to measure and allowed about an inch for seams. I left the muslin folded so it would be double thickness and one less edge to ‘hem’. It’s not as long as the store bought flag but that’s okay.
Make ruffles
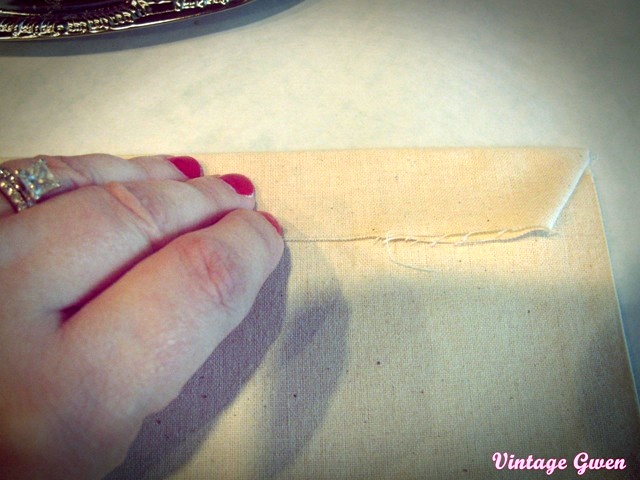
Ironed the sides of the muslin to have a guide to ‘hem’. Folded the top down long enough to form a loop.
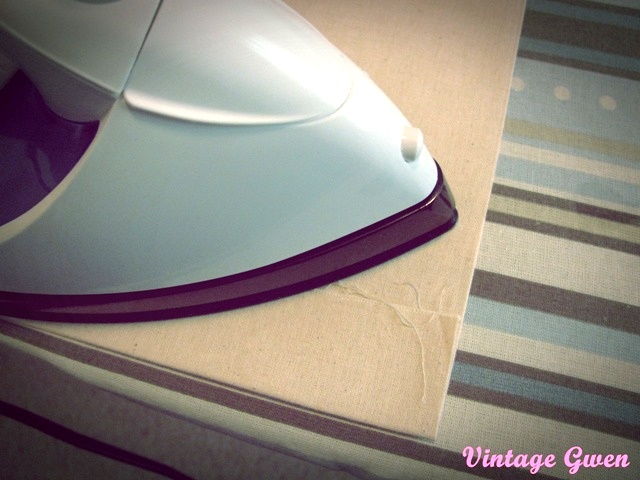
Then I hot glued the sides of the muslin down and glued the sides of the loop at the top. At the bottom, I folded the sides in….as shown below:
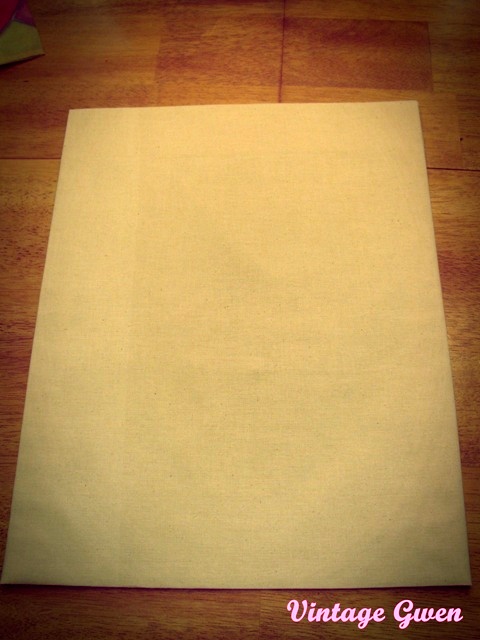
Now we have a blank canvas! At this point you can gussy this up any way you want!
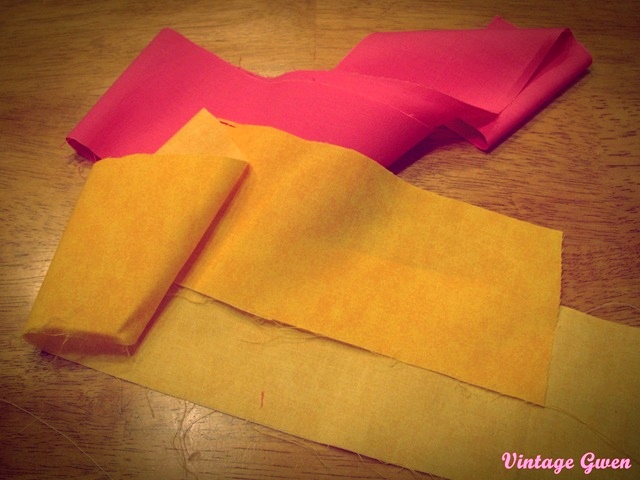
Cut 3 strips of fabric, about 3 inches wide by 25 inches long. (the flag is 12 1/2 inches wide so I doubled it) I used 2 hot pink and 1 yellow ribbon as these speak fun summer colors to me!
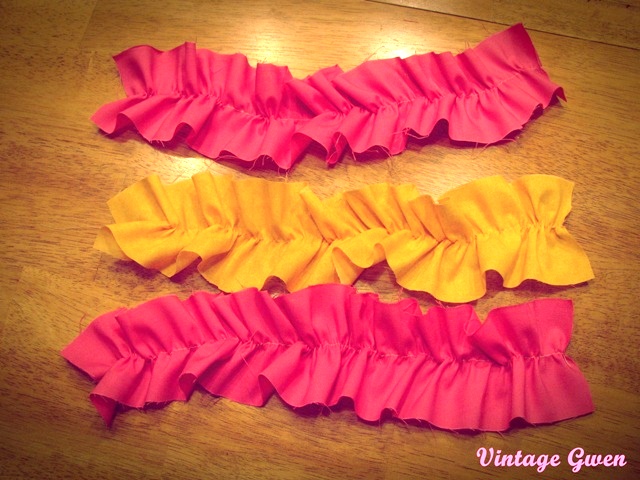
Using my sewing machine set with the stitch length on the longest setting, I sewed down the middle of each strip. I pulled the bobbin thread (the thread under neath) to ruffle fabric to the length of the flag, tied the threads in a knot at each end and their my ruffled fabric ribbons are complete
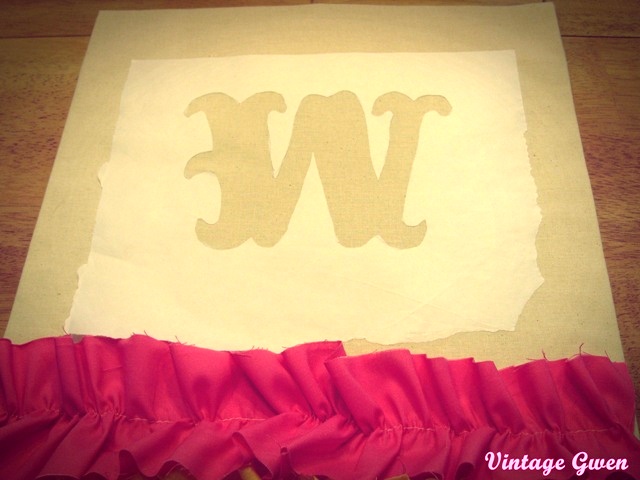
Then I hot glued the ruffles on to the flag, starting at the bottom. You could also sew them on, your choice!

Then I chose a font on dafont.com …‘Big Top’ was pleasing so right from my computer screen I traced a ‘W’ onto a piece of freezer paper. Using your house number would be really cute too! With the help of an xacto knife I traced inside the ‘W’ to form stencil.
Paint monogram

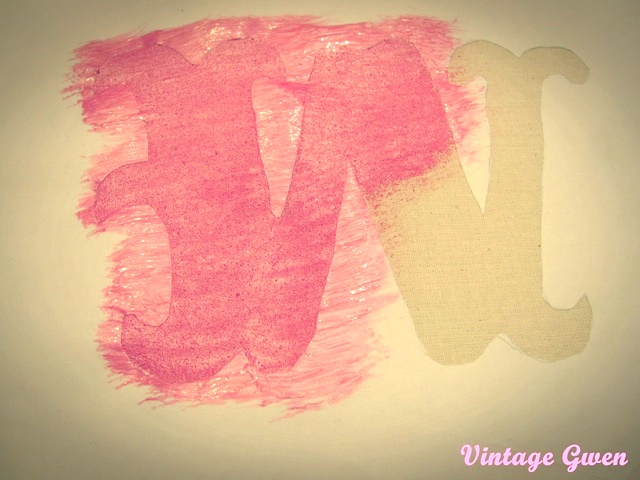
Next, iron on the stencil with a dry hot iron. (I’m amazed that freezer paper does this!!)
Paint it away! Once it dries, spray with an acrylic sealer.
And I am now proudly displaying my new summery flag!
Tip:
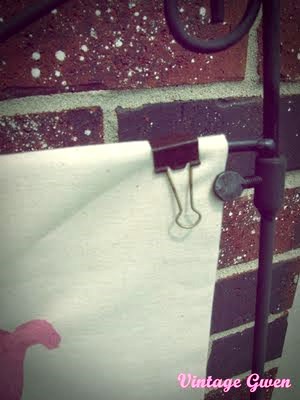
to keep my flags from blowing away (yes I have lost one!) I used a stationary clip. It does the job!


thats so cute 🙂
hani please visit my blog to accept a blog award i have forwarded to you
That flag is adorable! What a cute idea. I just recently purchased my first sewing machine and I need easy ideas to help get me started. This looks so doable!
Thanks again lady!!
Gorgeous Jennifer! I like the idea of doing your house number too.
Love the ruffles! Great job:)