This post may contain affiliate links. Please see our full Disclosure Policy for details.
Hi! I am Camille from Six Sister’s Stuff (I am the dark haired one on the far right side of the picture- I am also the oldest sister of all these beautiful girls!) and I am so excited to be here on Craftionary!

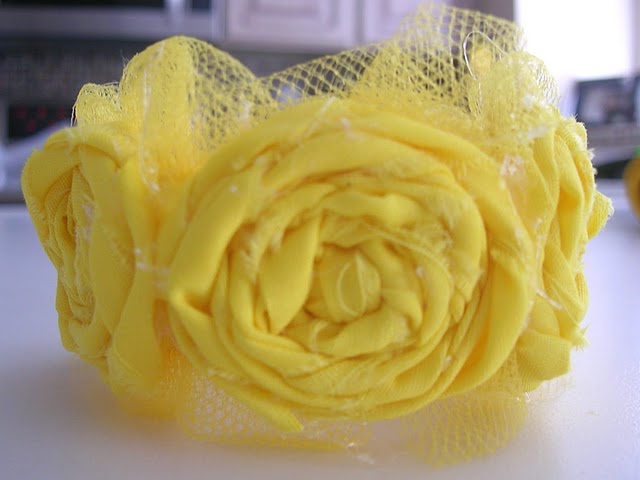
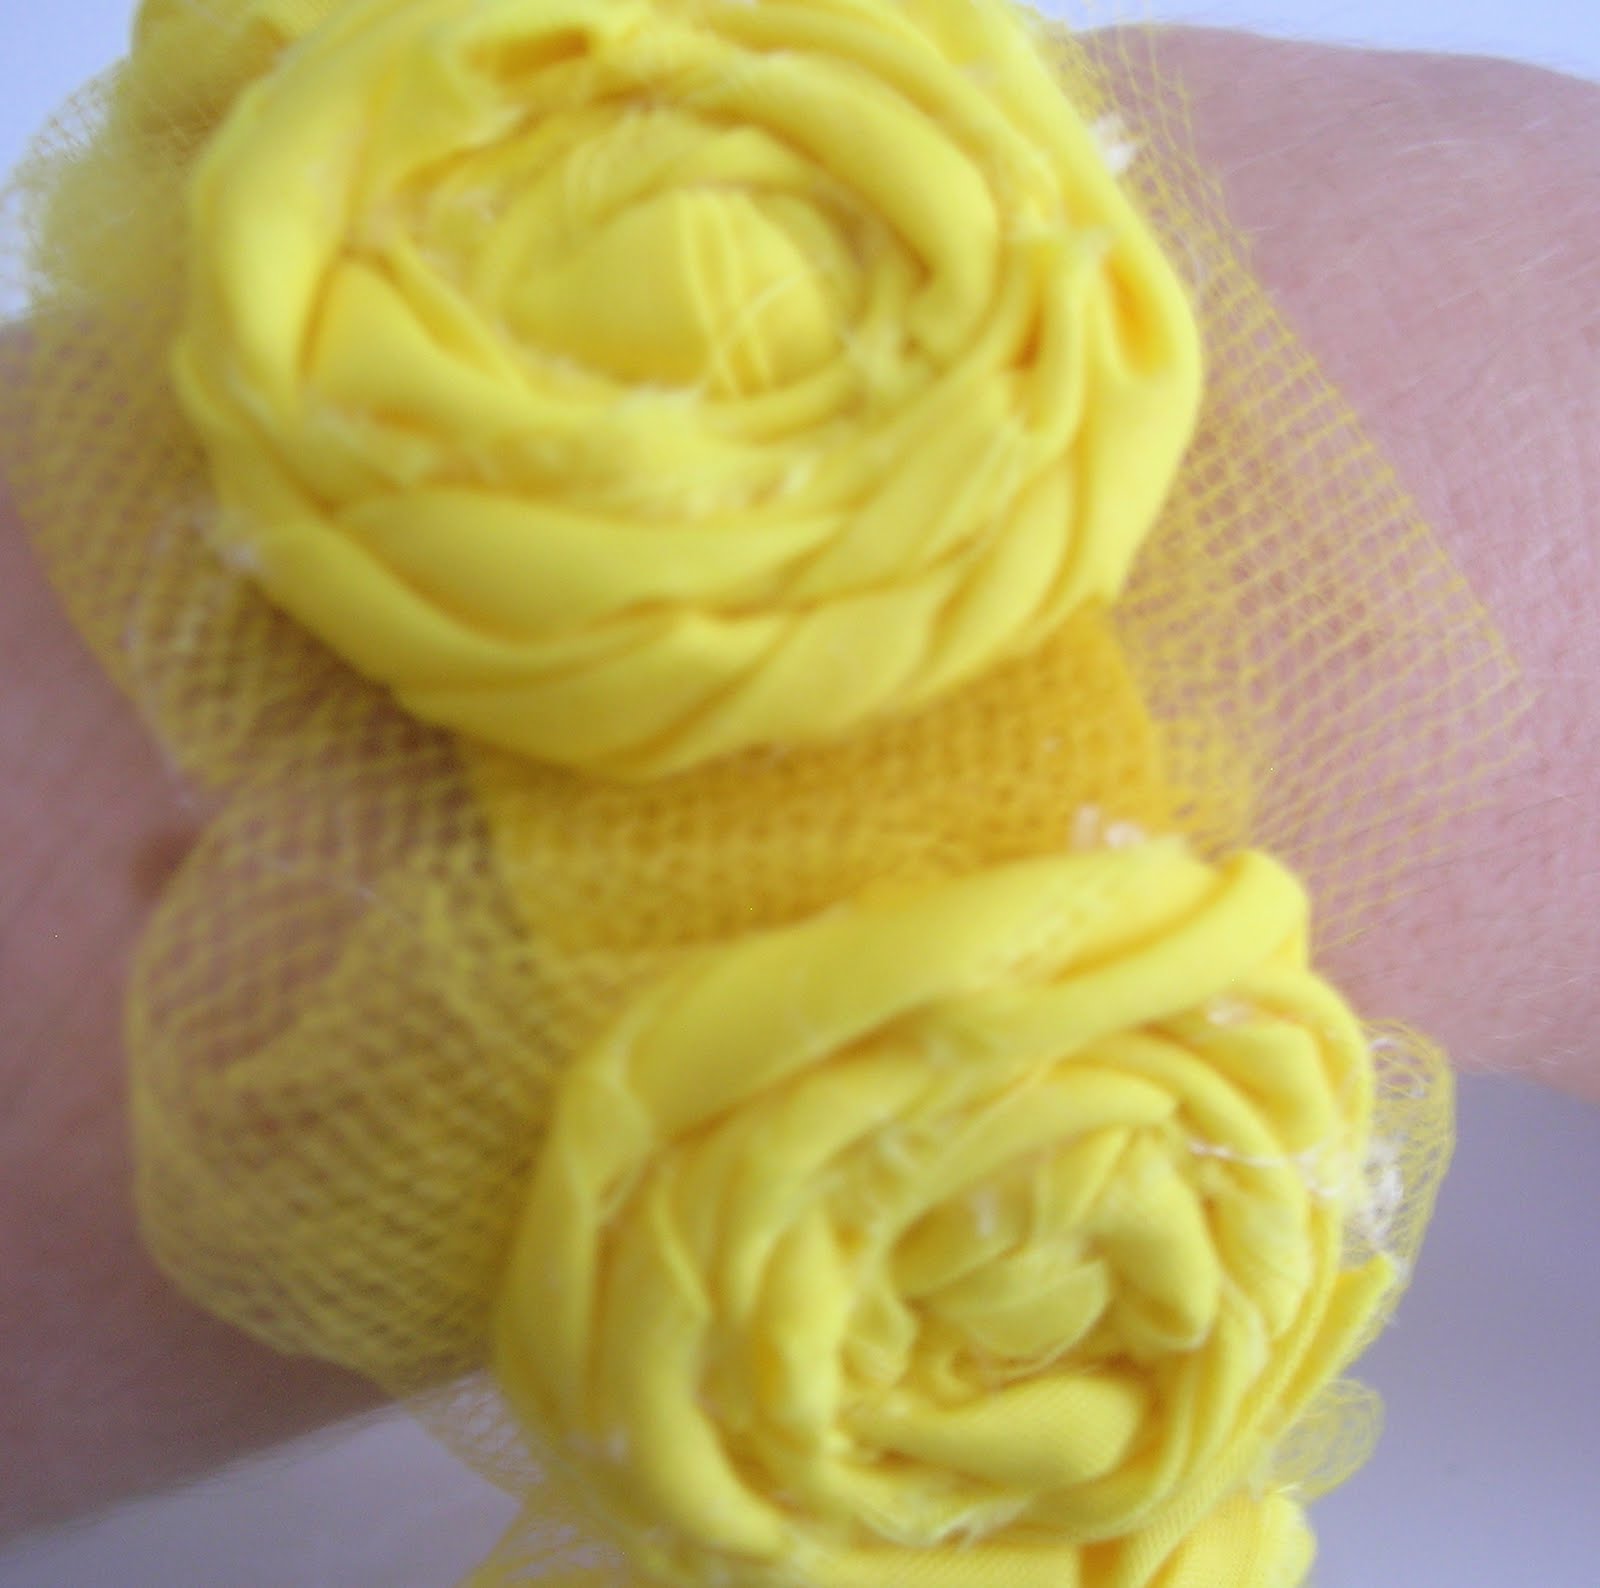
Today I am going to be sharing a tutorial to make this cute cuff bracelet.
Pretty cute, huh? I love this cuff for many reasons, but the top two are that it requires no sewing and you can throw it together in about 30 minutes!
All right . . . let’s get started!
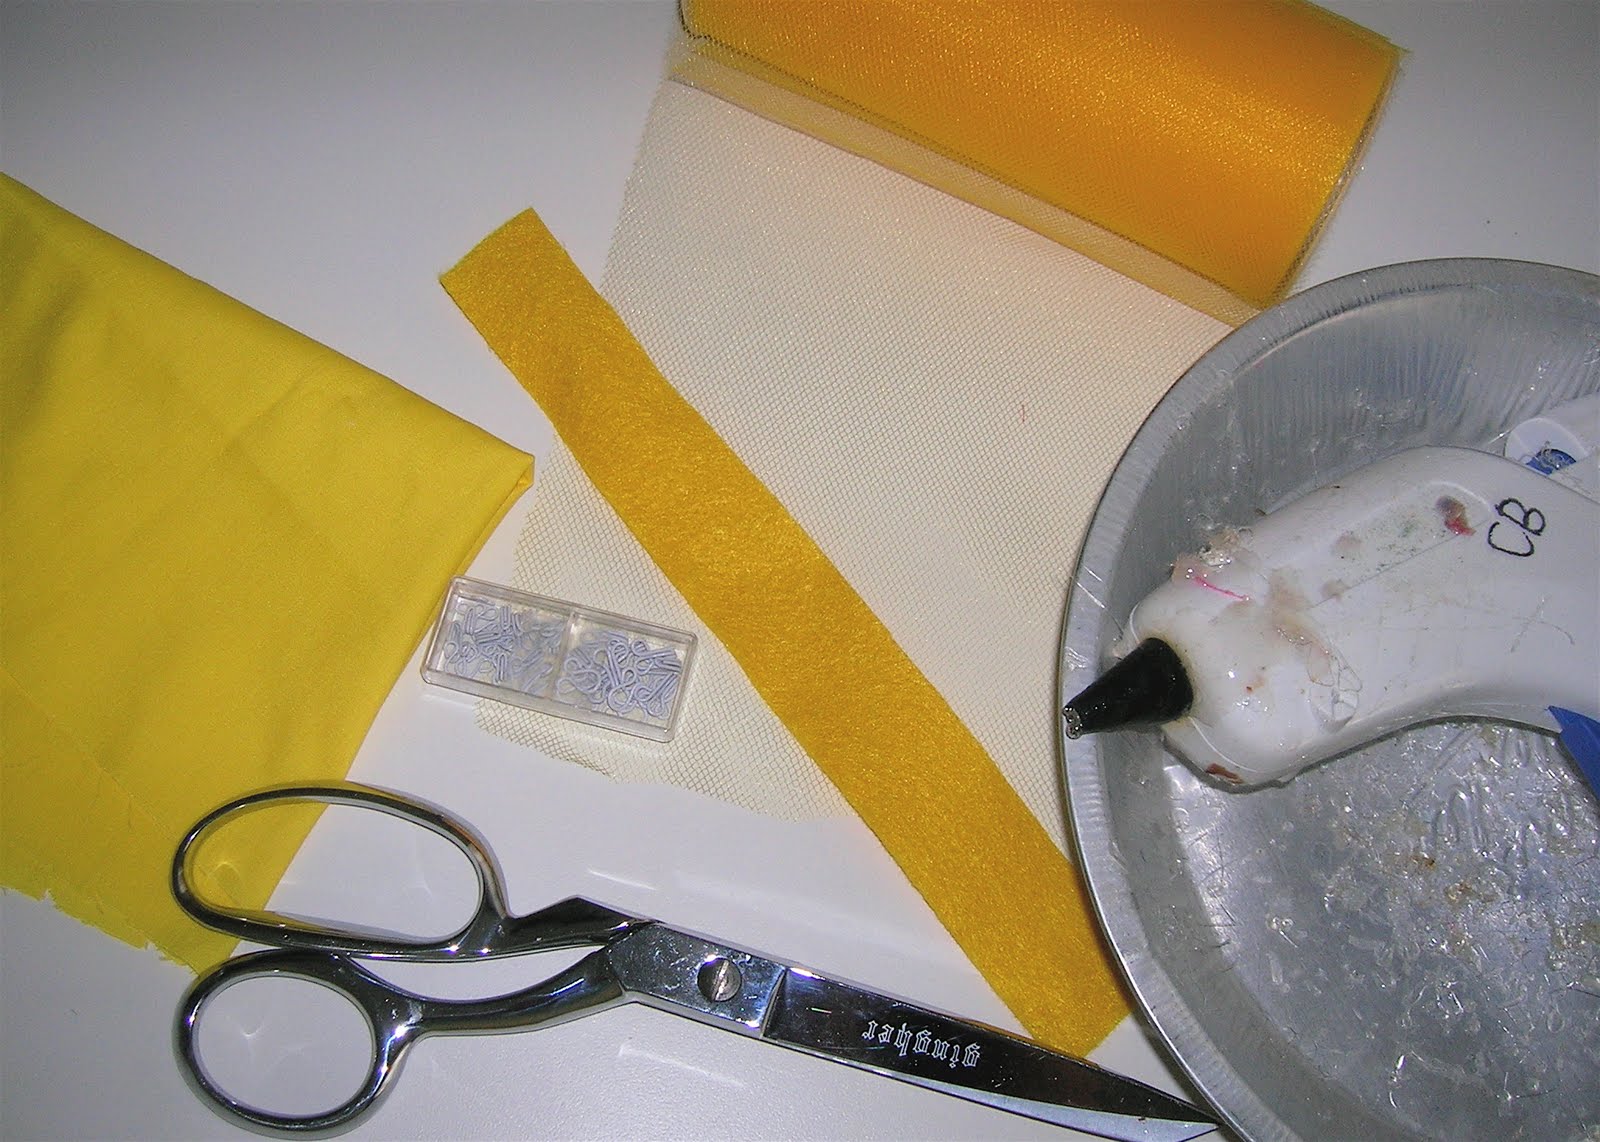
Here is what you need:
Here is what you need:
-tulle (the piece I used was 4″x24″)
-piece of felt (mine was 1″x7″ . . . yours will depend on the size of your wrist)
-scrap of material (mine was about 7″x20″)
-scissors
-hook and eye clasp
-hot glue gun
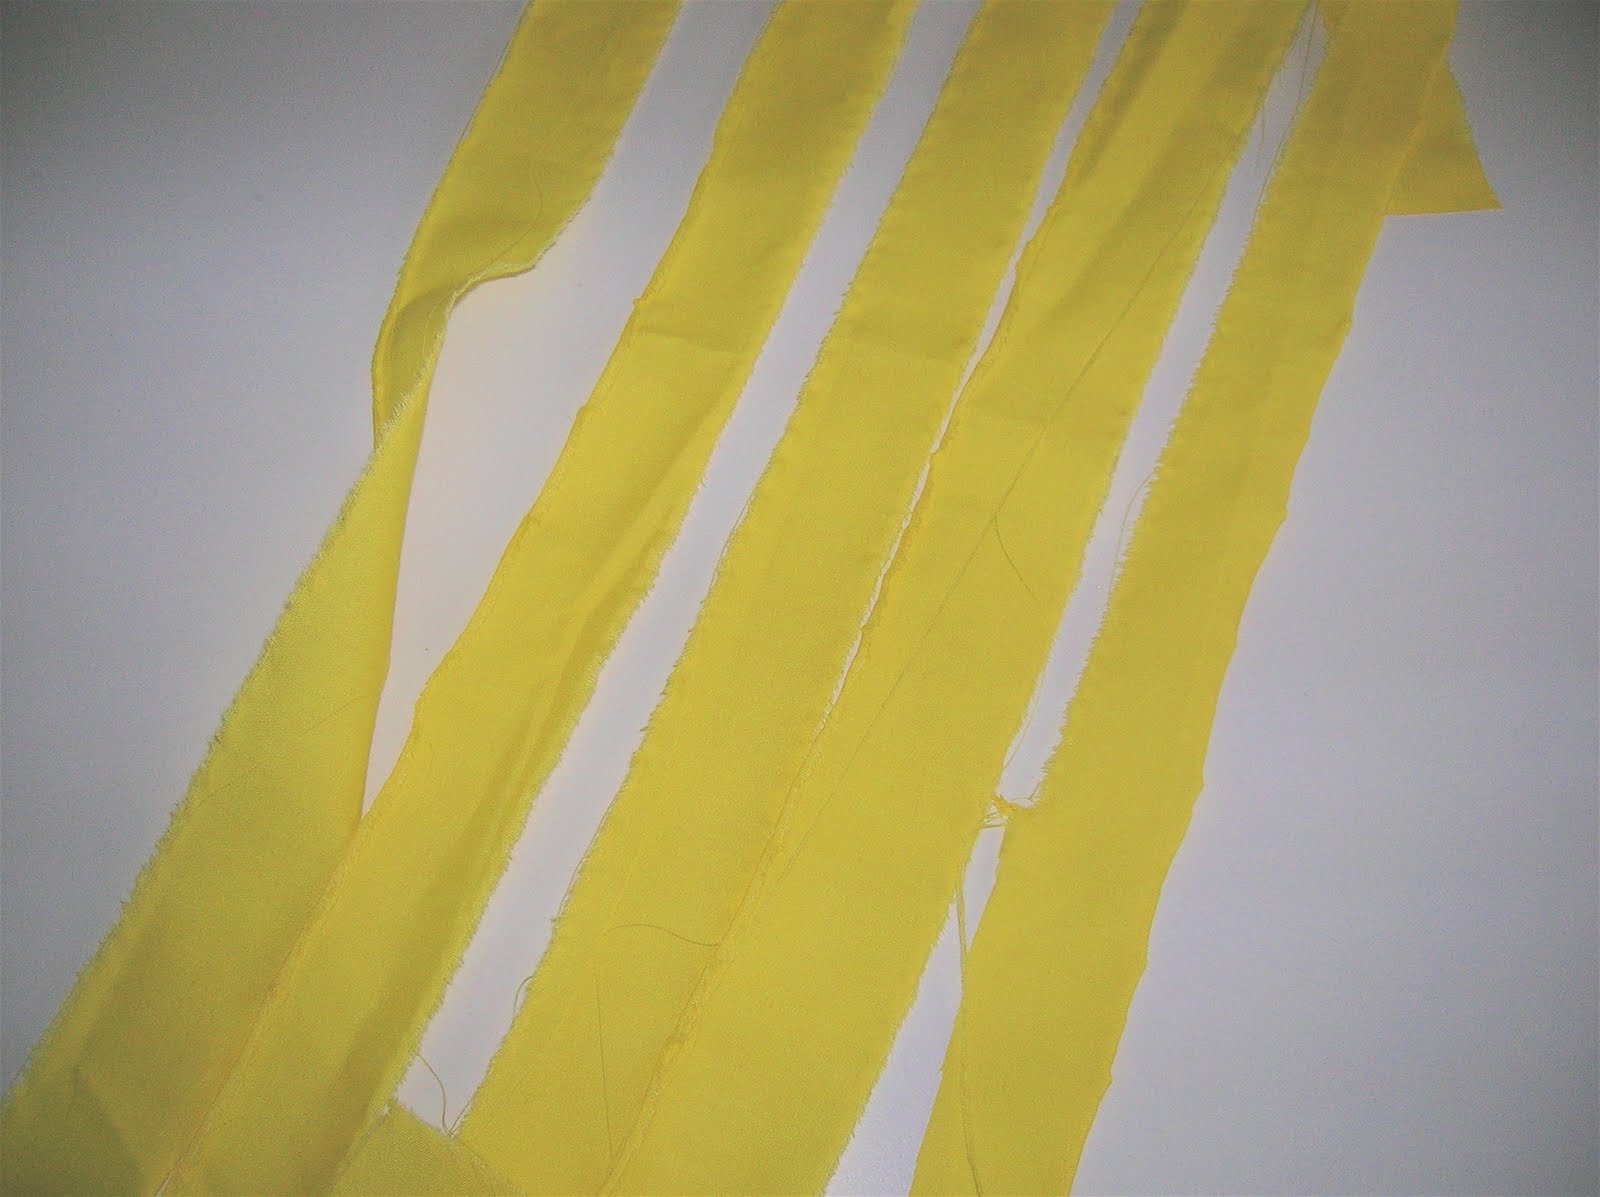
First, rip your material into 1″x24″ pieces . . . I ripped my fabric because I like the unfinished edge, but if you would rather cut it that works too!
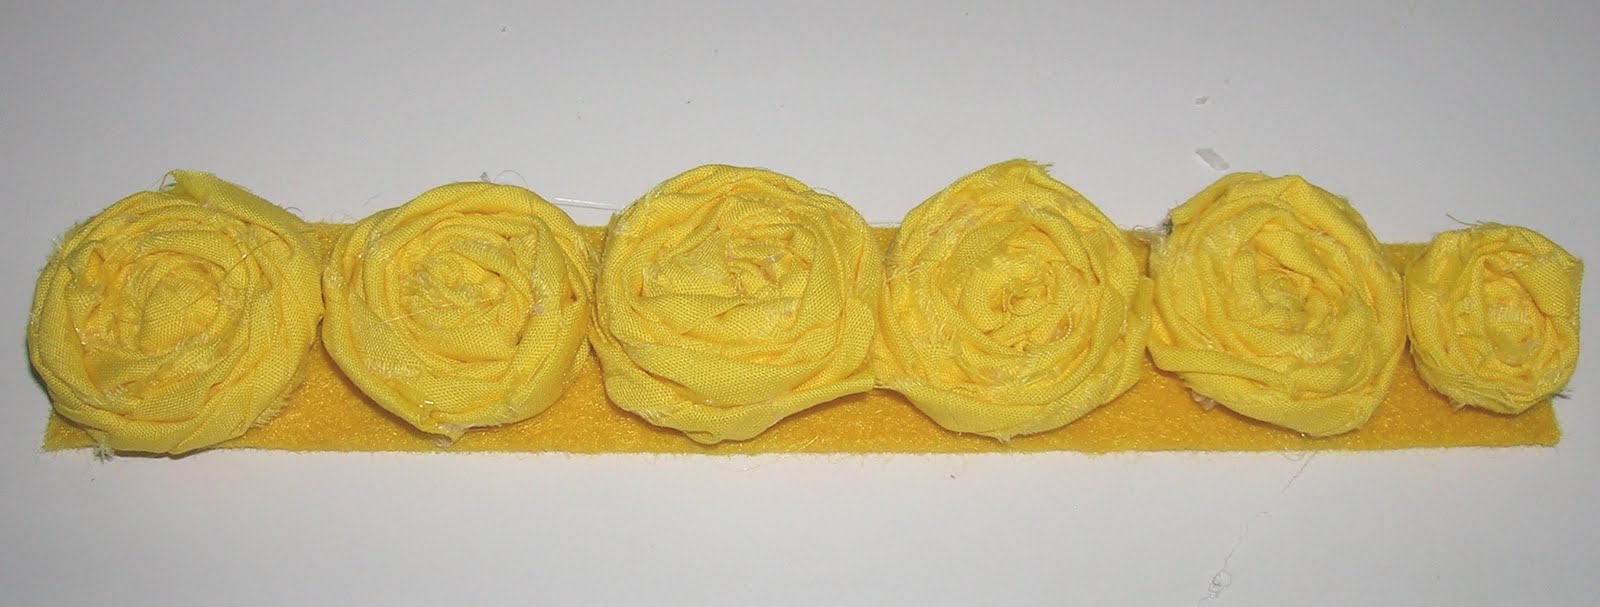
Roll your strips into Fabric Rosettes (if you have never made these before, I love this tutorial over at Little Birdie Secrets. You will need to have enough rosettes to cover your strip of felt (I had to make a little one on the end!). When you measure your wrist with the piece of felt, make sure it is a little loose. You don’t want this cuff to be too tight. You can always trim it down if you want to.
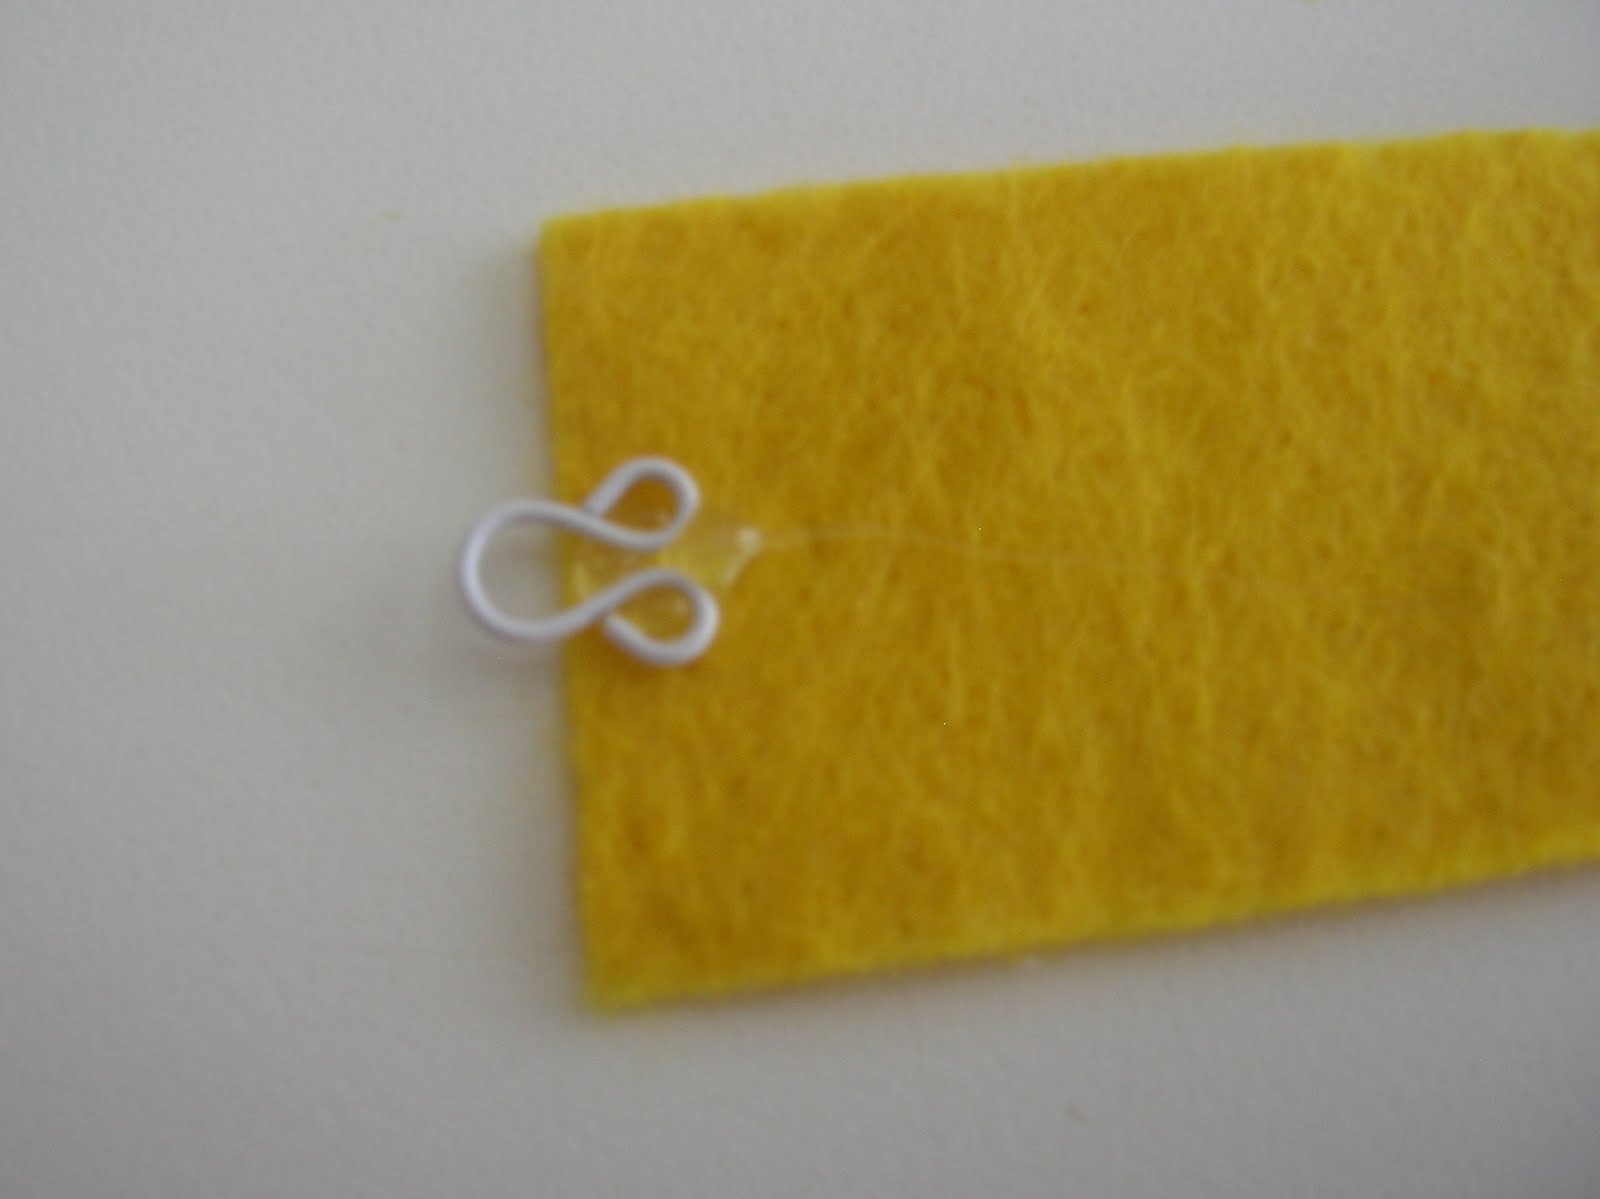
Now glue your hook and eye closures to your piece of felt (one at each end). At first I tried to sew them on by hand, but it took too long and felt and hot glue just go together so perfectly . . . so I glued it on.

I added a tiny piece of felt on top, just for a little bit of extra stability.
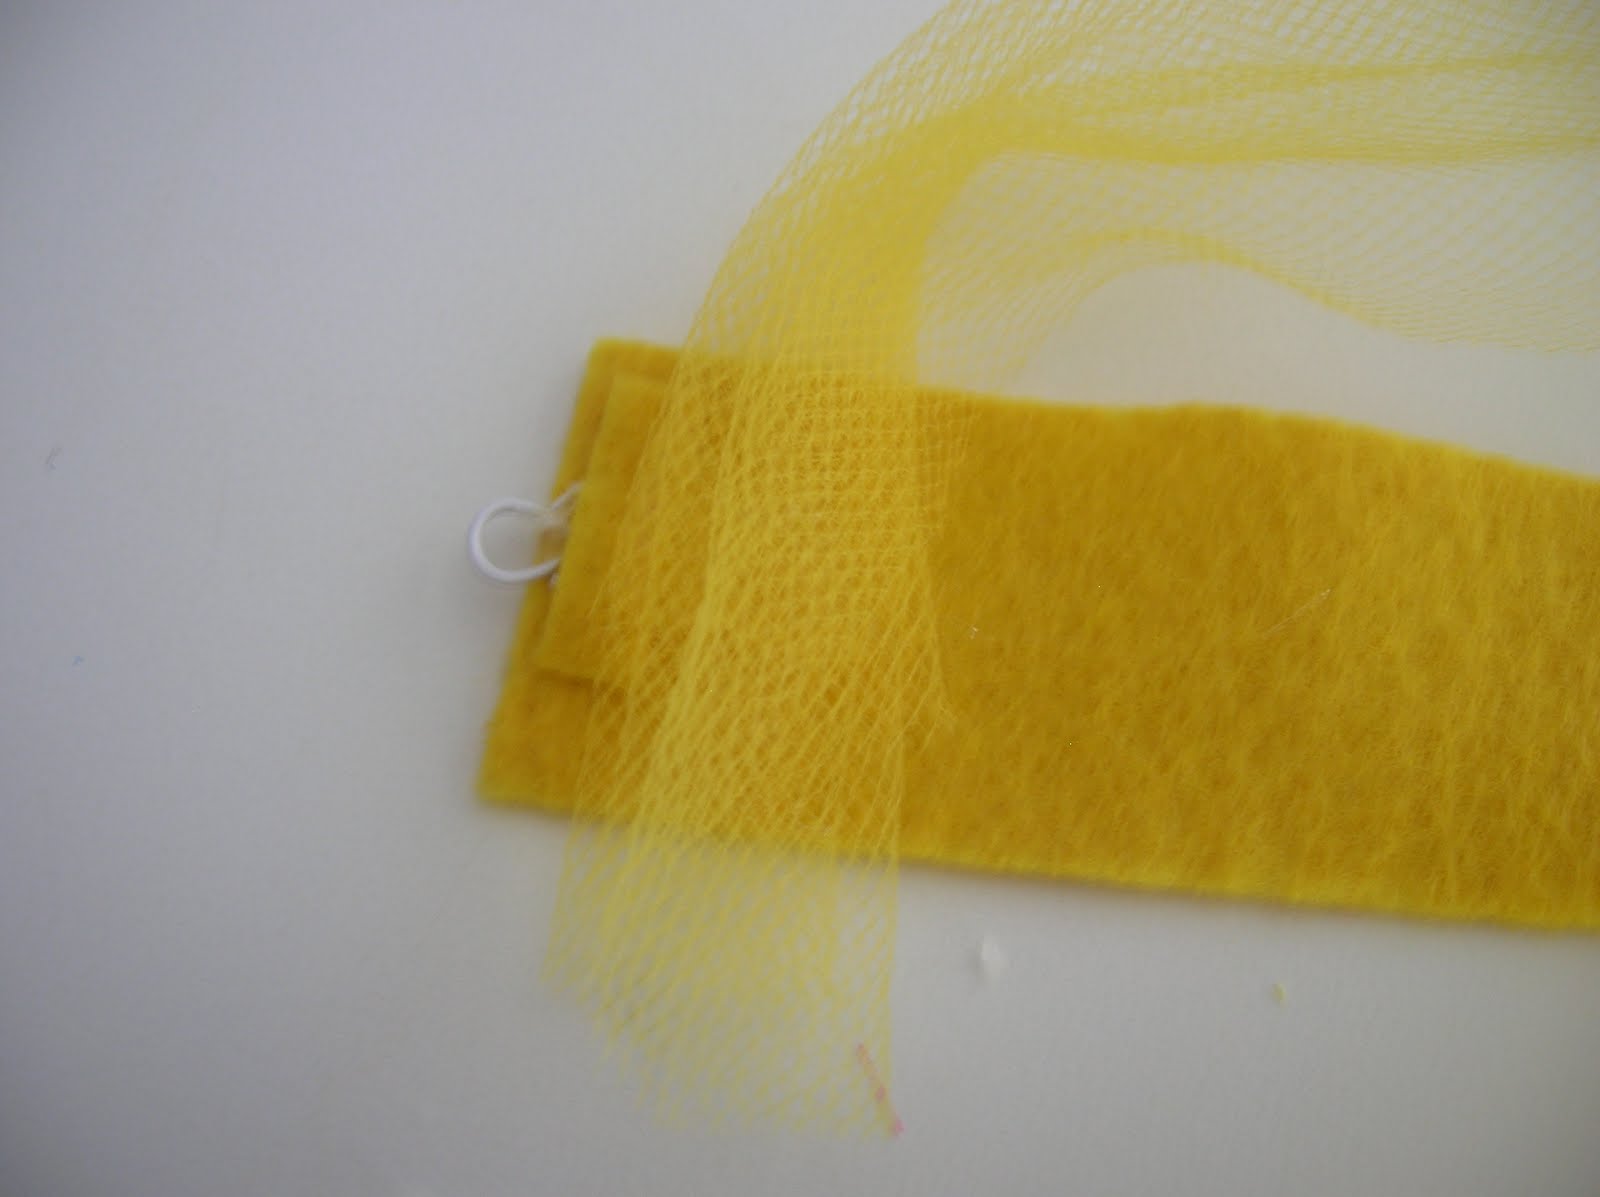
Now take your piece of tulle and starting on one end of your felt, put a tiny dab of glue and stick your tulle down.

There really is no rhyme or reason to how you do the tulle . . . I just kind of went back and forth in a zig-zag pattern, gluing the tulle down every now and then. (Note: You will get burned when working with hot glue and tulle. Just keep in mind that it does not need to be glued on too much- you will glue the rosettes on top of the tulle and it will help bind everything together!)
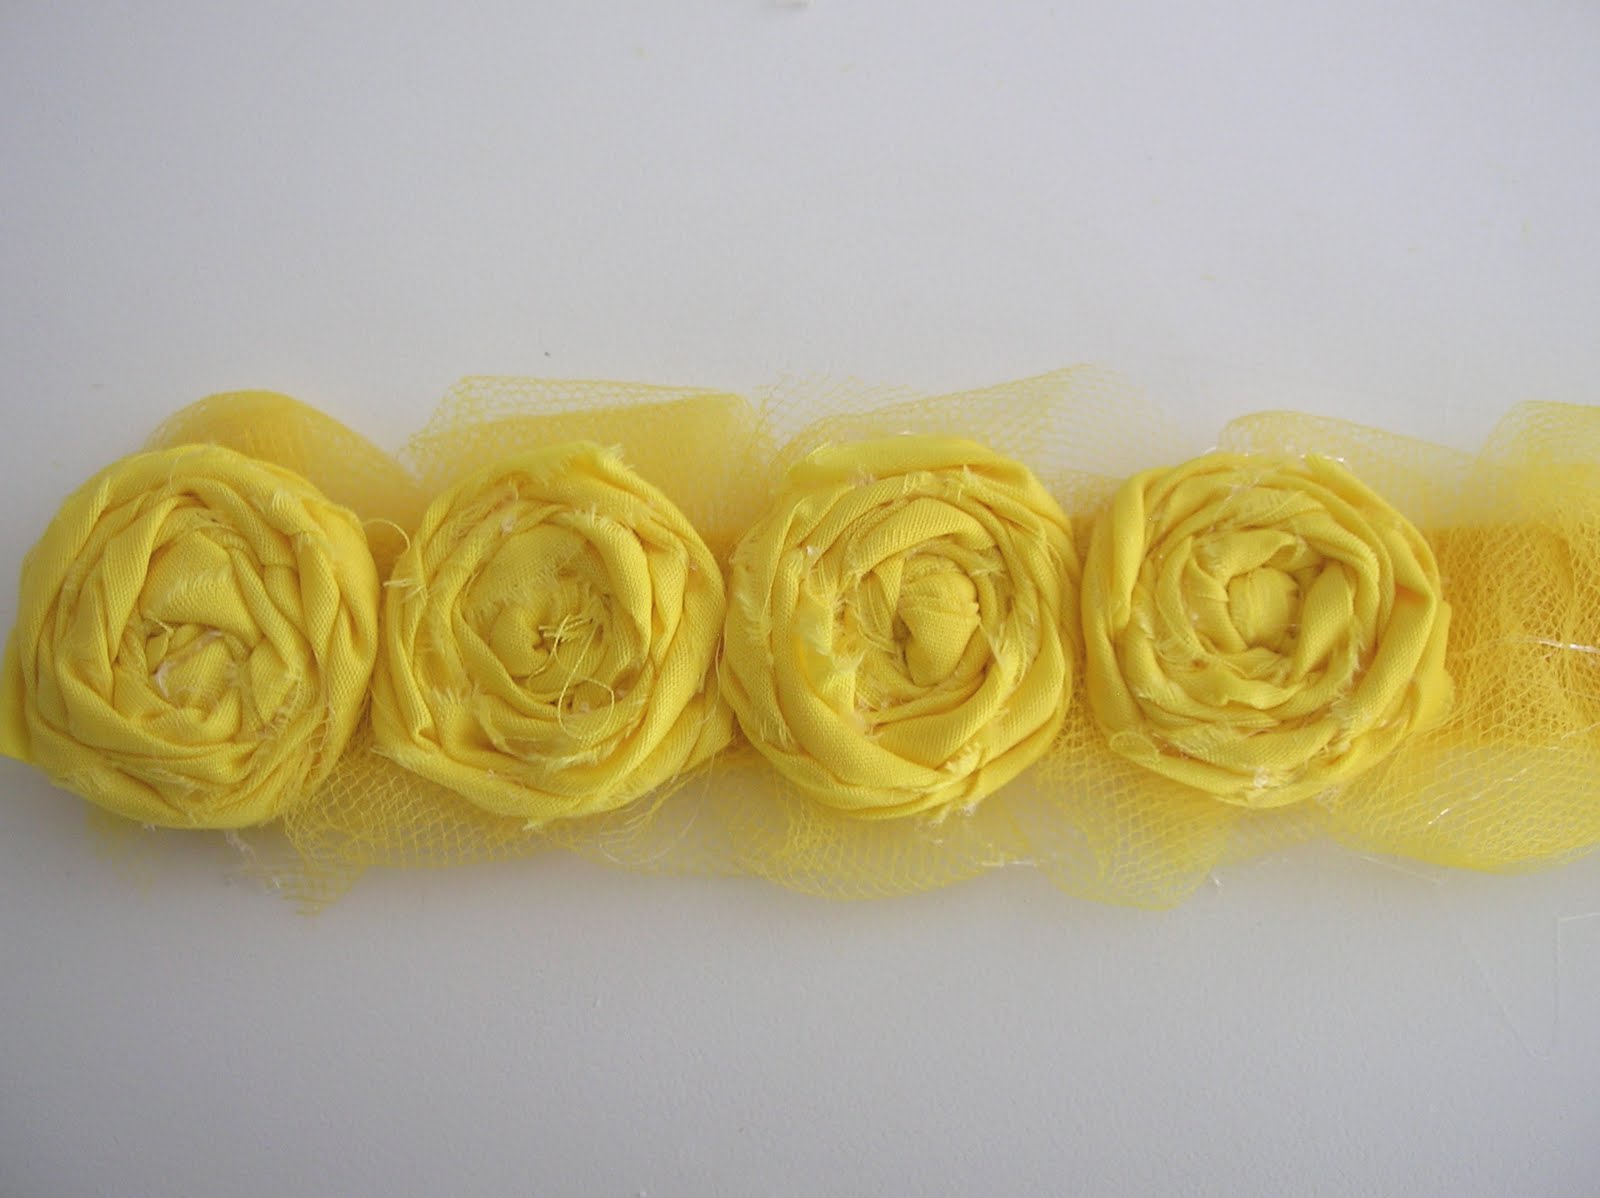
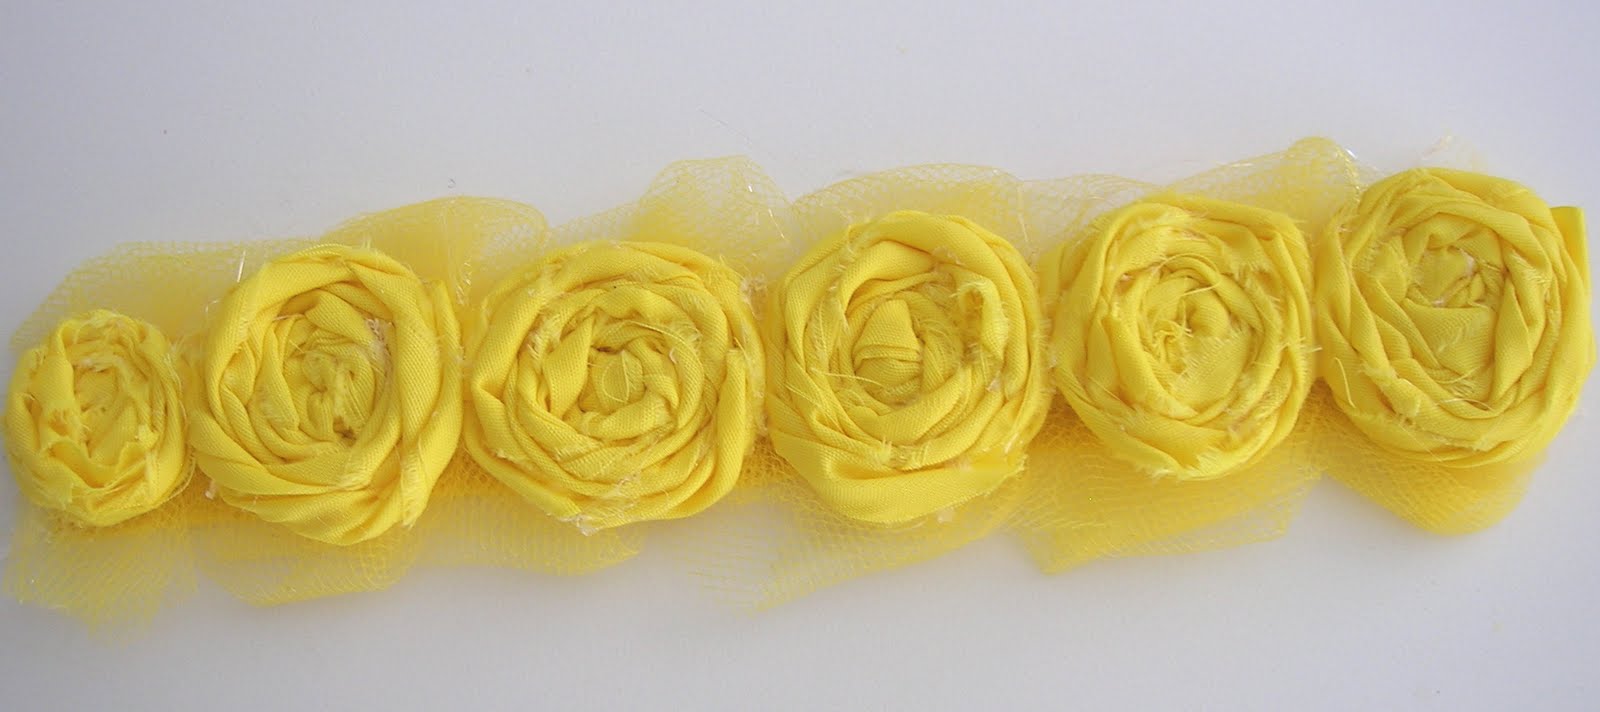
Now start gluing the rosettes on. You want them to be close together and touching.
Make sure you put a lot of glue IN-BETWEEN each rosette or this will happen when you put it on!
Ta da! There you go! I know that my little rosette looks kind of silly, but thankfully it will be on the bottom of my wrist and no one will see it. 🙂

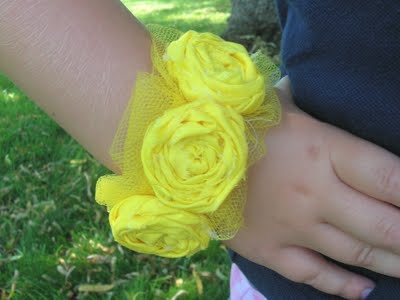
So fun for summer!
And isn’t my four year old daughter such a cute little wrist model? 🙂
Thanks Camille for sharing this cute bracelet.
Don’t forget to check out the Six Sister’s Stuff for great ideas and recipes:
Thanks Camille for sharing this cute bracelet.
Don’t forget to check out the Six Sister’s Stuff for great ideas and recipes:
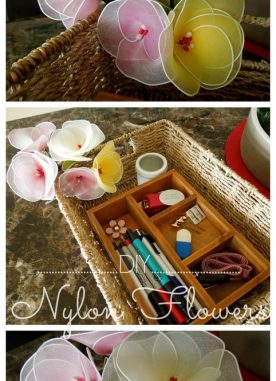
Looking for something else to make with these darling rosettes?

We have a really easy tutorial for these Rosette Topiaries over on our Six Sister’s Stuff blog, plus so many other things!!!

…including the recipe for these delicious Samoa Brownies!!
So come on over and say hello!
The post has been truncated for copyright safety. Thank you so much for understanding! “This post first appeared on Craftionary.net”


Samosa Brownies, they look yummy 😀
Thanks for visiting Cute Confessions of a Sew Addict
Currently there is a giveaway on my blog – Vogue Tote be won, to mark the celebration of 200+ followers. Please do participate and spread the word, Thanks. Click HERE to participate
Thanks for Following Cute Confessions of a Sew Addict and also for Participating in the Giveaway.
Best of luck!