This post may contain affiliate links. Please see our full Disclosure Policy for details.
Hi!
I’m the “me” of bugaboo, mini, mr & me – Kimberly for short.
Today, I am sharing my very simple tutorial about twisted ties.
I’m a wannabe budding actress turned stay at home mommy with a flair for the dramatic and a passion for creation. On my blog, you’ll find a little of everything – I bake and cook (like this fabulous Cafe Rio Knockoff that has my family all in a dither), I sew a bit (and not just pancake hats anymore, either), I craft up a storm (especially wreaths, I get dirty with my kids (because we like to play with glitter, glue, paint) and I pretend to be a photographer. I host a snapshot linky every Sunday-Tuesday with a different “Title” every week and some featured favorites from the past link-ups. You can learn more about it here, and I’d love for you to join in! Basically, I’m in love with the creative process, and I tell it all – failures and triumphs, with a healthy dose of laughing at myself when necessary.
When I was little, my mom taught me to make hair ties for my dolls with her leftover yarn pieces. So, as I was playing with yarn past few months, I came up with this idea.
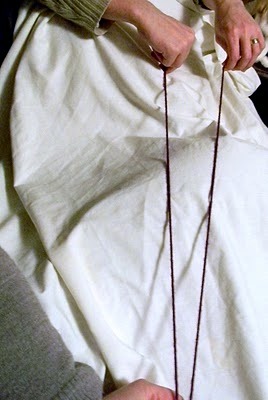
Simply, take a long strand of yarn (double the length of what you originally want it to be). Make someone hold the other end or place it under something heavy or pin it. Now twist it. Keep twisting

Keep twisting until it starts bunching up, and then stop.
Now bring the two ends together and ask someone to hold the twist at the middle.
Once the position is secured. Let go at the middle. Voila! the yarn will automatically twist into a braid.

Cut pieces of yarn and ties the ends with it. Trim and your done.

But you might be wondering what can you do with these twisted ties? Glad you ask!
You can,
Roll the twisted on a piece of felt and glue it over a hair pin or barrette.

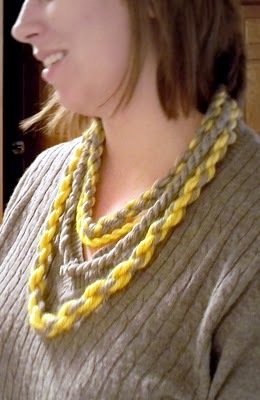
Likewise, to make the necklace. Arrange twisted yarns as you like. My longest one is 20″ and shortest one is 12′ long. For the grey and yellow strand. I twisted the two twisted strands together again.

Now tie the ends with pieces of yarn and cut the remaining.

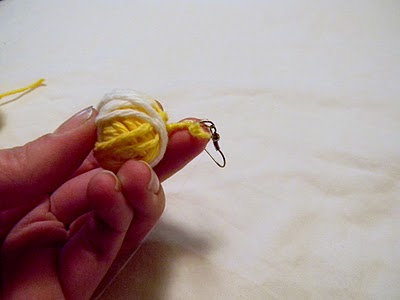
Join both the end and roll yarn over it for a neat look.

And their you have it. A necklace, with a twist!
And their are endless possibilities.
Thanks Kimberly, for a cute idea!
A few Bugaboo Mini, Mr and Me projects that I like:


very smart..Interesting..I always like your guests..keep rocking dear 🙂
Very nice… I'm finally catching up on Mel's Fancy Friday Blog Hop and have followed you via GFC.
Happy Mother's Day! 🙂
Elizabeth