This post may contain affiliate links. Please see our full Disclosure Policy for details.
Hello Readers at Craftionary
I am Lindsay from Artsy-Fartsy Mama
I am a freelance graphic designer and a stay-at-home mom to a fun-loving 1 year old. I love to be creative anytime I can, both in my free-time and in my business. My blog is all about crafty things, wall art, a little bit of cooking, improving my newbie sewing skills and a little bit of graphic design thrown in. I enjoy making all of my projects into tutorials, I want to inspire others from my projects and hopefully help them learn from my mistakes! 🙂
Thanks so much Hani. I am so excited to be here at Craftionary!
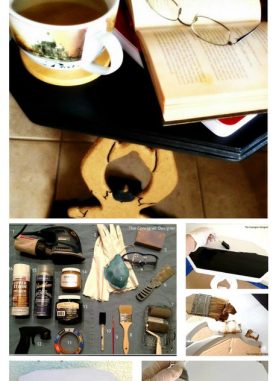
Today I am sharing How to make a Blackbird Chevron Canvas
YOU WILL NEED:
- Canvases
- Sponge brush
- Acrylic Paint (Calypso Sky)
- Painter’s Tape
- Sharpie markers (fine tip and regular tip)
- Chevron stencil
MAKE IT:
Paint the canvases with one part paint and two part water. I wanted the canvases to be the same color as the blackbird canvas but I didn’t want it to take too much from it either. This gives it a watercolor kind of look.

I made my own stripe pattern and printed a few out. The easiest way for me to paint the pattern on the canvas was to line up the pattern where I wanted color and put green painter’s tape along the edges. I used the same color and painted a couple of coats on the open area.
As, you can see my painters tape did not work quite well and some paint leaked out of the lines. But it worked well on the blackbird canvas on the white background, where I also flattened the tape using the credit card. I decided, it might actually look cool once it’s finished. If not, I can always start over again.
I then applied the vinyl

I wanted to make two canvases that matched the blackbird canvas and also stand out on their own. The words are the lyrics to the Beatles song “Blackbird”.
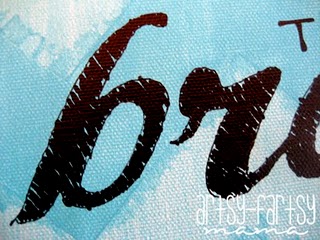
I put together some words and then cut it using the silhouette. I then used it as my stencil and stuck it on the canvas using spray glue. Using the sharpie fine tip I outlined the letters.
I wanted kind of a “Grunge” look to match it with the stripes. I then used sharpie regular tip to fill in the letters, scribbling in one direction.
Once it all dries, you can cover it with Mod Podge. But I was afraid it might smear so I skipped this part.
I also asked a few people and they say once the sharpie dries it shouldn’t smear.
Some day I will find it out for sure.
Here’s an up-close look to the canvases.
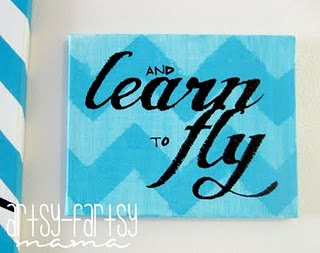

Love how it turned out.
Thanks Lindsay, that’s an absolutely amazing project. Love it!
Check out Artsy Fartsy for these lovely projects:
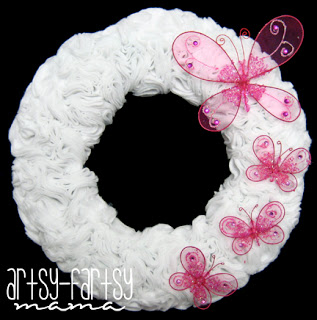
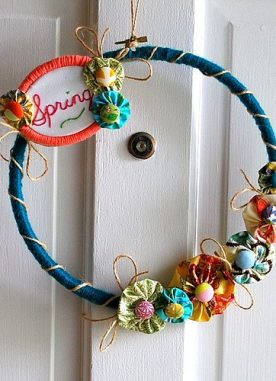
Butterfly Rosette Wreath
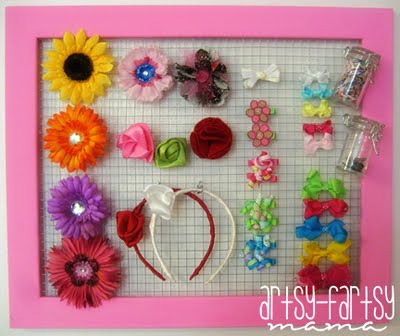
DIY hair bow holder
The post has been truncated for copyright safety. Thank you so much for understanding! “This post first appeared on Craftionary.net”


Awesome post! 😀